What you need:
•
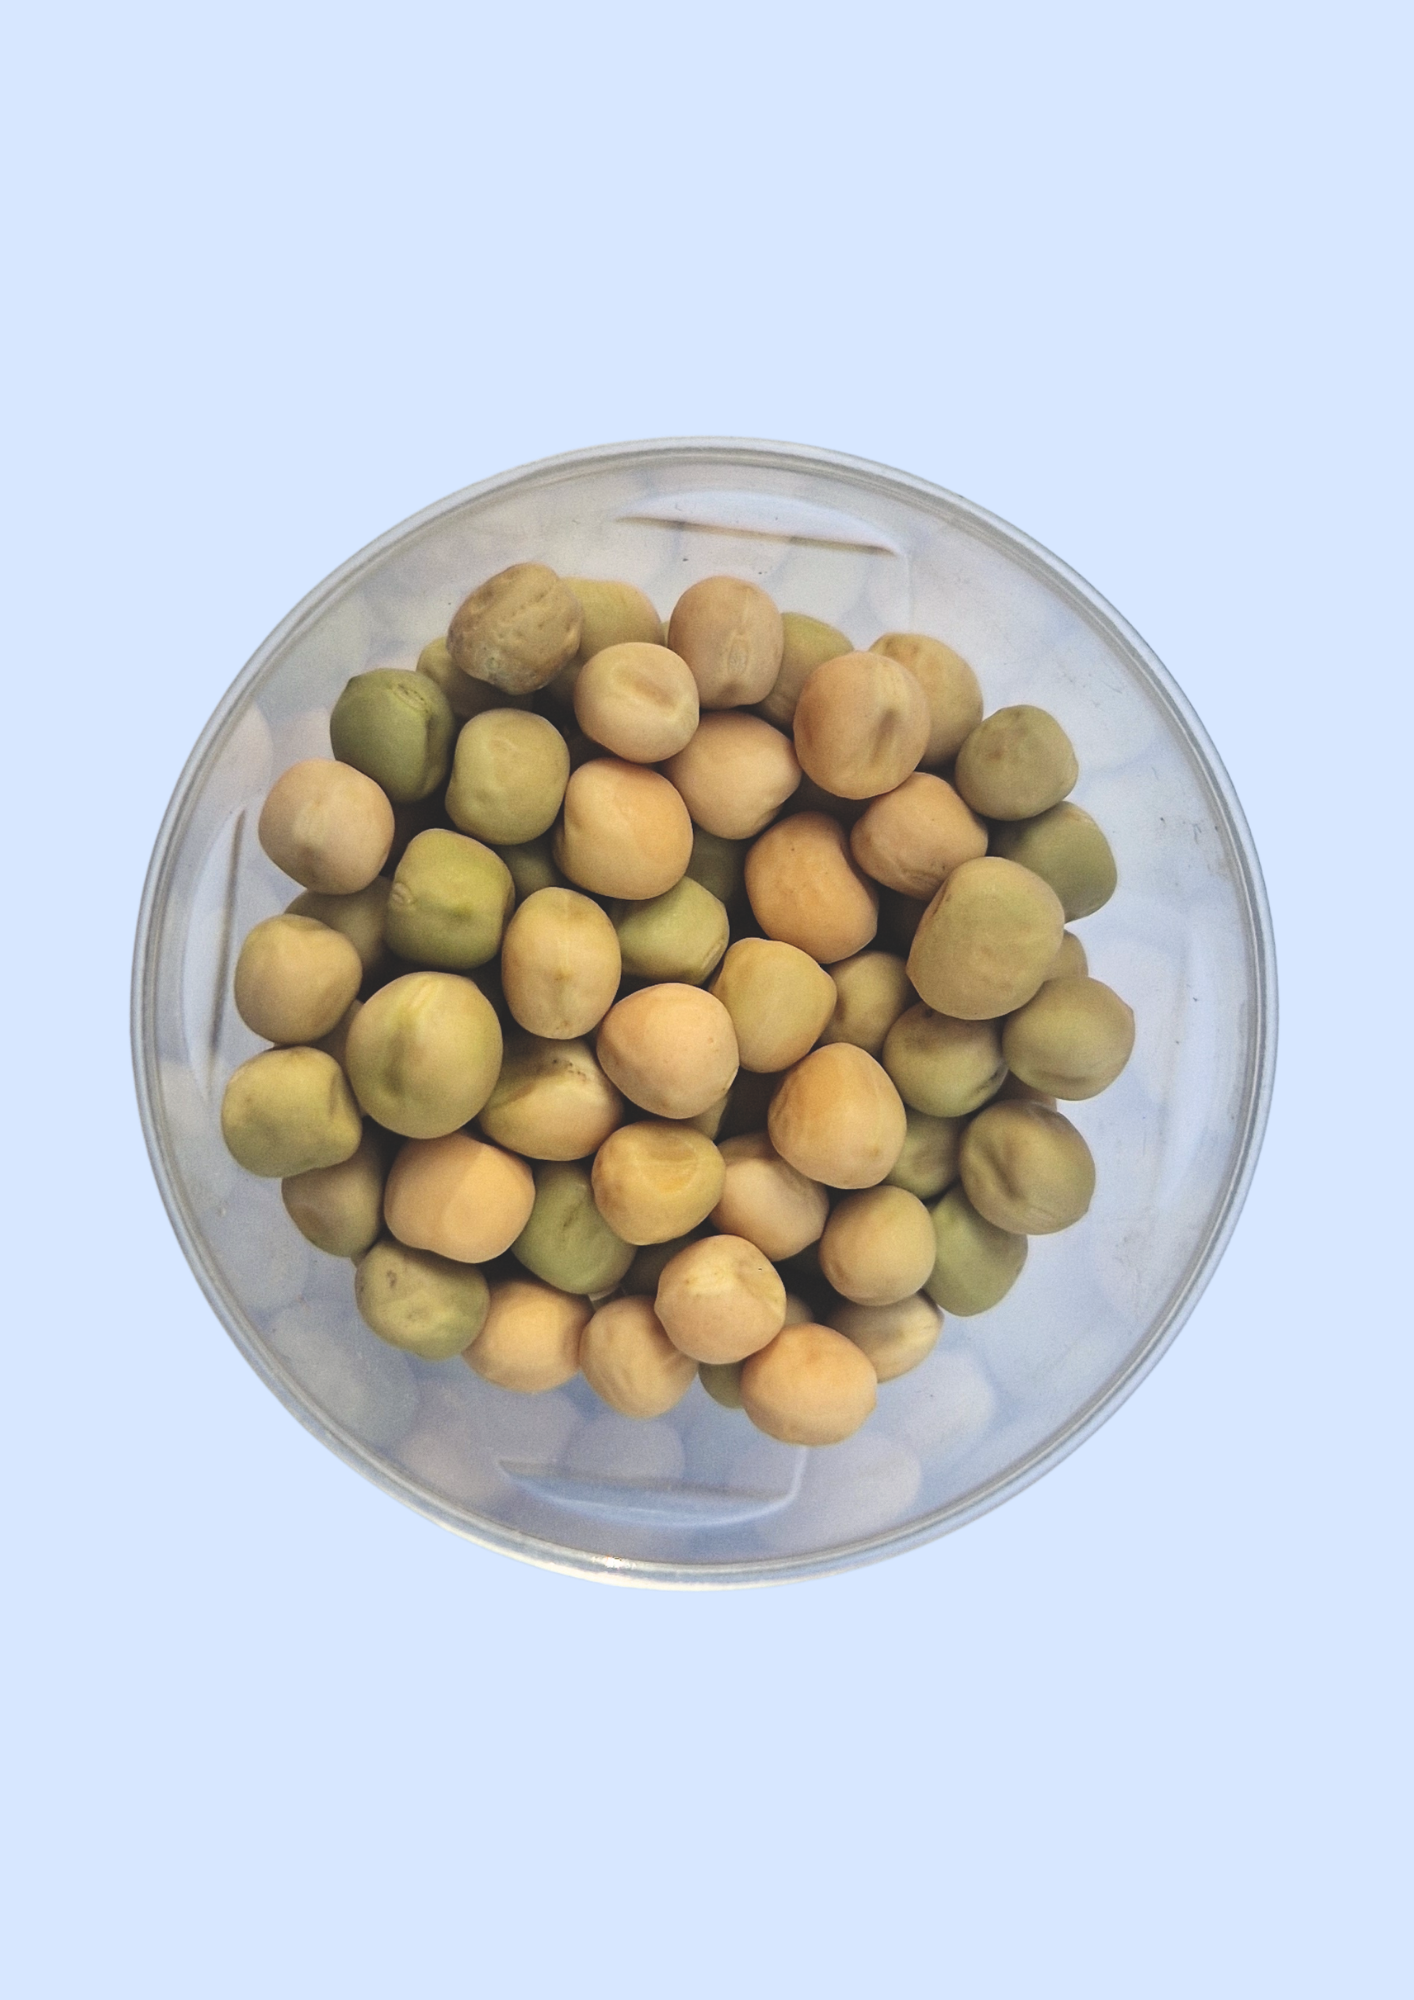
Broccoli seeds – Preferably organic and labeled for sprouting or microgreens.
•
Growing trays – Flat and shallow, with and without drainage holes.
•
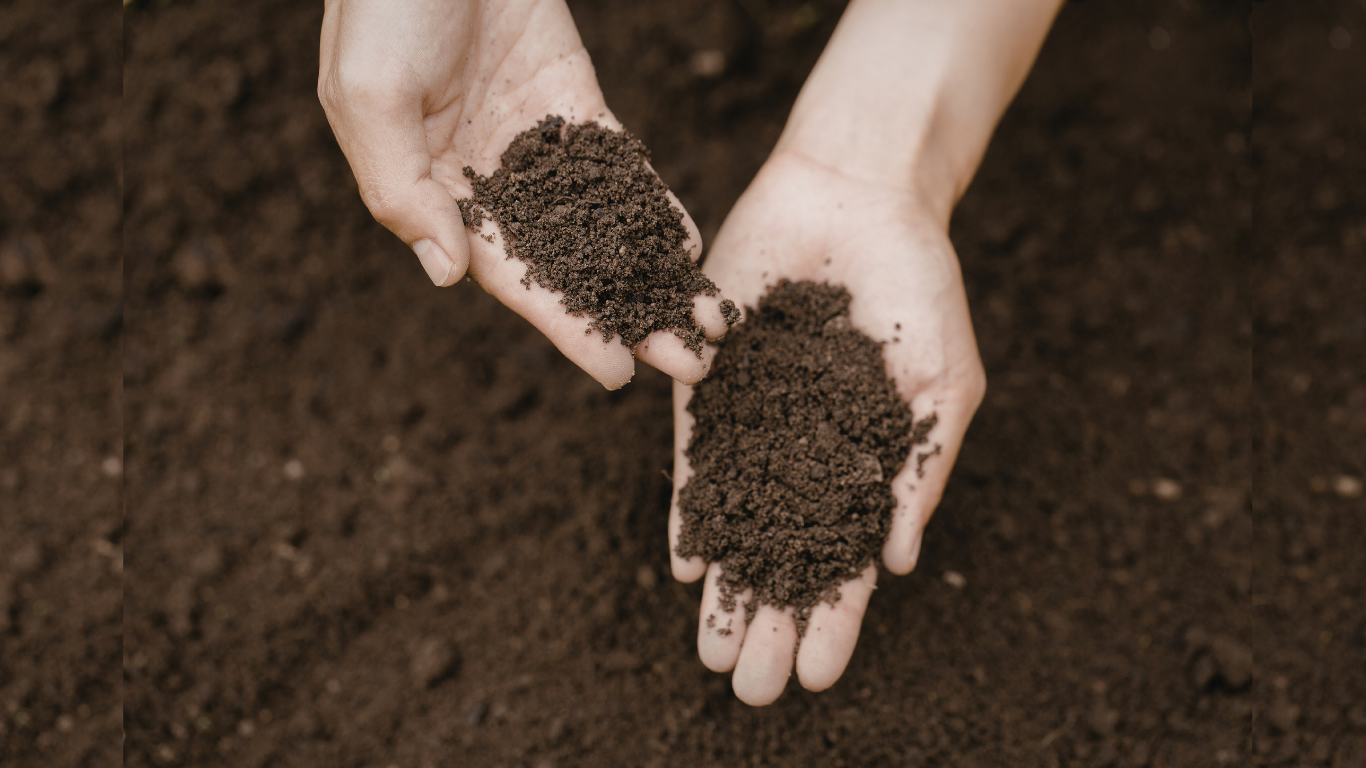
Growing medium – Potting soil or coconut coir.
•
Spray bottle or watering can•
Natural light or LED grow light – Broccoli microgreens need good lighting to develop their rich green color.
1.
Prepare the tray: wash it well with soap before using. Add an even layer of growing medium and lightly moisten it with a watering can.
2.
Sow the sedes: spread the broccoli seeds evenly over the surface of the medium. There’s no need to cover them with soil; just press them gently so they make good contact with the surface.
3.
First watering: mist the seeds carefully to moisten them without moving them.
4.
Darkness period: cover the tray with another inverted tray or an opaque lid for 2 or 3 days. This helps germination and makes the stems stronger.
5.
Light and ventilation: when you start to see the first sprouts (around day 2 or 3), uncover the tray and place it in a spot with good natural light or under LED grow lights.
6.
Daily watering: mist once or twice a day to keep the growing medium moist, but avoid excess water, which can cause mold.
We have an article explaining how to prevent this common issue.7.
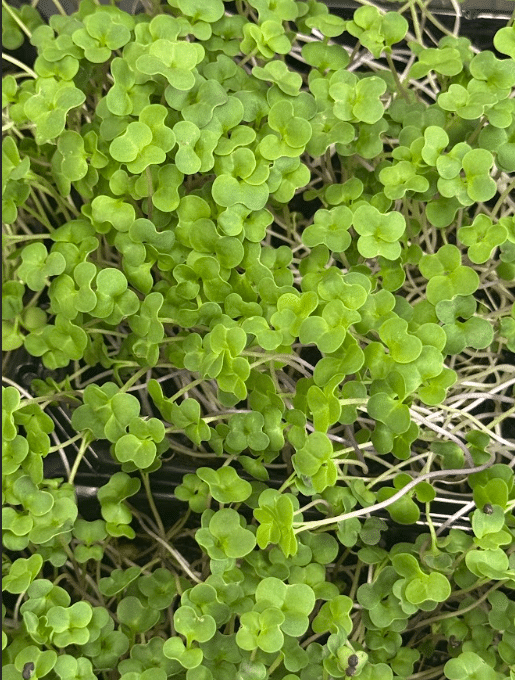
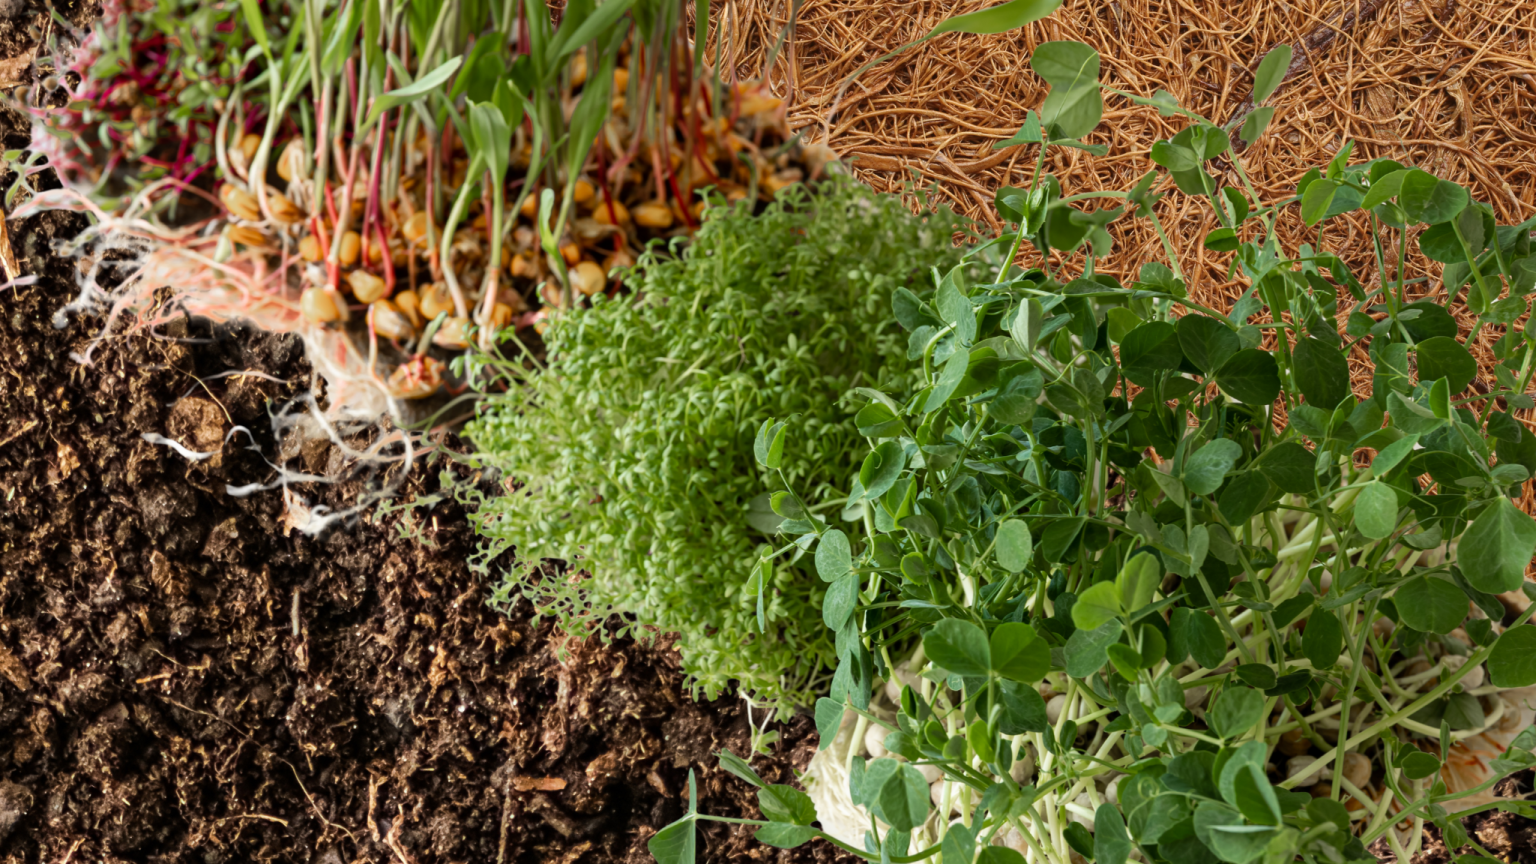
Growth and color: in just a few days, you’ll see the stems straighten and the leaves turn a deep green.
8
. Harvest: between days 7 and 10, your broccoli microgreens will be ready. Cut them just above the growing medium with clean scissors.
That’s it! Broccoli microgreens deliver a much higher concentration of essential nutrients and antioxidants than mature broccoli. Plus, they’re packed with sulforaphane, an anti-cancer compound that can be up to 200 times more concentrated in microgreens than in broccoli itself.