Get in touch
Questions about growing, workshops, the cooperative or partnerships? Send us a message and we will reply by email.
Prefer email? Write to erasmus@evec.org.gr
EVEC Microgreens
In microgreens, what makes you a “good grower” isn’t just producing beautiful trays, it’s producing beautiful trays consistently, week after week. Even when you’re in a rush. Even when temperatures change. Even when orders suddenly increase.
And that comes down to one not so romantic word: workflow.
The goal is to turn your growing process into a simple, repeatable chain: batch sowing, weekly rotation, and short (but consistent) daily tasks. Agricultural guides frame it this way: microgreens are a short-cycle crop, but they involve many small decisions (irrigation, ventilation, density, harvesting, handling). If those decisions aren’t structured, they eat up your time and your margins.
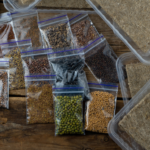
Before organizing weeks, define your minimum production unit:
This isn’t just about “being professional.” It saves you when something goes wrong and you need to know what changed (seed lot, irrigation, humidity, cleaning, etc.). Traceability and control start with the basics: knowing what is what, and when it was done.
If you sow “whenever you remember,” you’ll end up with 12 trays at different stages and zero routine. Batch sowing prevents that: you group sowings into fixed days so the rest of the work becomes predictable.
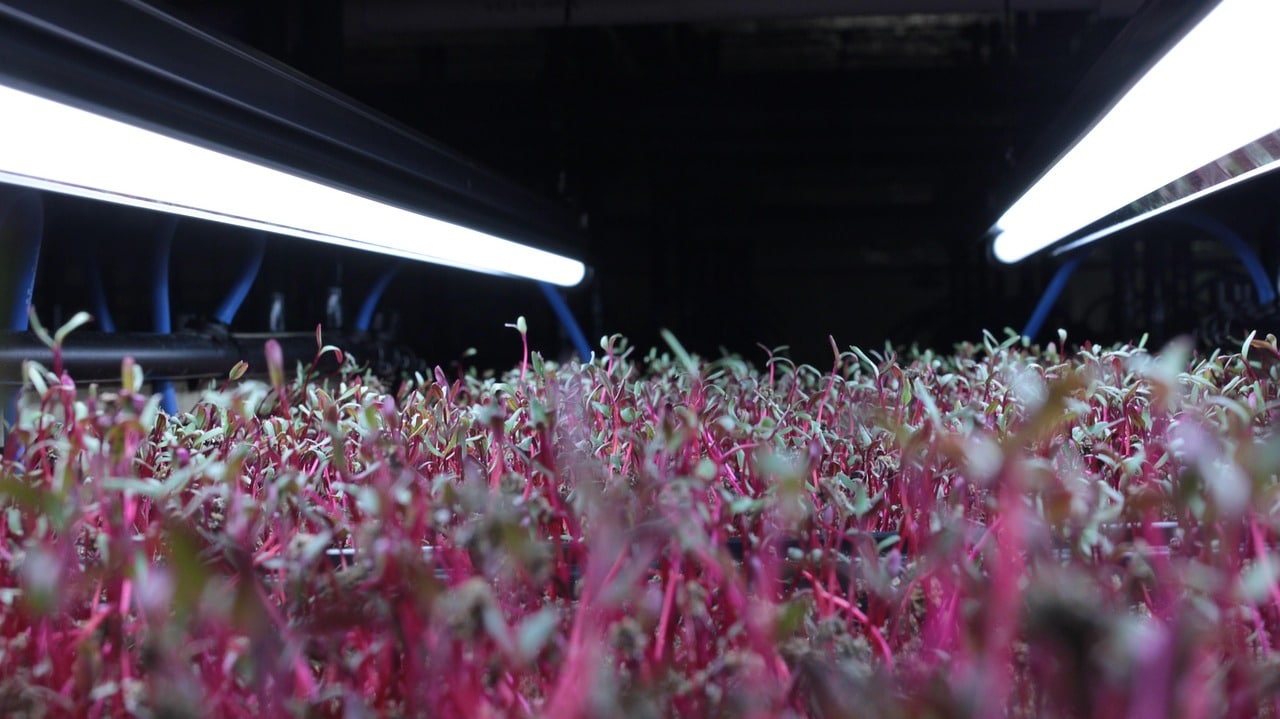
Not all species grow at the same speed. Microgreens typically have a harvest window between 7–21 days. That range already tells you something: your rotations must match growth speed.
The key is that each week looks similar to the previous one. Of course, it depends on your goal: home consumption, direct sales, restaurant supply, etc. In this case, we’ll assume you’re producing commercially.
With typical 7–21 day cycles, this system works well because something is always “coming in” and something is always “going out.”
It’s easier to sustain at the beginning, but less flexible if orders increase.
For a stable workflow, fix these five variables:
Even if you only have 10 trays:
Even if it’s just messy notes in a notebook, this record helps you improve rotation and avoid repeating mistakes.
Harvesting and packaging is the real critical point. Ideally, harvest at the target size, not intuitively. Research the proper growing days for each species.
During packaging, strictly follow food safety and hygiene practices.
Workflow isn’t just production, it’s capacity.
Organizing your processes and numbers (even simply) helps you scale intelligently.
Conclusion: microgreens aren’t just “grown”, they’re “operated”
The goal isn’t to have a pretty calendar in a notebook. It’s to make your week look so similar to the previous one that you can improve by 1% each time.
Does this process seem difficult to you?
Do you think this guide on building a workflow could be useful?
We’d love to hear your opinion. Don’t forget to follow us on our social media channels.
Best regards.
See you next time.
Carlota
Sources
Alberta Agriculture and Forestry. (2018). Commercial microgreens: Production and best practices (Agdex 268/18-1). https://www1.agric.gov.ab.ca/%24department/deptdocs.nsf/all/agdex15965/%24file/268_18-1.pdf?OpenElement
Cornell University College of Agriculture and Life Sciences. 1-5 Growing microgreens. In Project S.O.W.: Seeds of wonder, food gardening with justice in mind. https://gardening.cals.cornell.edu/lessons/project-s-o-w-seeds-of-wonder-food-gardening-with-justice-in-mind/unit-1-cultivating-community/1-5-growing-microgreens/
Di Gioia, F. (2024). The ABCs of microgreens. Penn State Extension. https://extension.psu.edu/the-abcs-of-microgreens
Penn State Extension. Business planning for your microgreens operation. https://extension.psu.edu/business-planning-for-your-microgreens-operation
University of Arizona Cooperative Extension. Microgreens. https://extension.arizona.edu/sites/extension.arizona.edu/files/attachment/Microgreens.pdf
This article is part of the free knowledge portal of EVEC Microgreens. Wherever you are on your microgreens journey, there is a path for you:
Co-funded by the European Union.
This portal presents the microgreens methodology; the organisation behind it is EVEC Athens — the European Voluntary and Educational Center (evec.org.gr). Views and opinions expressed are those of the author(s) only and do not necessarily reflect those of the European Union or the European Commission. Neither the European Union nor the granting authority can be held responsible for them.