Here’s how to do it step by step, easy and simple.
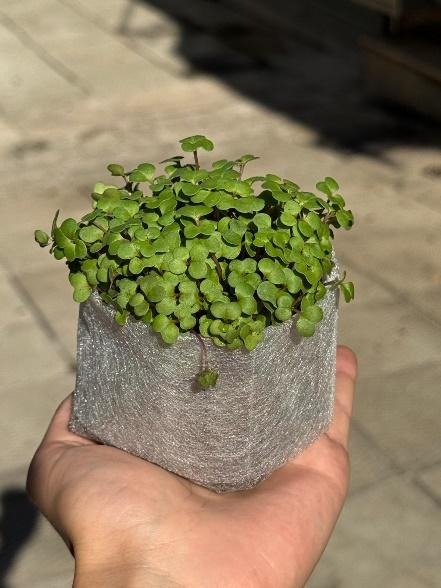
You’ll have a batch of fresh and delicious microgreens!
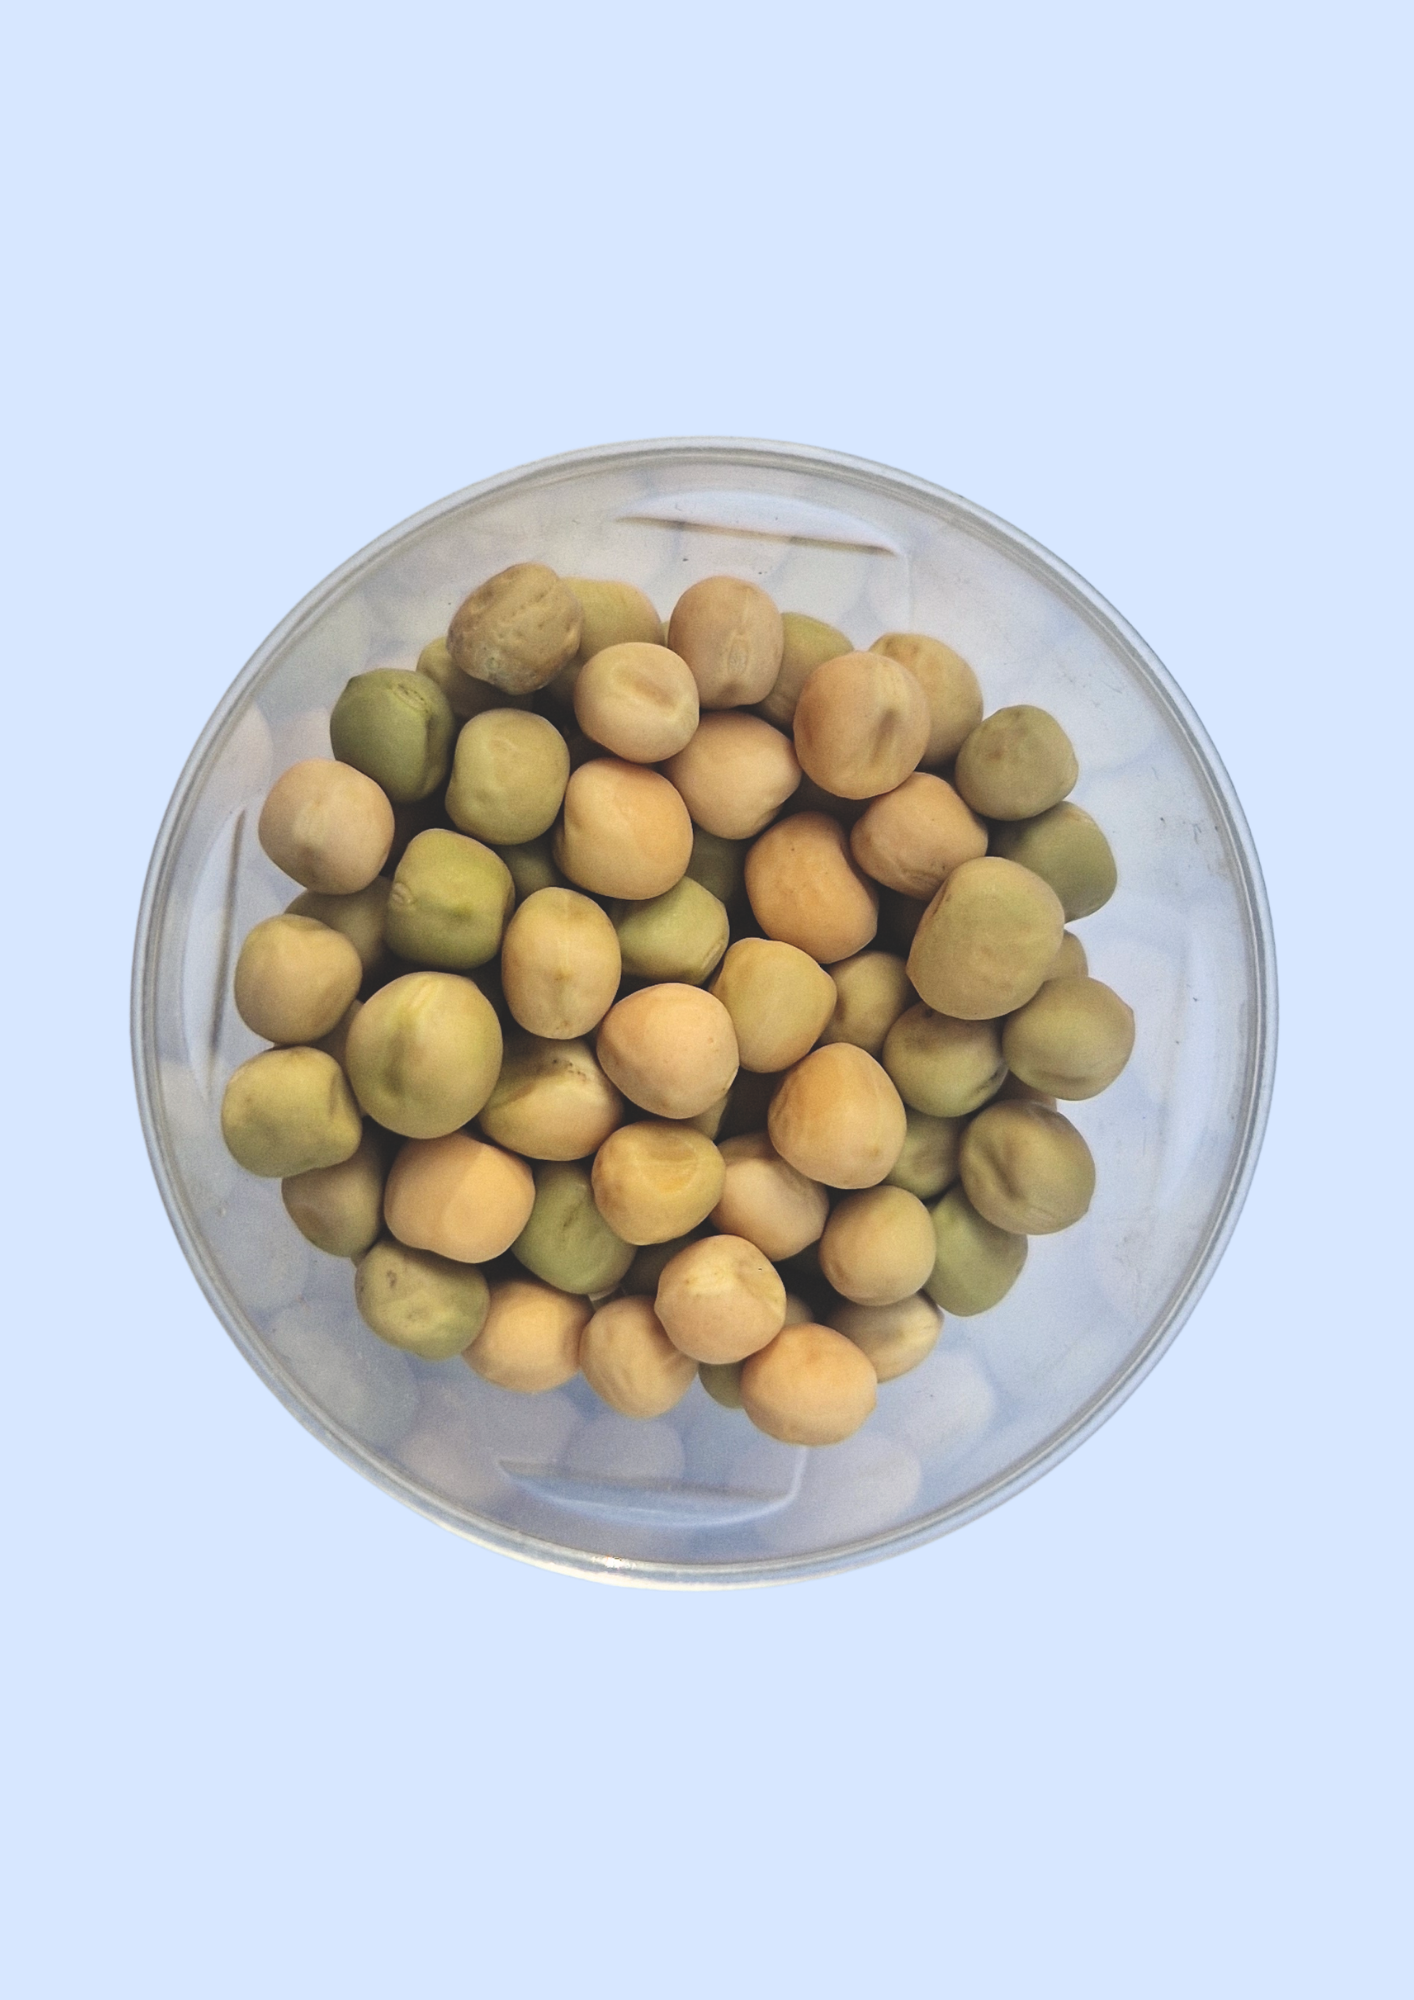
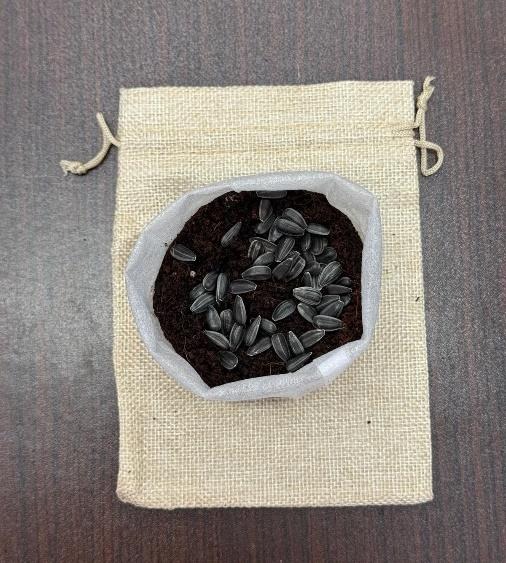
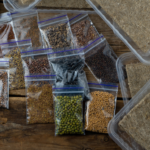
• Seeds (choose your favorites; in this case, we’re using broccoli and sunflower).
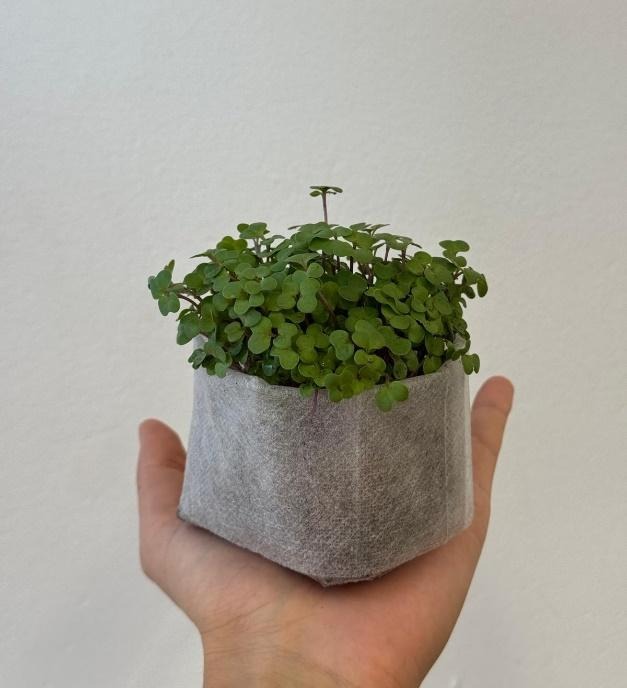
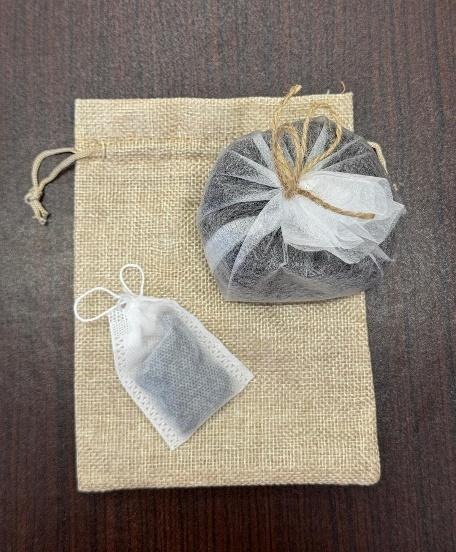
• Tray or container (it can be plastic, aluminum, a shallow pot, or, as in our photo, a fabric bag).
• Soil or substrate (you can also use coconut fiber or damp paper towels).
• Water (preferably applied with a spray bottle).
• Natural light (a sunny window or soft artificial light, like LED lights).
1. Prepare the tray
Place a thin layer of soil or substrate (about 2–3 cm). Level it and moisten it with a bit of water.
2. Spread the sedes
Distribute the seeds evenly across the surface. Don’t bury them; just press them gently so they touch the soil.
3. Cover and let germinate
Cover with a lid or dark cloth for 2 to 3 days. This keeps in moisture and helps the seeds germinate.
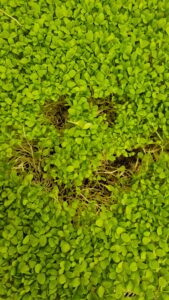
4. Light and water
When you see the first sprouts, uncover them and place them near the light.
Spray water once or twice a day to keep the substrate moist (but not soaked!).
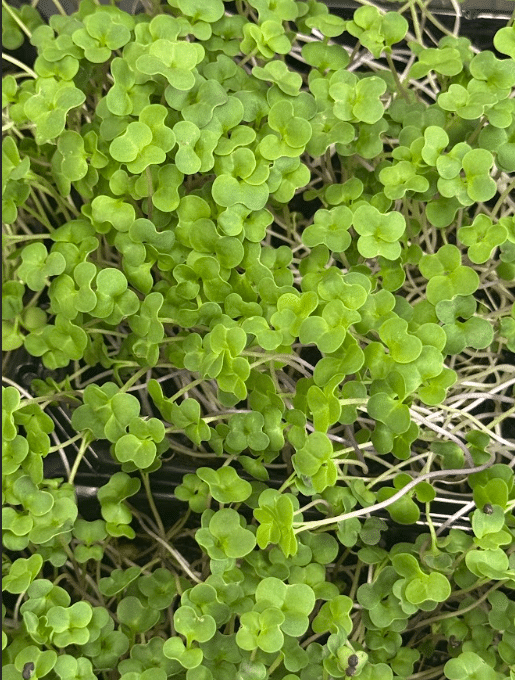
5. Harvest
In 7 to 14 days, your microgreens will be ready, green, tender, and full of flavor.
Cut them with scissors just above the soil, wash them, and…
Ready to enjoy!
Carlota


[…] How to plant microgreens: step by step (Super easy!) […]