Get in touch
Questions about growing, workshops, the cooperative or partnerships? Send us a message and we will reply by email.
Prefer email? Write to erasmus@evec.org.gr
EVEC Microgreens
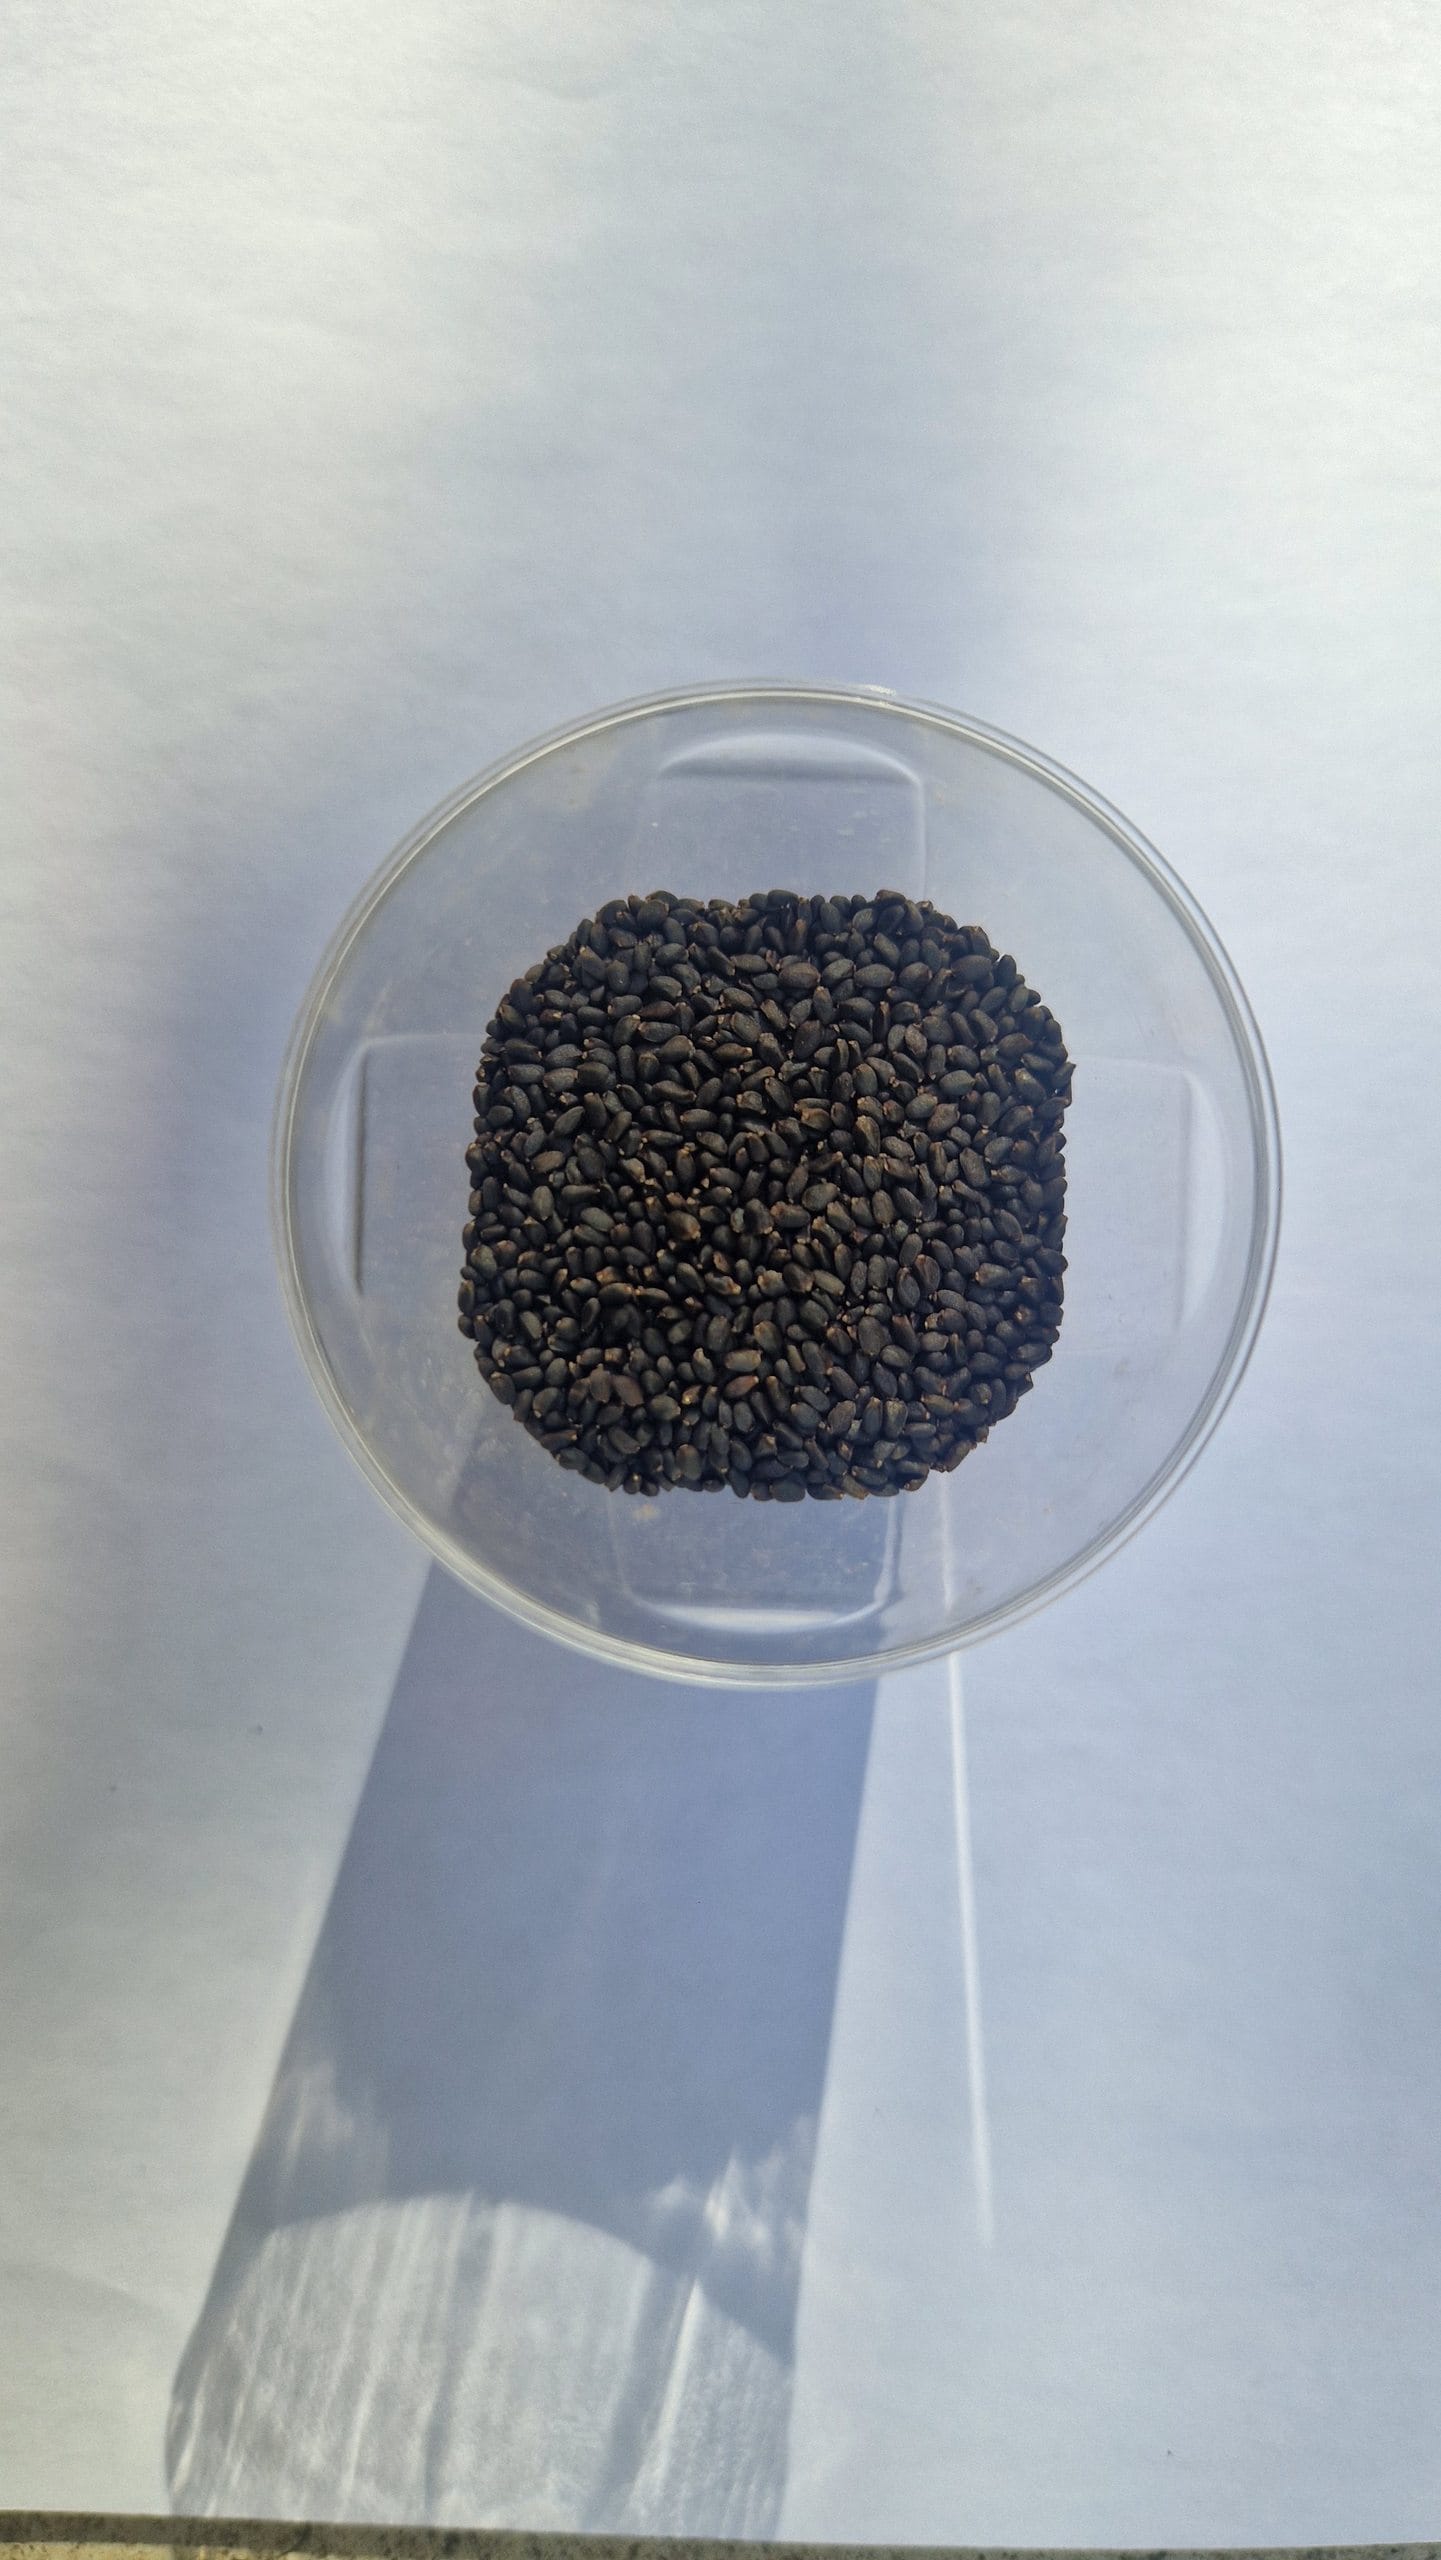
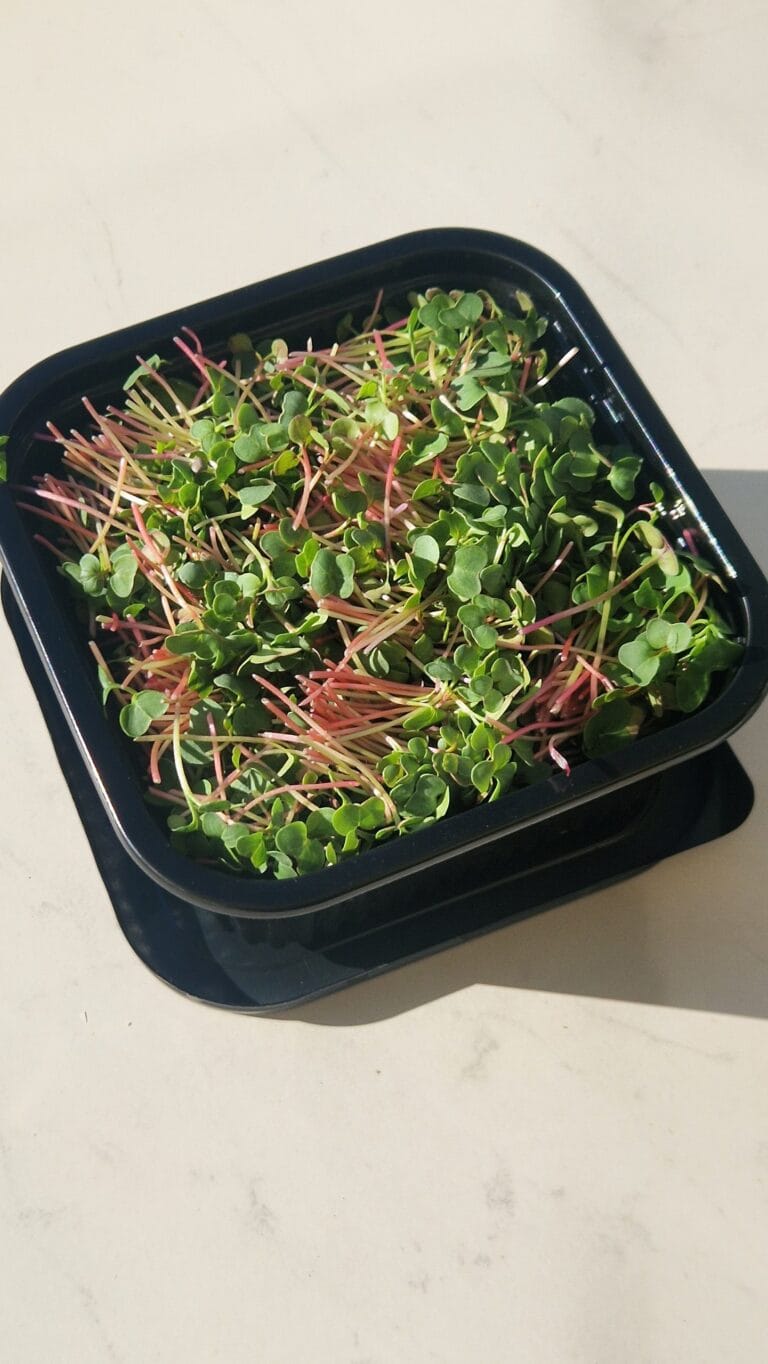
How to grow basil microgreens step by step — sowing, light, watering and harvest. Add fresh aroma and flavour to salads, pasta and pizza from your windowsill.
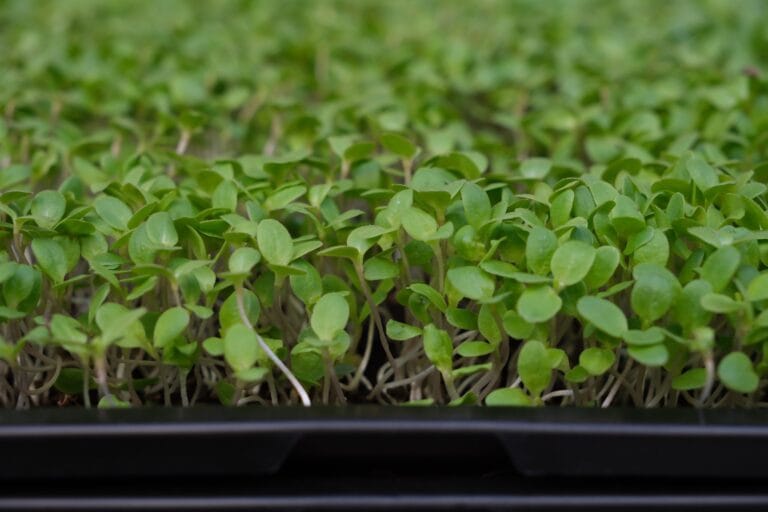
Unlike most microgreens, basil germinates best under a very thin layer of soil, 1 to 2 mm, which helps it hold the moisture it needs. It also wants more light than most microgreens and a longer run to harvest, 12 to 21 days, so it repays a little extra attention. Like the other guides in this series, what follows covers the characteristics of the crop, step by step instructions, and practical notes from growing it ourselves.
Basil is perfect for adding a fresh aroma and flavor to your salads, pasta, pizzas, or even for making a mini pesto bursting with taste. If you think of Italian cuisine, basil has probably already come to mind. Plus, its fragrance is delightful from the very first day it germinates!
Basil microgreens don’t just add an intense, aromatic flavor, they’re also packed with nutrients: vitamins A, C, and K, plus calcium, iron, and antioxidants. They’re an ideal way to add a gourmet and healthy touch to any dish.
Studies from our Science Library that concern basil microgreens, in plain language with links to the original research. This list updates automatically as new studies are added.
No studies specific to this crop yet — browse the full Science Library.
Recipes and kitchen ideas from our cookbook team that use basil microgreens.
No recipes for this crop yet — the cookbook has plenty to start with.
Growing a different crop next? Every variety has a guide like this one in the Varieties database.
This article is part of the free knowledge portal of EVEC Microgreens. Wherever you are on your microgreens journey, there is a path for you:
Co-funded by the European Union.
This portal presents the microgreens methodology; the organisation behind it is EVEC Athens — the European Voluntary and Educational Center (evec.org.gr). Views and opinions expressed are those of the author(s) only and do not necessarily reflect those of the European Union or the European Commission. Neither the European Union nor the granting authority can be held responsible for them.
Open licence. Except where stated otherwise, the educational materials on this portal are licensed under CC BY 4.0 — free to use, adapt and share, including commercially, with credit. See the licence terms.
Accessibility. We aim for WCAG 2.1 AA and publish what does and does not yet meet it — see the accessibility statement. If anything here blocks you, tell us and we will send the material in a format that works for you.