Get in touch
Questions about growing, workshops, the cooperative or partnerships? Send us a message and we will reply by email.
Prefer email? Write to erasmus@evec.org.gr

EVEC Microgreens
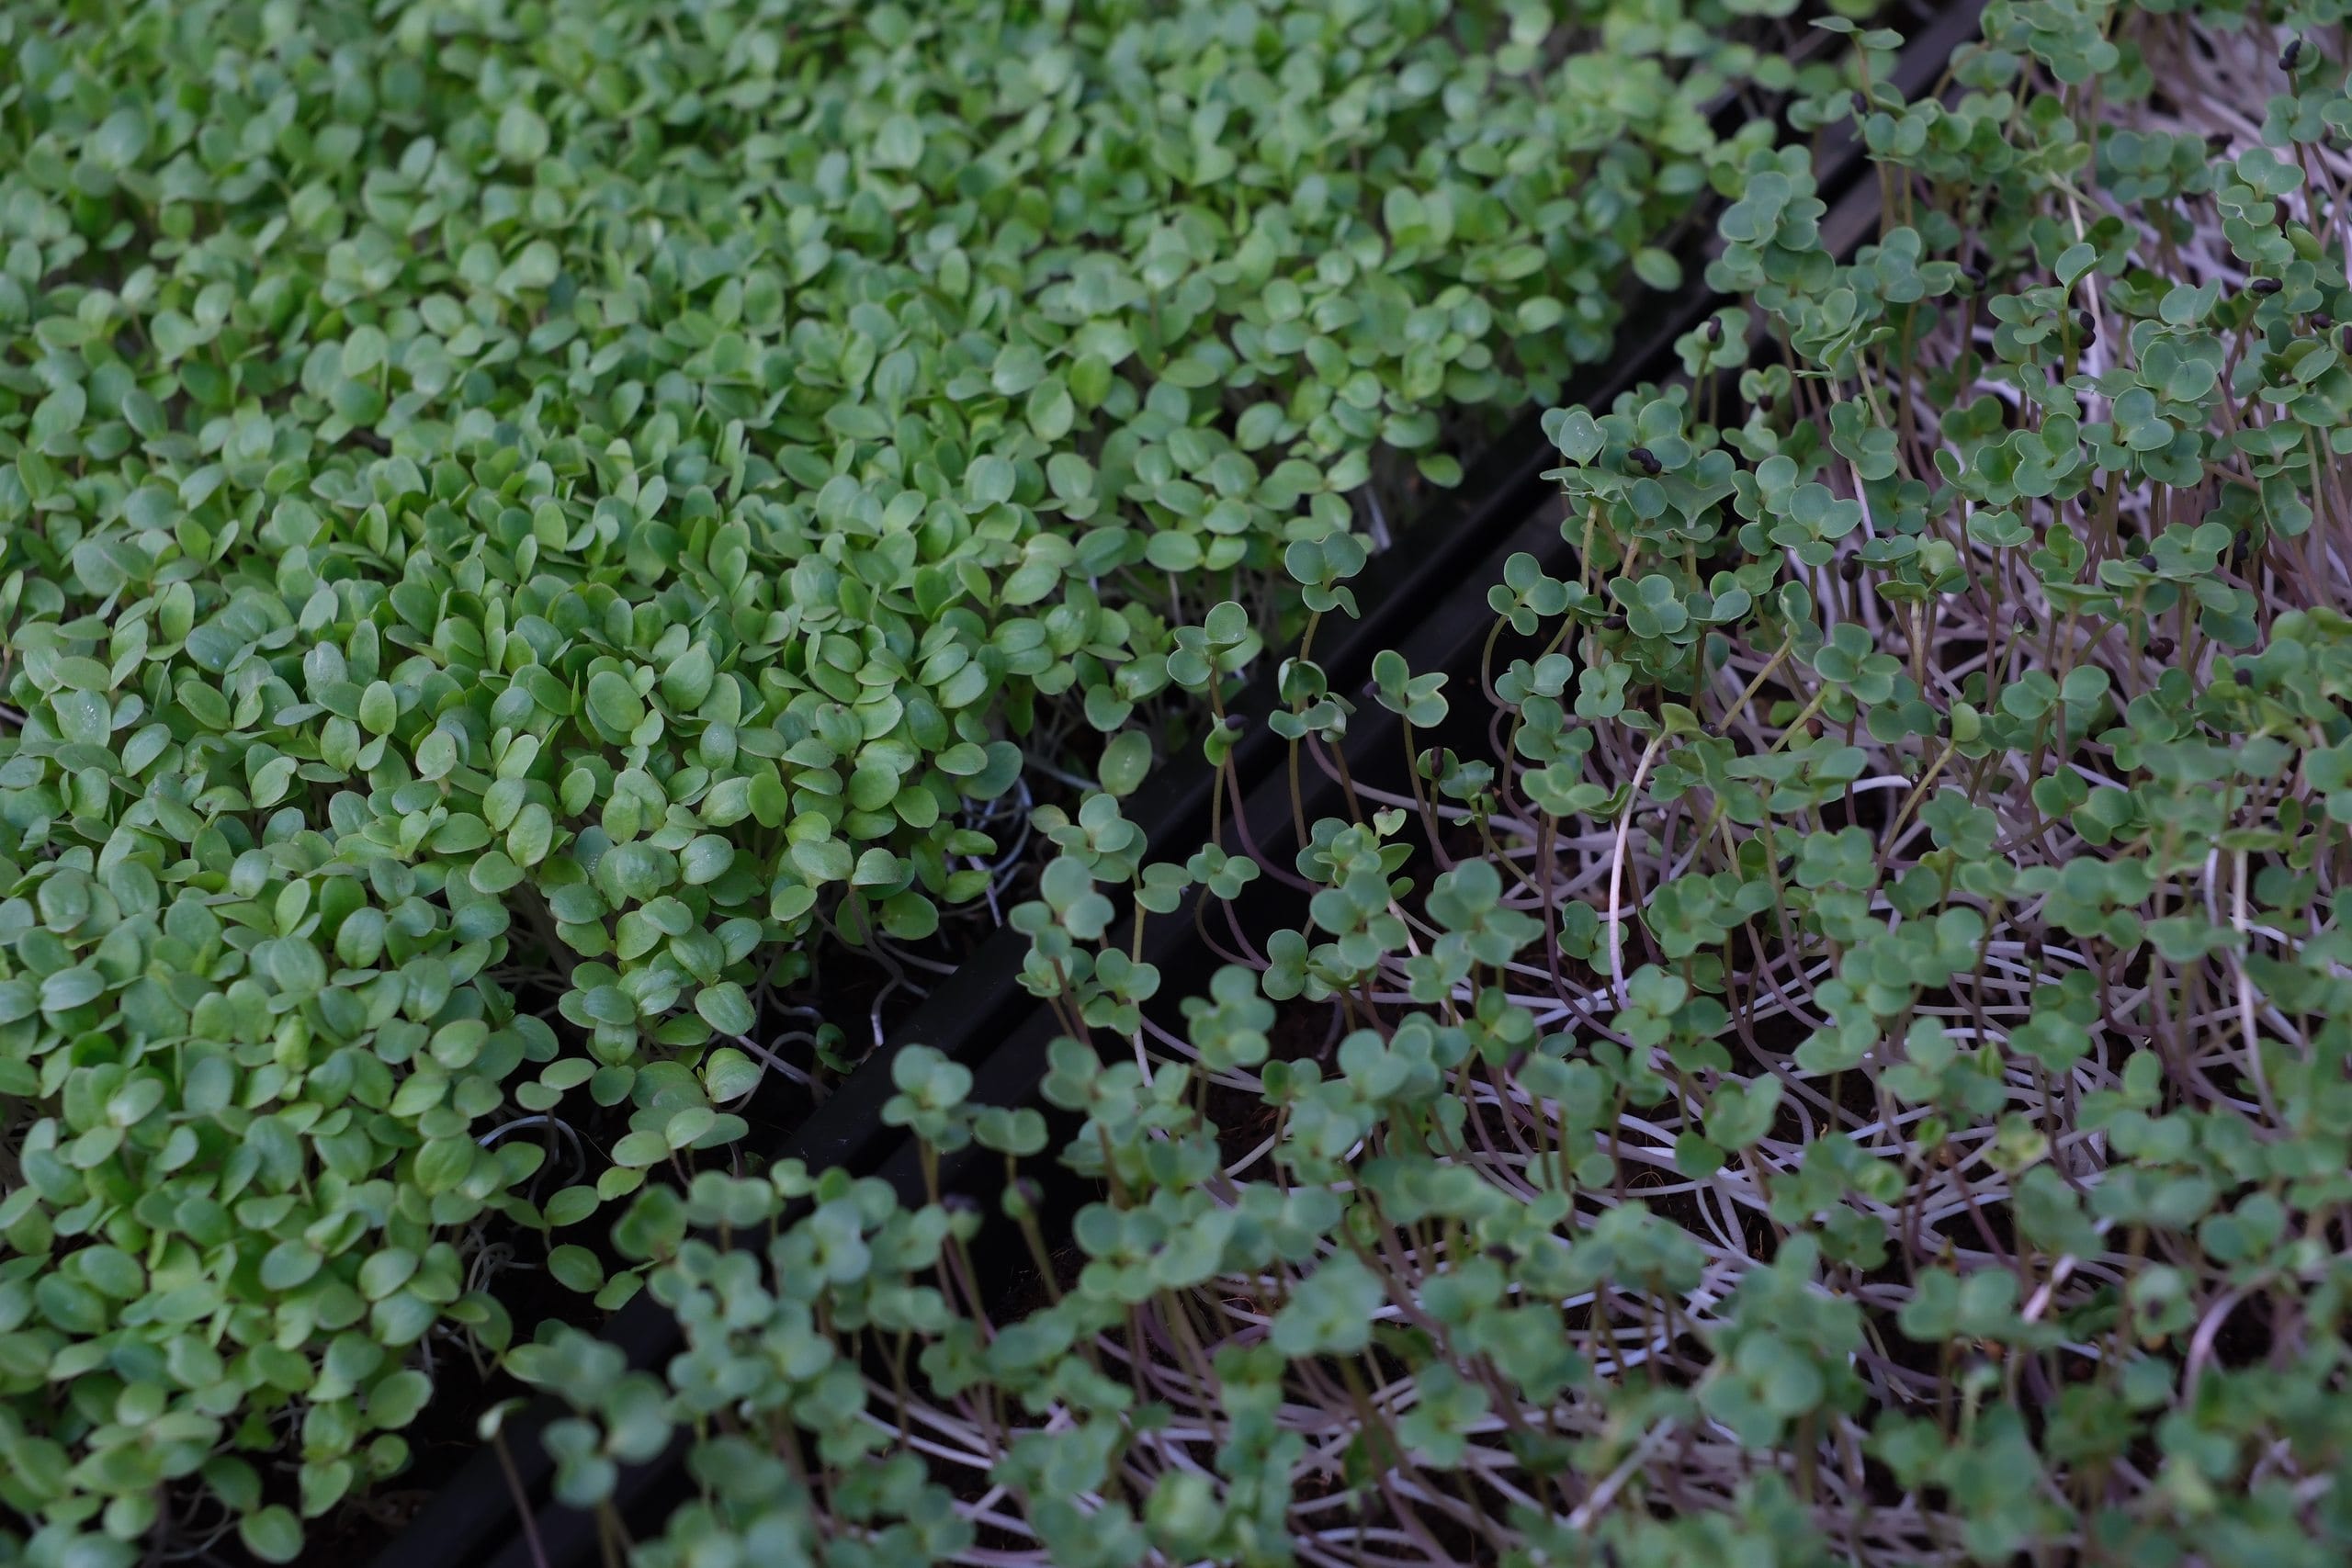
Fennel microgreens bring a sweet, delicate aniseed flavour to the plate. Learn to soak, sow, grow and harvest this slow, chef-favourite herb crop at home.
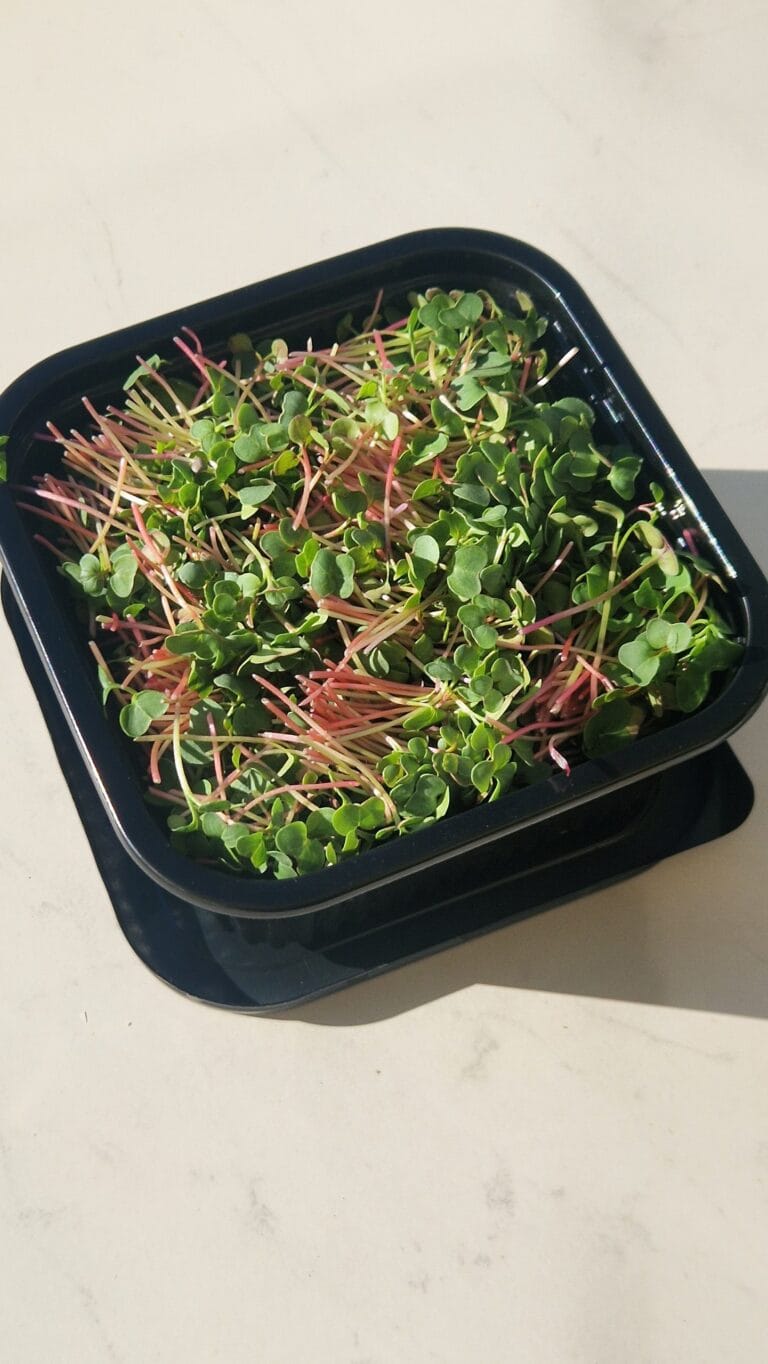
Fennel microgreens are the young seedlings of Foeniculum vulgare, cut when their feathery green cotyledons and first wispy true leaves have opened. They carry the same clean, sweet aniseed aroma as the bulb and the herb, concentrated into a delicate garnish that all but dissolves on the tongue. They are a slower, more niche crop than the brassicas most people begin with, which is precisely why chefs prize them and why they are worth learning to grow properly.
The honest answer is flavour and elegance rather than volume. Fennel gives you a distinctive liquorice-and-anise note that few other microgreens can match, on a soft, ferny green that looks lovely on a plate. If you already grow the everyday workhorses and want something to lift a dish, this is a rewarding crop to add.
Be realistic, though. Fennel is slow to get going, it is sown more thinly than most greens, and it crops modestly by comparison, so it earns its place as a speciality rather than a staple. If you are completely new to growing, start with the Grow at Home hub first and get a steady routine going, then come back for fennel once you have a couple of easier crops under your belt.
| Seed soaking | Not needed; an optional 8–24 hour soak can speed germination |
| Germination | 3-6 days |
| Blackout (dark) period | About 4-6 days, or until the seeds have lifted the cover |
| Ready to harvest | 14–21 days; fennel is slow, and leaving it longer deepens the flavour |
| Difficulty | Easy technique, but slow and unforgiving of overwatering |
| Flavour | Mild, sweet aniseed and liquorice |
You can harvest any time from about 12 days, once the cotyledons are fully open. Cutting early gives you a milder, more delicate green; leaving the tray a week or so longer, until the first true leaves appear, deepens the aniseed flavour, although the greens grow wispier as they age. Cut just above the medium with clean, sharp scissors.
Fennel seed hulls have a habit of clinging to the seedlings. Where you can, let them drop naturally before you cut, or pick off any stubborn ones by hand. Once harvested, keep the greens dry, store them in a lidded container in the fridge, and use them within about 5-10 days. They are at their best fresh, so cut only what you need.
Fennel microgreens are a garnish first and foremost. Their sweet anise note is a classic partner for fish and seafood, and they lift smoked salmon, ceviche and grilled white fish beautifully. They also work with citrus, apple, cured meats, soft goat’s cheese, new potatoes and creamy dressings, and a pinch scattered over a green salad brings a lovely aromatic edge. Add them raw at the last moment, as heat quickly wilts them and blunts the aroma.
Fennel rewards patience with a flavour nothing else on the microgreen shelf can copy. Sow it thinly, keep it airy, and give it time. Related: basil microgreens for another slow, aromatic herb, and nasturtium microgreens if you enjoy crops with real gastronomic character.
Studies from our Science Library that concern fennel microgreens, in plain language with links to the original research. This list updates automatically as new studies are added.
No studies specific to this crop yet — browse the full Science Library.
Recipes and kitchen ideas from our cookbook team that use fennel microgreens.
No recipes for this crop yet — the cookbook has plenty to start with.
Growing a different crop next? Every variety has a guide like this one in the Varieties database.
This article is part of the free knowledge portal of EVEC Microgreens. Wherever you are on your microgreens journey, there is a path for you:
Co-funded by the European Union.
This portal presents the microgreens methodology; the organisation behind it is EVEC Athens — the European Voluntary and Educational Center (evec.org.gr). Views and opinions expressed are those of the author(s) only and do not necessarily reflect those of the European Union or the European Commission. Neither the European Union nor the granting authority can be held responsible for them.