Get in touch
Questions about growing, workshops, the cooperative or partnerships? Send us a message and we will reply by email.
Prefer email? Write to erasmus@evec.org.gr

EVEC Microgreens
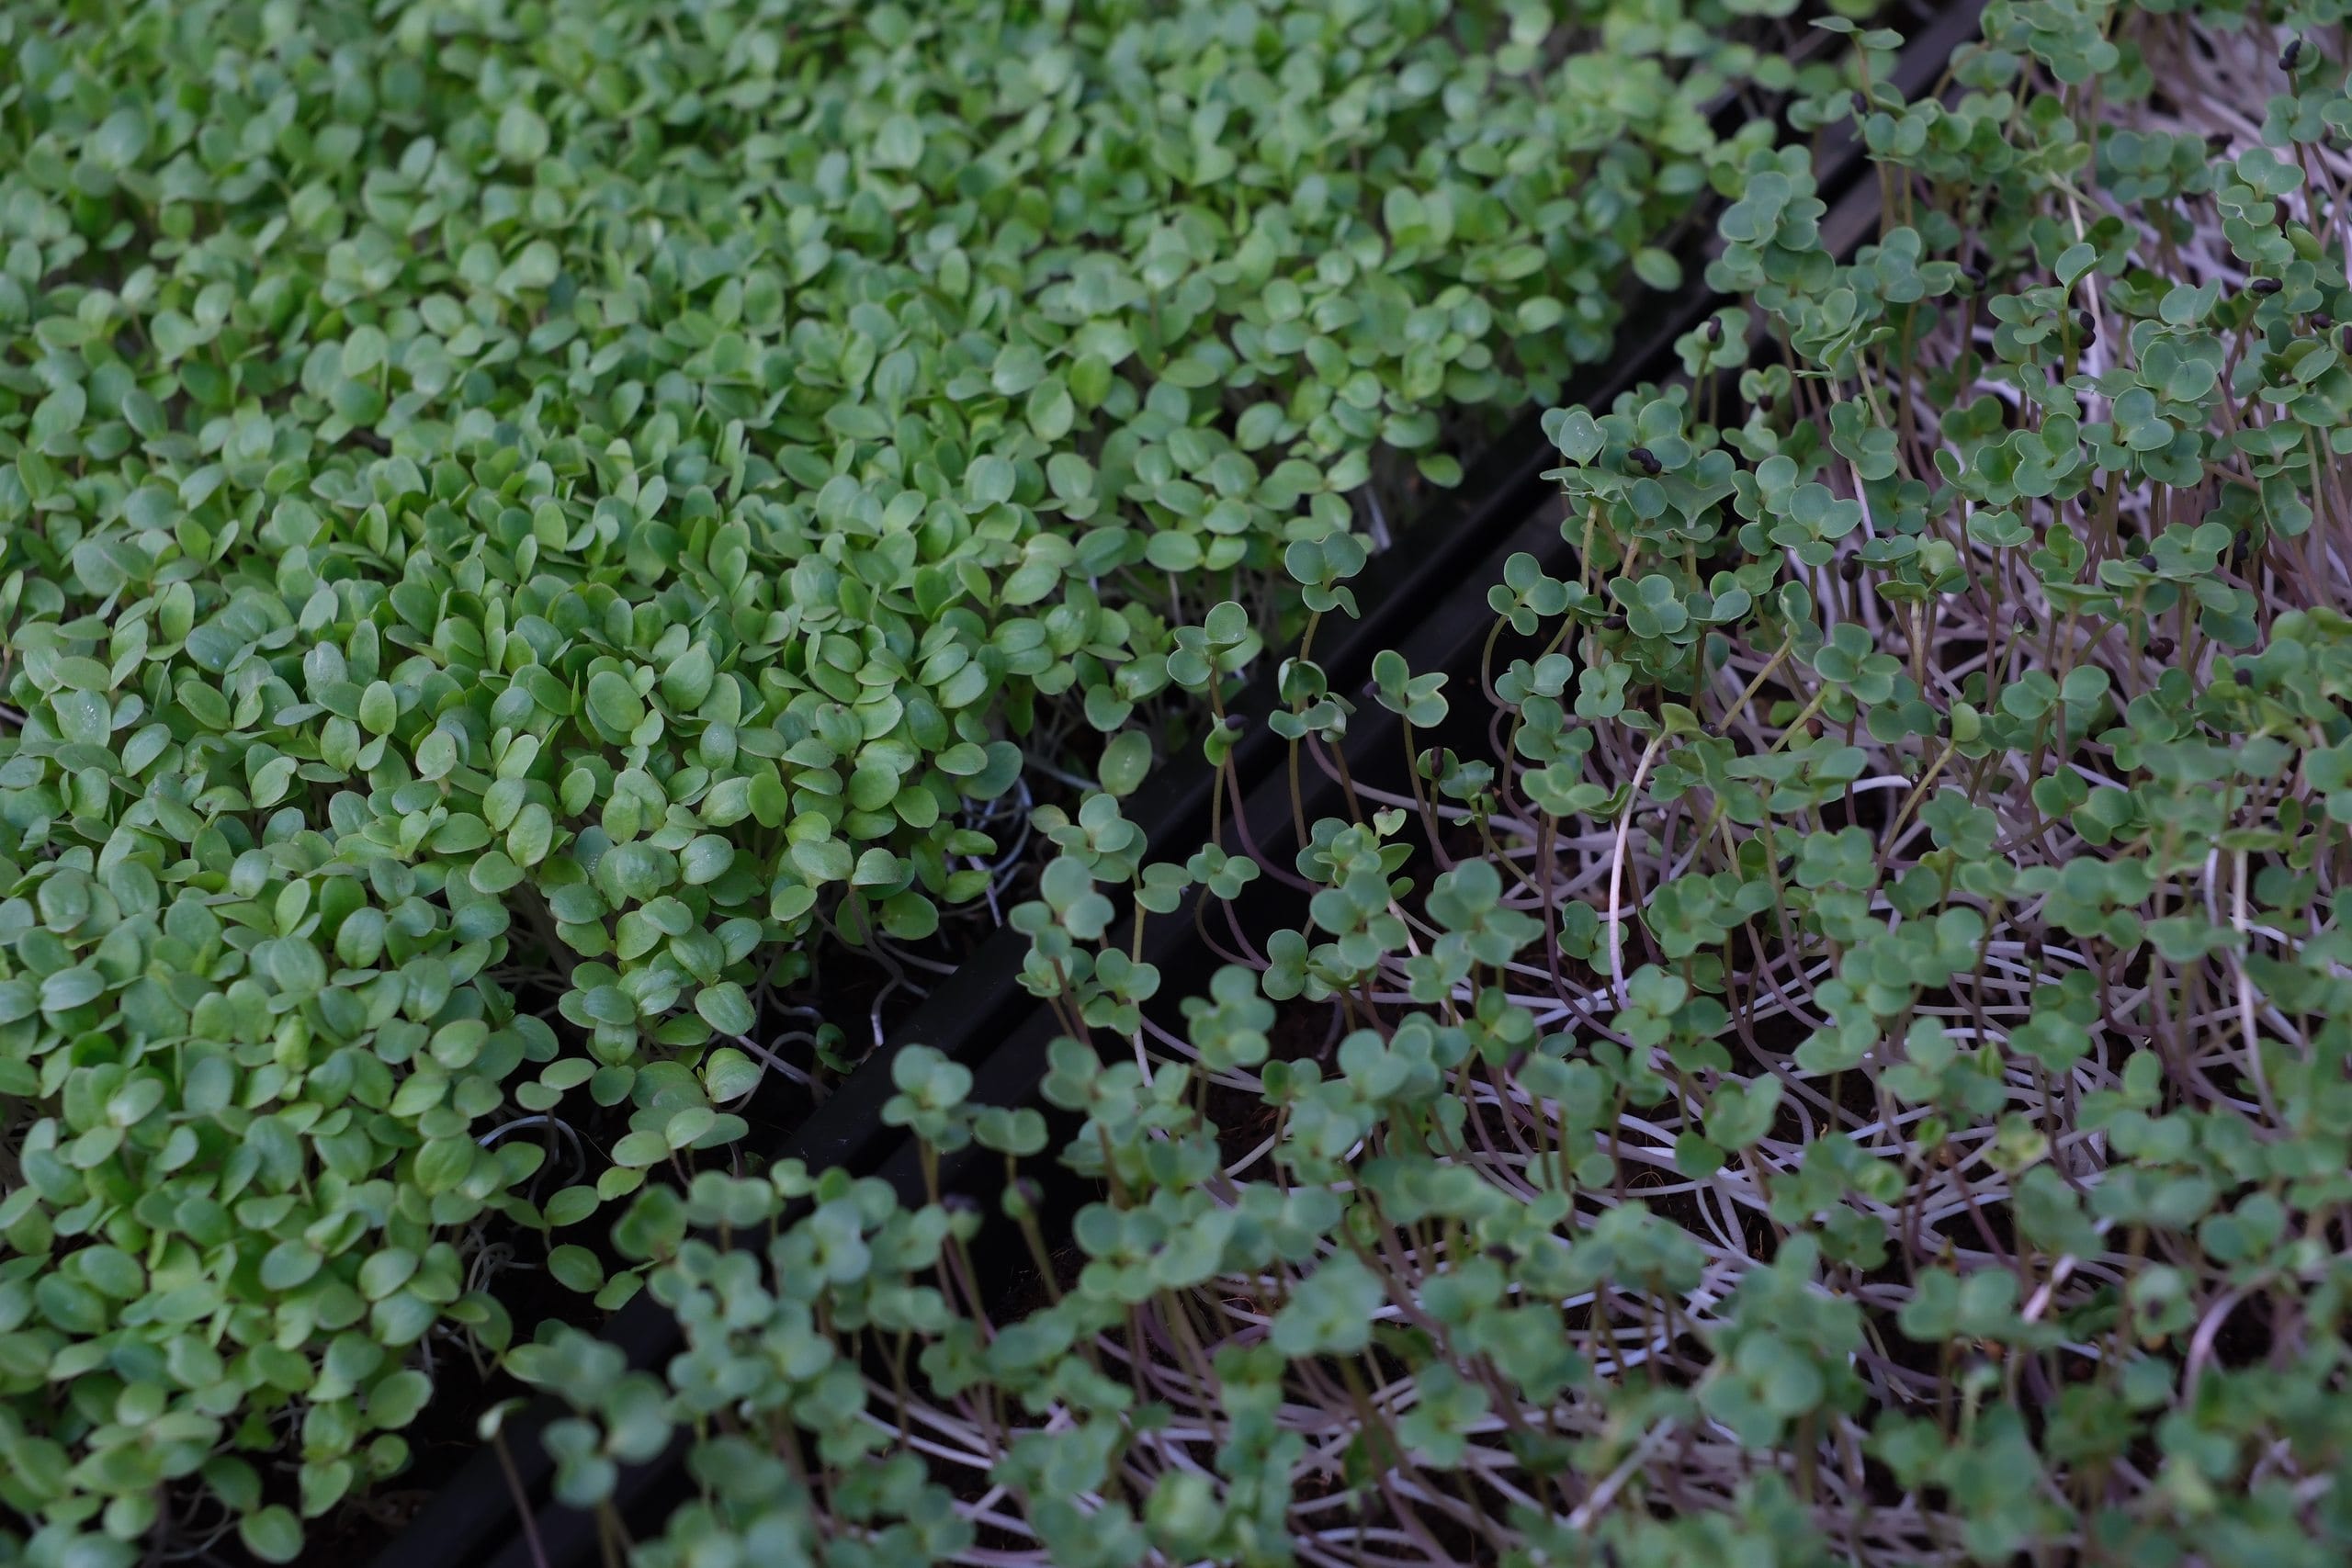
Coriander (cilantro) microgreens are slow but rewarding to grow. Learn soaking, split seed, germination, blackout and harvest timing in this honest guide.
Coriander (cilantro) microgreens give you the unmistakable citrus-and-herb flavour of the mature plant weeks earlier, cut when the seedlings are just a few centimetres tall. If you love coriander in salsa, curry or pho, growing it as a microgreen is one of the most useful things you can do on a windowsill. It is also, honestly, one of the slower and more testing crops to grow at home — so this guide sets realistic expectations and shows you the tricks that actually make a difference, chief among them using split seed.
The flavour is the whole point. Coriander microgreens taste like the fresh herb — bright, green and citrusy — but with a cleaner, more delicate note than the mature leaves. They carry that same distinctive character that people either adore or find soapy, so if coriander is not for you, this is not the crop to convert you.
They are also genuinely practical. Home-grown fresh coriander is expensive and wilts fast in the fridge, whereas a tray on your counter gives you a steady supply exactly when you cook. And unlike buying a supermarket bunch, you control the seed and the growing conditions from start to finish. If you are new to indoor growing, our Grow at Home hub is the best place to get the basics in order before you start.
Just be clear-eyed about the trade-off: this is a patience crop. Where a radish is ready in under a week, coriander asks for two to three weeks. It rewards you, but it does not rush.
| Seed soaking | Optional — split seed is best sown dry; an 8–12 hour soak can help whole seed |
| Germination | 3–7 days |
| Blackout (dark) period | 4–6 days |
| Ready to harvest | 16–25 days (whole seed can take up to about 30) |
| Difficulty | Moderate — slow-growing and needs patience |
| Flavour | Bright, fresh, citrusy coriander |
Harvest when the greens are roughly 4–7 cm tall, once the cotyledons are fully open and the first true leaves are showing — usually somewhere between day 16 and day 25, though a slow batch of whole seed can run closer to 30 days. Cut cleanly with sharp scissors just above soil level, staying above any leftover seed husks. Coriander yields modestly compared with fast crops like sunflower, so a tray gives you a garnish supply rather than a mountain of greens.
They are best eaten fresh. If you need to store them, keep them dry, unwashed and loosely covered in the fridge, where they hold for around five to ten days. Washing before storage shortens that considerably, so rinse only just before you use them.
Treat coriander microgreens exactly as you would the fresh herb, but add them at the end so the heat does not flatten their aroma. They are superb scattered over tacos, guacamole and salsa, stirred into a bowl of pho or ramen just before serving, or finishing a curry, dal or Thai salad. They also lift simpler food beautifully — on scrambled eggs, avocado toast, grilled fish or a squeeze-of-lime rice bowl. Because the flavour is a touch gentler than mature coriander, you can use them generously.
Coriander is a crop that teaches patience, but the flavour is worth the wait — and once you have grown one tray, the rhythm becomes second nature. Related: basil microgreens (another slower herb worth mastering), radish microgreens (a fast, forgiving crop for quick wins), and our full library of crop guides.
Studies from our Science Library that concern coriander microgreens, in plain language with links to the original research. This list updates automatically as new studies are added.
No studies specific to this crop yet — browse the full Science Library.
Recipes and kitchen ideas from our cookbook team that use coriander microgreens.
No recipes for this crop yet — the cookbook has plenty to start with.
Growing a different crop next? Every variety has a guide like this one in the Varieties database.
This article is part of the free knowledge portal of EVEC Microgreens. Wherever you are on your microgreens journey, there is a path for you:
Co-funded by the European Union.
This portal presents the microgreens methodology; the organisation behind it is EVEC Athens — the European Voluntary and Educational Center (evec.org.gr). Views and opinions expressed are those of the author(s) only and do not necessarily reflect those of the European Union or the European Commission. Neither the European Union nor the granting authority can be held responsible for them.