Get in touch
Questions about growing, workshops, the cooperative or partnerships? Send us a message and we will reply by email.
Prefer email? Write to erasmus@evec.org.gr
EVEC Microgreens
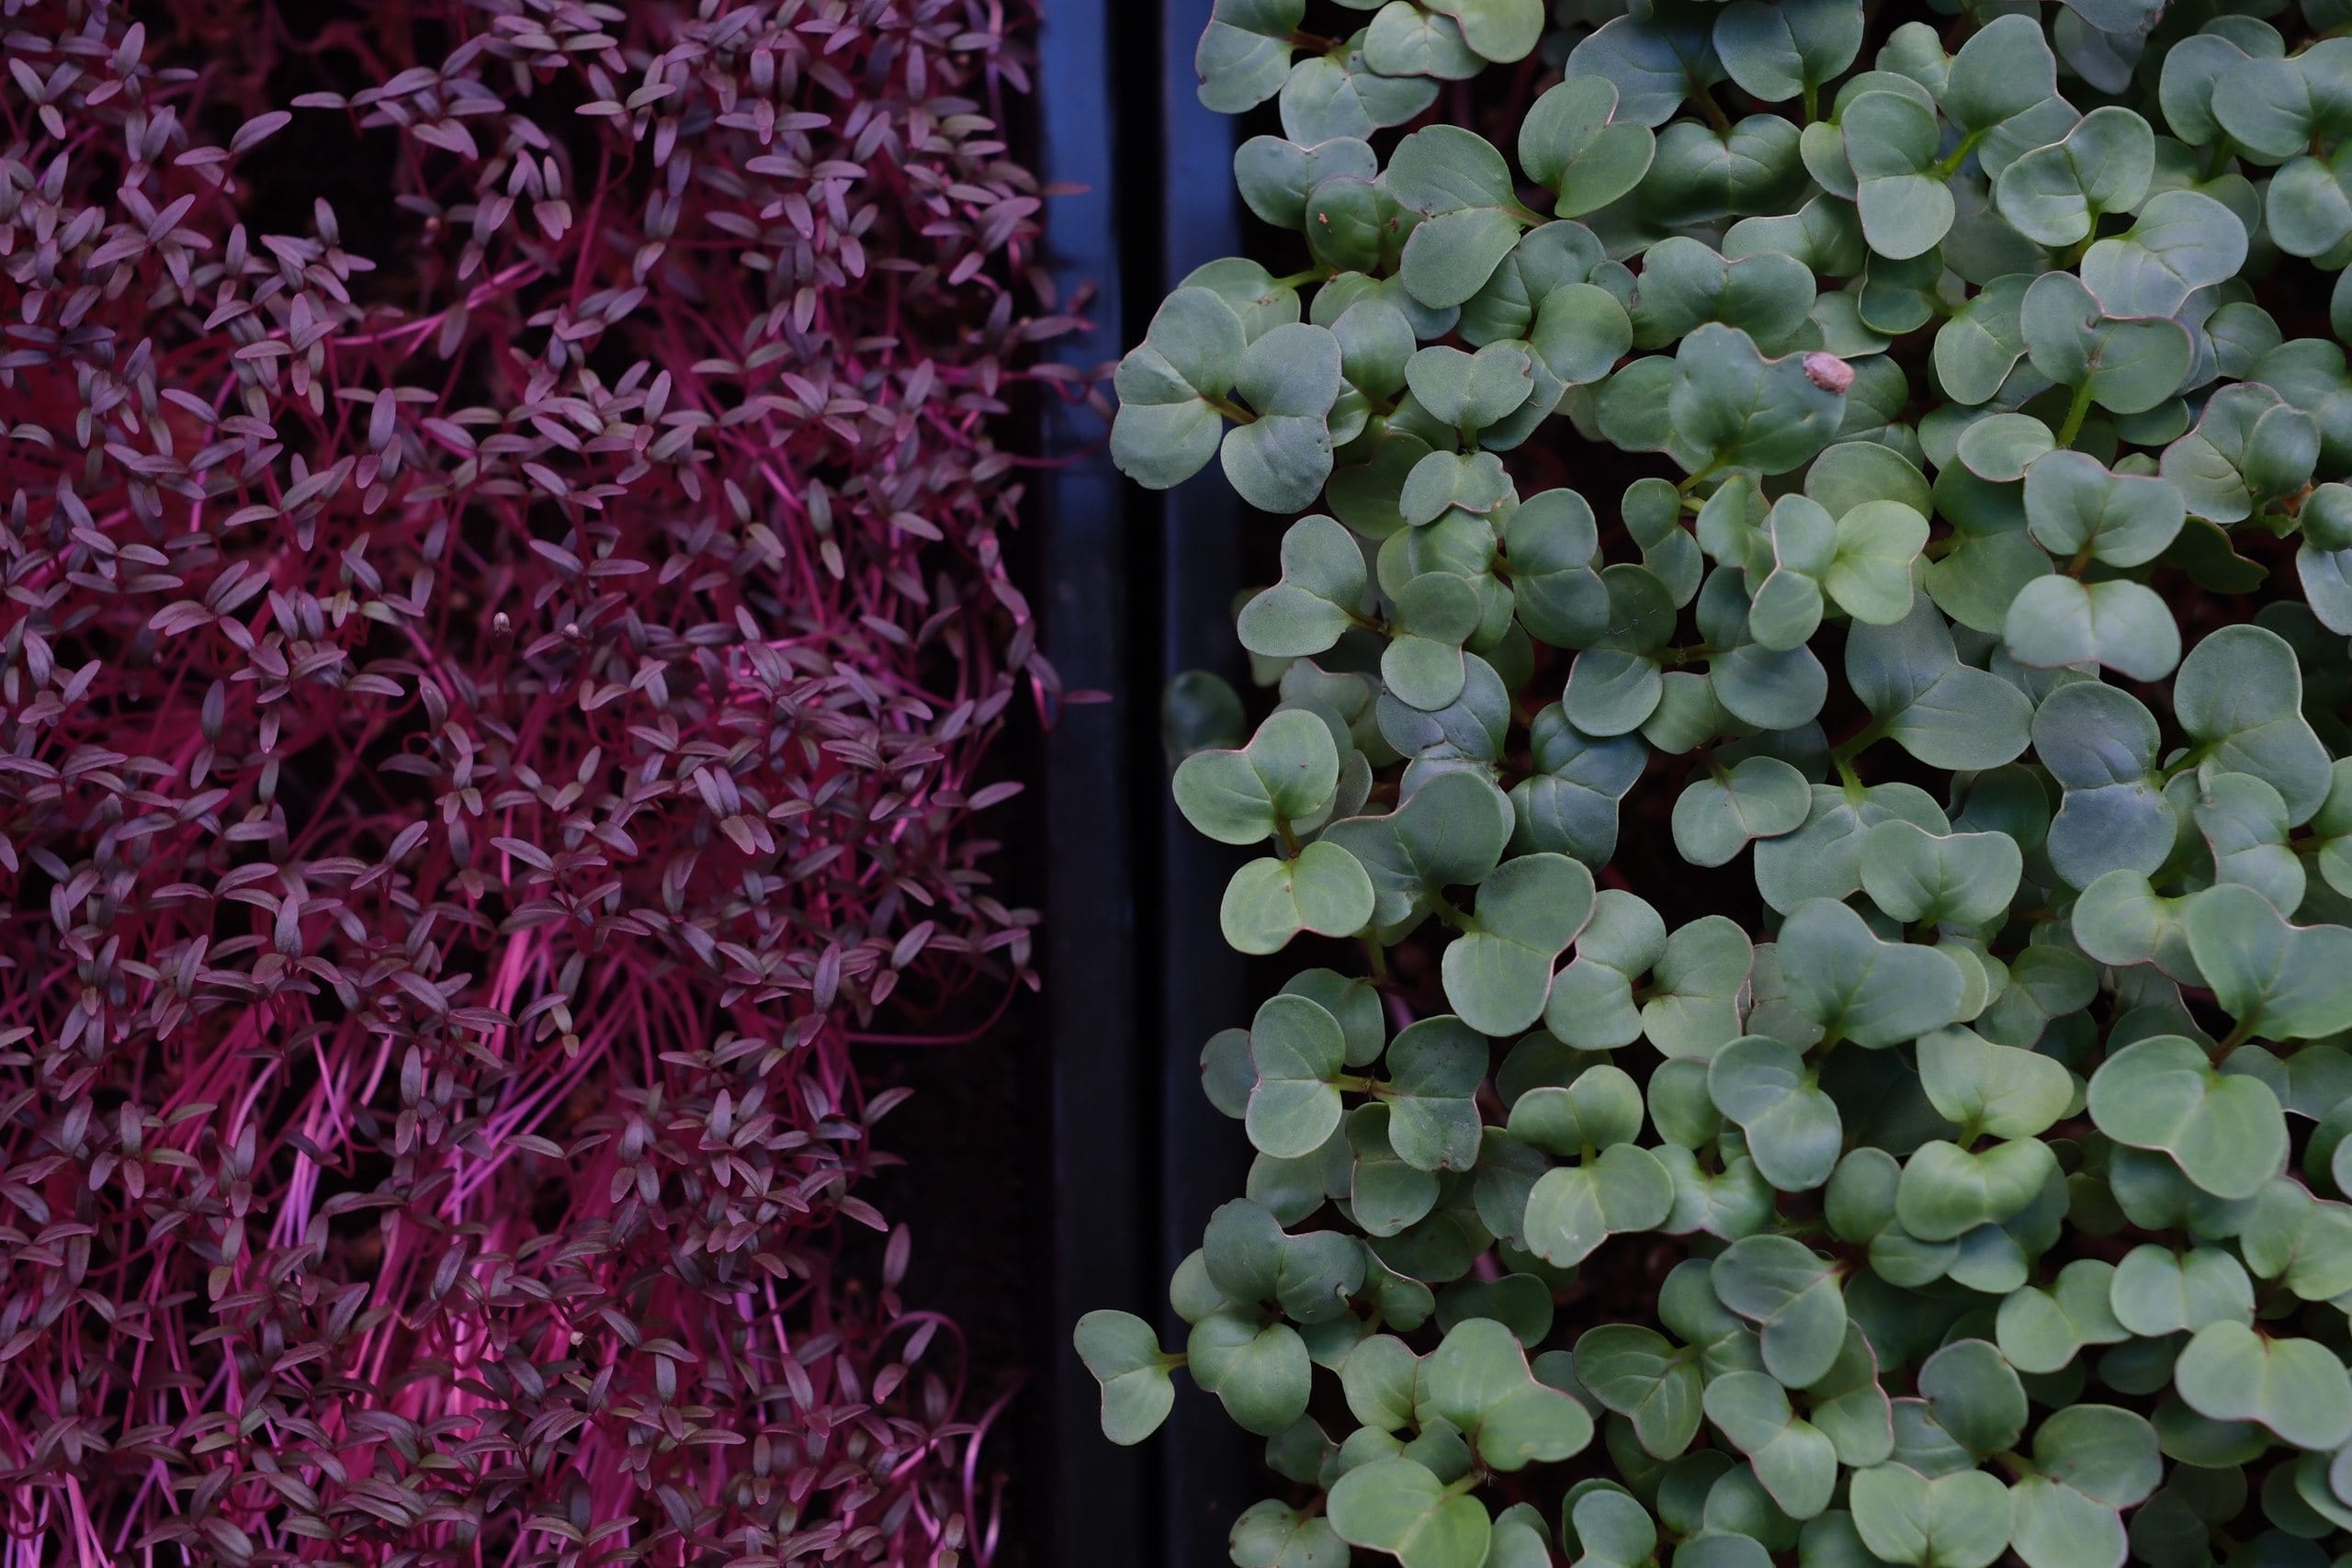
Garden cress microgreens are among the fastest, easiest crops for beginners: no soaking, a sharp peppery bite, and a harvest in roughly eight to twelve days.
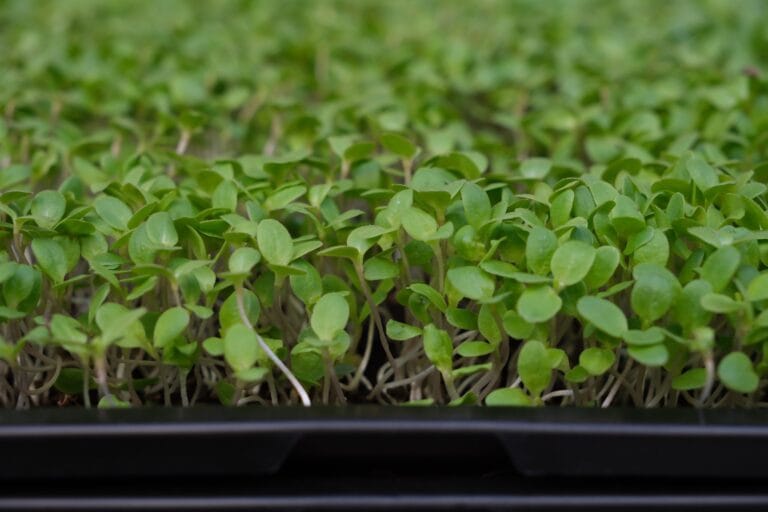
Garden cress microgreens (Lepidium sativum) are the crop we hand to almost every beginner who walks through our door. They are fast, forgiving and genuinely useful in the kitchen, going from dry seed to a peppery, salad-ready tray in a little over a week. If you grew cress on a wet paper towel or an eggshell as a child, this is the same plant, grown a touch more deliberately for a fuller, tastier harvest.
Cress belongs to the brassica (mustard) family, so it shares the warm, mustardy heat of its relatives while being quicker and less fussy than most. It is also a mucilaginous seed, meaning the seed coat turns to a clear gel when it gets wet. That single quirk shapes almost everything about how you grow it, and once you understand it, cress becomes very hard to get wrong.
Speed is the headline. Few crops reward you as quickly, which makes cress ideal for children, classrooms and anyone who wants an early win before tackling slower greens. There is no soaking step, no seed weight to fuss over, and germination is reliable.
The flavour earns its place too. Cress delivers a clean, sharp, peppery bite with a faint mustard warmth that mellows a little as the leaves grow. If you enjoy that heat, it sits naturally alongside our mustard microgreens and radish microgreens, which share the same family and pace. Cress is the mildest of the three to grow, but arguably the brightest on the plate.
| Seed soaking | No — the seed is mucilaginous and needs no pre-soak |
| Germination | 2–4 days |
| Blackout (dark) period | 3–5 days, kept brief |
| Ready to harvest | 8–12 days |
| Difficulty | Easy — a true beginner crop |
| Flavour | Sharp, peppery, mildly mustardy |
Cress is usually ready between days eight and twelve, once the seed leaves have opened fully and the stems stand a few centimetres tall. Harvest with clean, sharp scissors, cutting straight across a little above the medium — cutting too low picks up grit and the tougher, more bitter base of the stem. A steadier hand at this stage is worth it, and our general harvesting guide is a useful companion.
Cress is delicate and does not store as long as sturdier greens. Harvested dry and kept in a breathable container in the fridge, it will hold for a few days, roughly three to five at best. Avoid washing it until you are ready to eat, as surface moisture shortens its life considerably. For that reason, cress is at its finest cut fresh and eaten the same day.
That peppery heat makes cress a natural finishing green rather than a cooking ingredient. The classic pairing is egg — cress on a boiled egg, folded through egg mayonnaise, or scattered over an omelette. It lifts open sandwiches, sits beautifully on smoked salmon, and sharpens a soft cheese or avocado toast.
Treat it as you would a fresh herb: add it at the very end so the heat stays lively and the leaves do not wilt. A pinch over soups, potatoes or a grain bowl adds instant colour and bite. You will find more ideas in our free cookbook.
Garden cress is one of those crops that quietly builds confidence: quick, reliable and genuinely delicious. Grow a tray, learn the light touch it wants with water, and you will have fresh peppery greens on hand within a fortnight.
Related: Mustard microgreens, Radish microgreens and our Grow at Home hub.
Studies from our Science Library that concern cress microgreens, in plain language with links to the original research. This list updates automatically as new studies are added.
No studies specific to this crop yet — browse the full Science Library.
Recipes and kitchen ideas from our cookbook team that use cress microgreens.
No recipes for this crop yet — the cookbook has plenty to start with.
Growing a different crop next? Every variety has a guide like this one in the Varieties database.
This article is part of the free knowledge portal of EVEC Microgreens. Wherever you are on your microgreens journey, there is a path for you:
Co-funded by the European Union.
This portal presents the microgreens methodology; the organisation behind it is EVEC Athens — the European Voluntary and Educational Center (evec.org.gr). Views and opinions expressed are those of the author(s) only and do not necessarily reflect those of the European Union or the European Commission. Neither the European Union nor the granting authority can be held responsible for them.