Get in touch
Questions about growing, workshops, the cooperative or partnerships? Send us a message and we will reply by email.
Prefer email? Write to erasmus@evec.org.gr
EVEC Microgreens
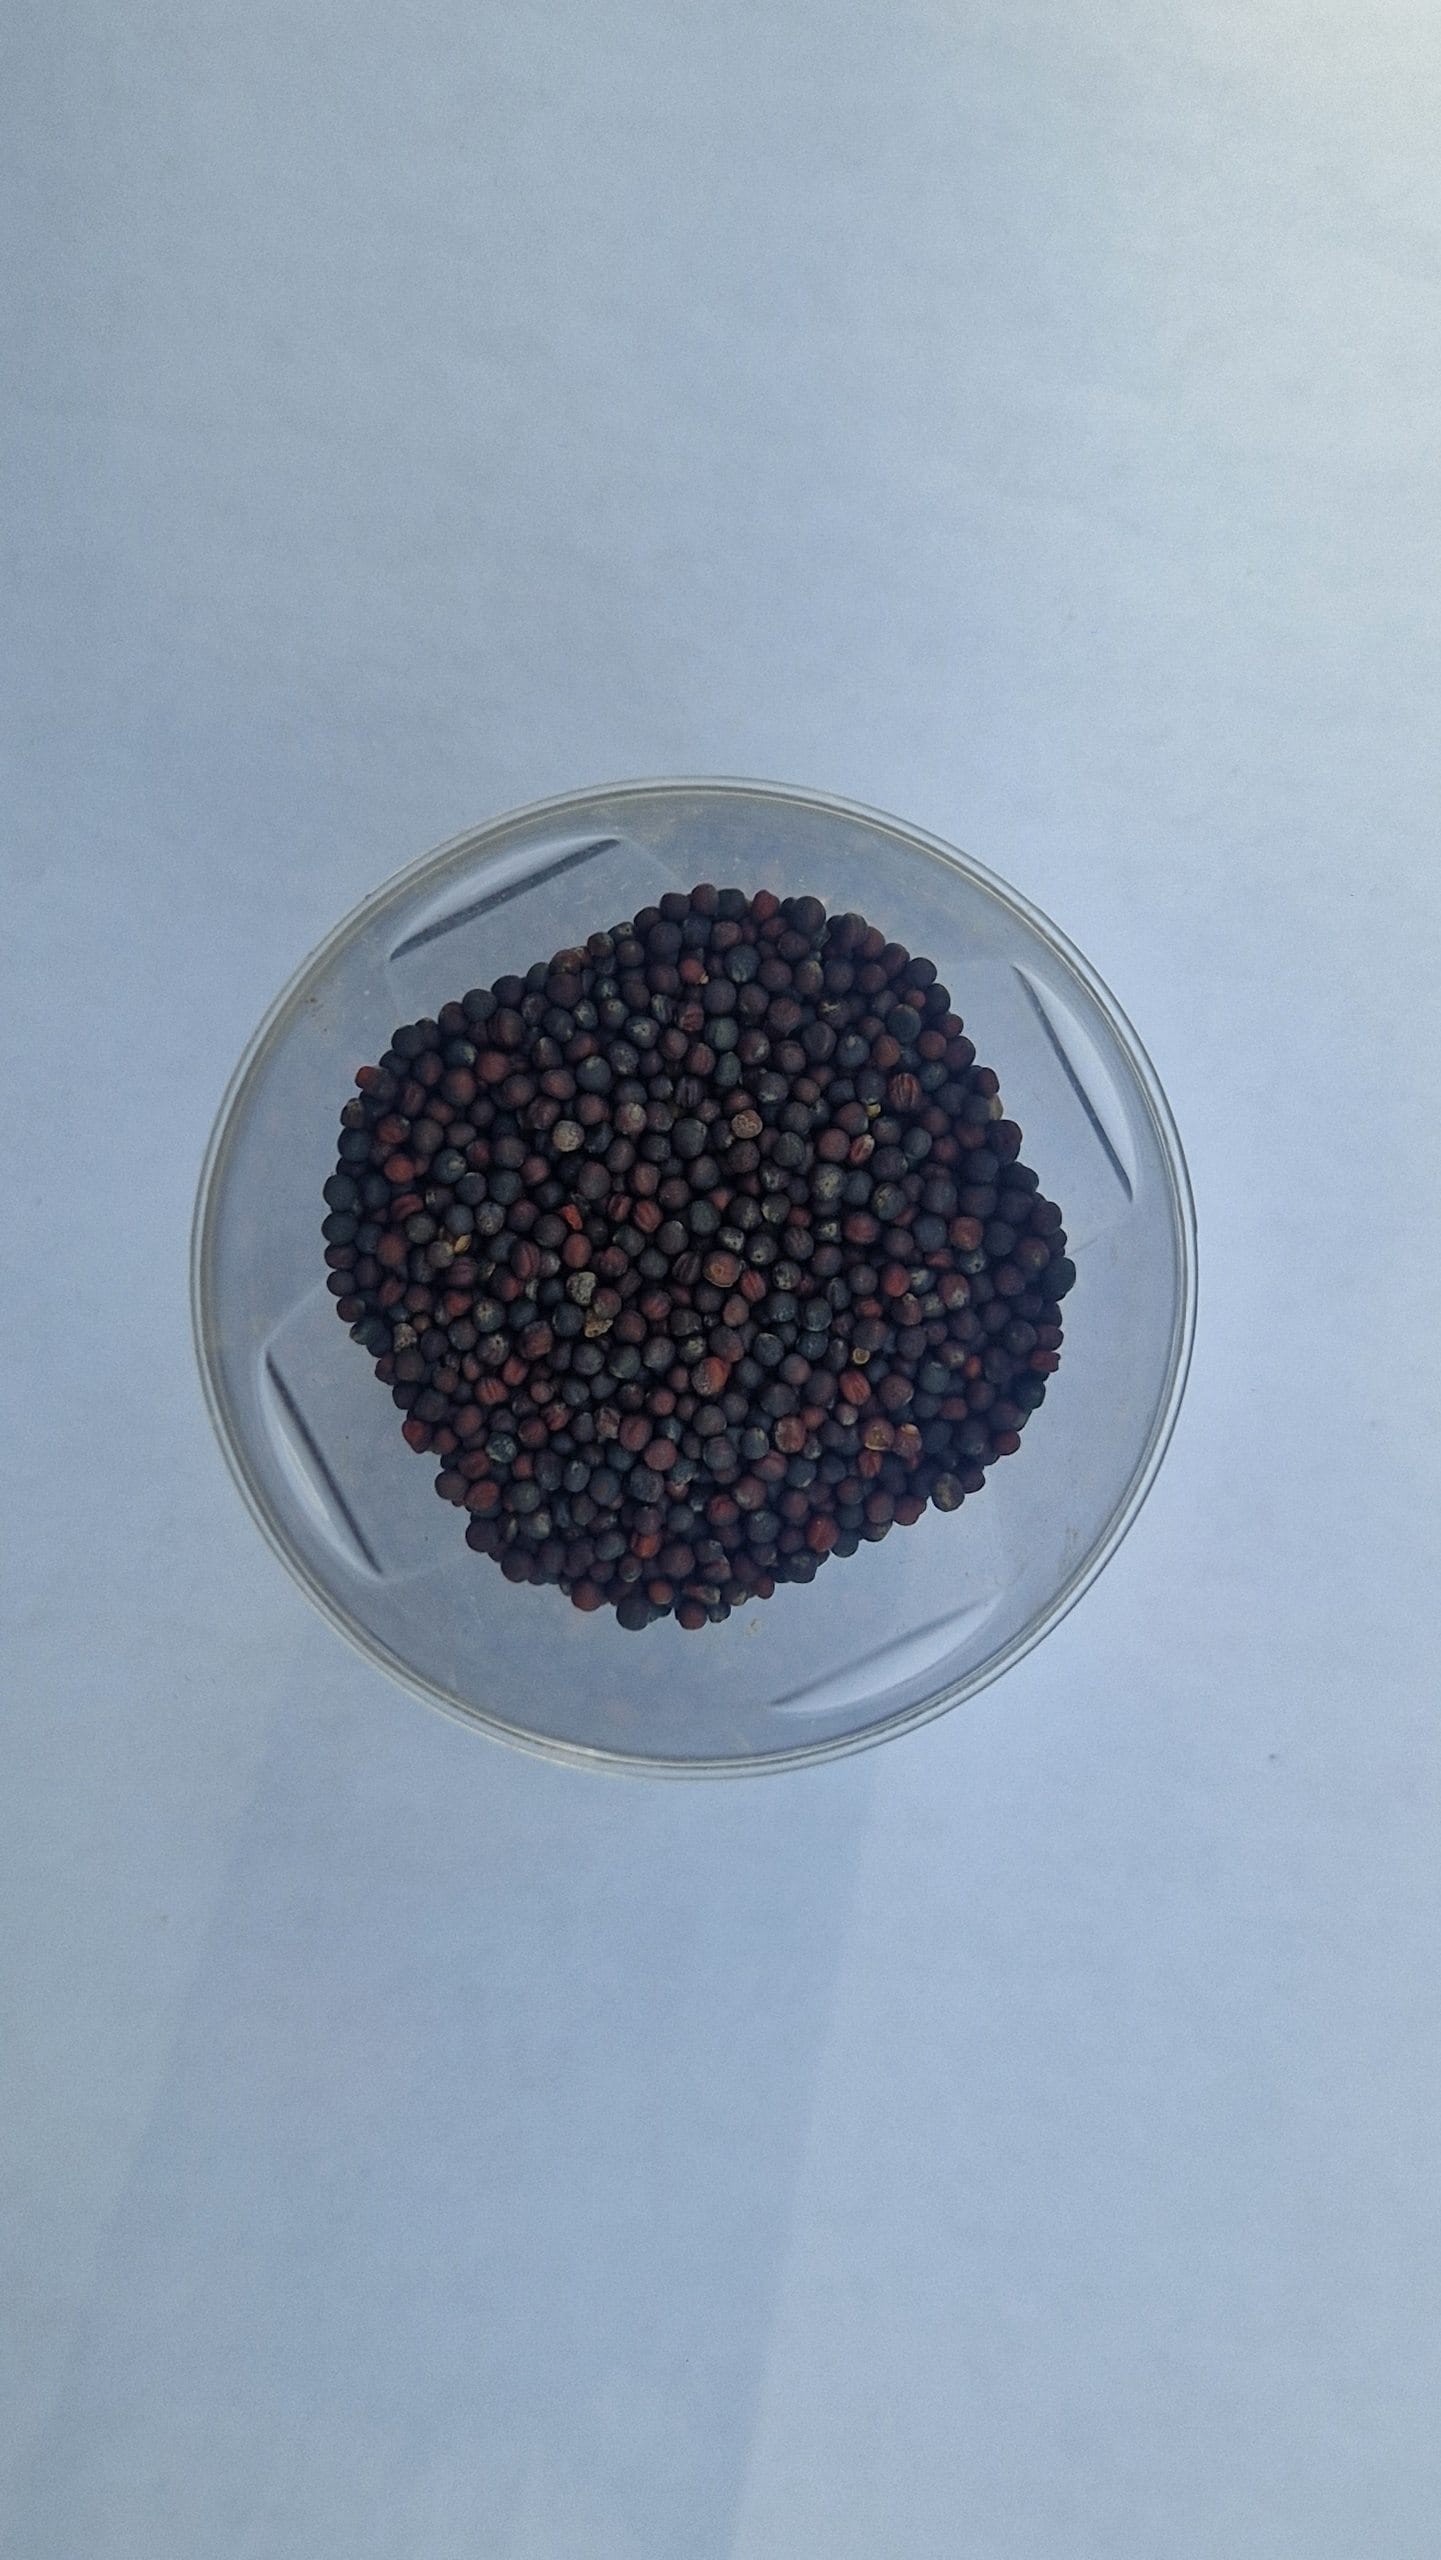
How to grow mustard microgreens step by step — sowing, light, watering and harvest. A fast crop with a warm, peppery kick for salads and sandwiches.
Hi everyone! We’re continuing the section we started the other day, where we explain how to grow different types of microgreens. In each article, we go over their characteristics, step by step instructions, and some practical tips based on our own experience.
As we mentioned in the previous article, we’ve had great results in the office growing broccoli, lettuce, mustard, and red amaranth. Now we’re expanding our little indoor garden with green peas, wheatgrass, and sunflowers.
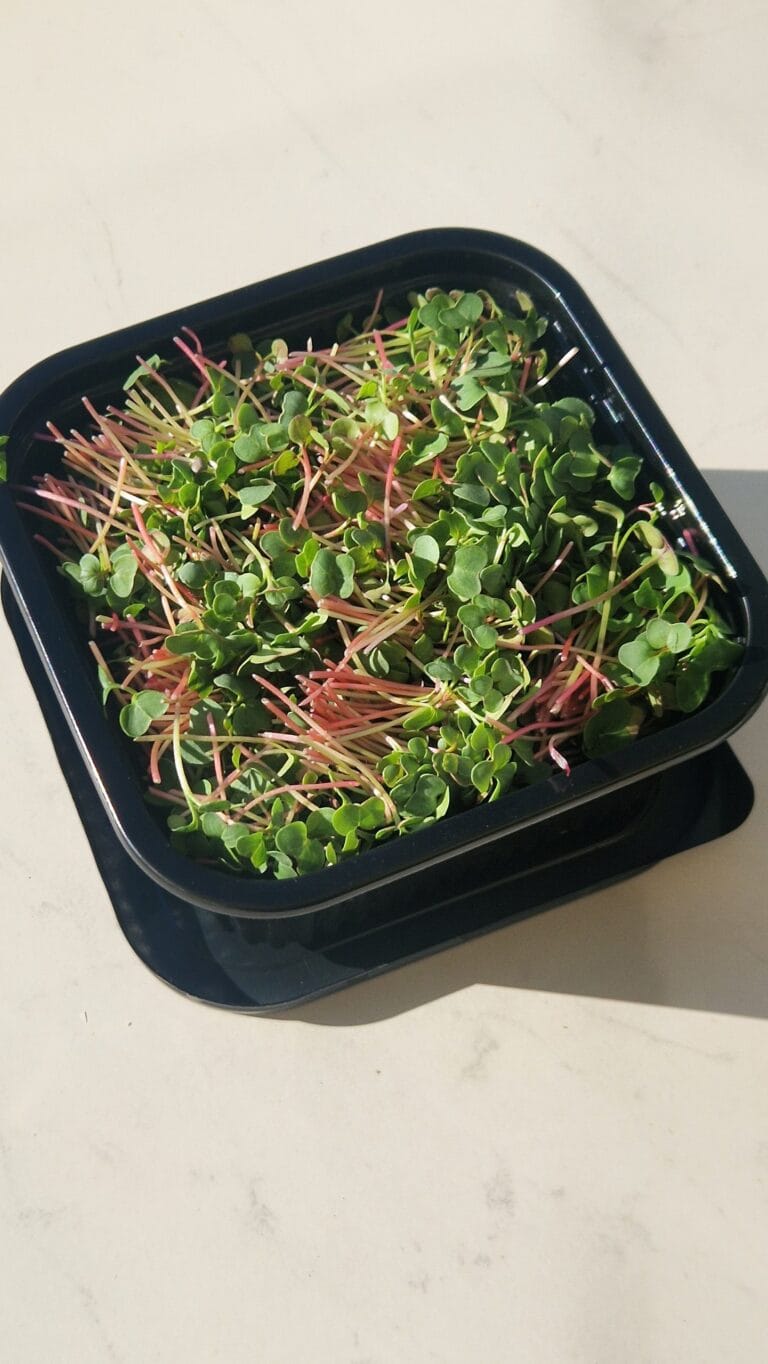
Today, it’s time to talk about mustard microgreens. Mustard microgreens are perfect for adding a spicy kick to salads, sandwiches, or soups.
1. Prepare the tray
Clean it thoroughly before using, water and soap if needed.
2. Add the substrate
Fill the tray with soil and moisten it evenly.
3. Sow the seeds
Spread the mustard seeds evenly across the surface. No need to cover them, just press them gently to ensure good contact with the soil.
4. Mist with water
Use a spray bottle to moisten without moving the seeds. The key is to keep the surface damp, not soaked.
5. Blackout period
Cover the tray for the first 1–2 days to promote germination. You can use another tray or a piece of cardboard.
6. Light and ventilation
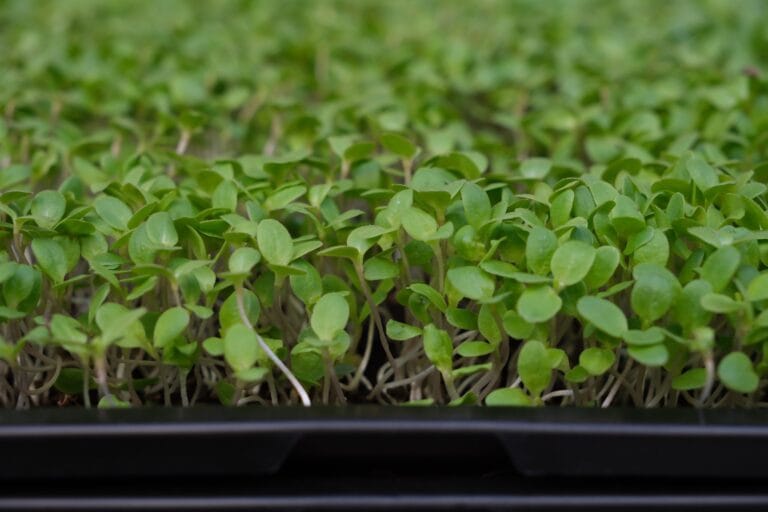
Once you see the first sprouts (usually by day 3), uncover the tray and place it in a well lit spot or under grow lights.
7. Keep it moist
Water gently once or twice a day, depending on how dry the substrate gets.
8. Harvest time!
After 6 to 10 days, your mustard microgreens will be ready. Use clean scissors to cut just above the soil line. The leaves should be vibrant and spicy in flavor.
And that’s it!
Mustard microgreens are quick, easy to grow, and full of flavor. Plus, they’re packed with nutrients like vitamins A, C, and K, and powerful antioxidants.
In our next post, we’ll share our experience growing red amaranth microgreens, which are not only nutritious but also incredibly decorative.
Thanks for joining us on this green adventure!
Carlota
Studies from our Science Library that concern mustard microgreens, in plain language with links to the original research. This list updates automatically as new studies are added.
No studies specific to this crop yet — browse the full Science Library.
Recipes and kitchen ideas from our cookbook team that use mustard microgreens.
No recipes for this crop yet — the cookbook has plenty to start with.
Growing a different crop next? Every variety has a guide like this one in the Varieties database.
This article is part of the free knowledge portal of EVEC Microgreens. Wherever you are on your microgreens journey, there is a path for you:
Co-funded by the European Union.
This portal presents the microgreens methodology; the organisation behind it is EVEC Athens — the European Voluntary and Educational Center (evec.org.gr). Views and opinions expressed are those of the author(s) only and do not necessarily reflect those of the European Union or the European Commission. Neither the European Union nor the granting authority can be held responsible for them.