Get in touch
Questions about growing, workshops, the cooperative or partnerships? Send us a message and we will reply by email.
Prefer email? Write to erasmus@evec.org.gr

EVEC Microgreens
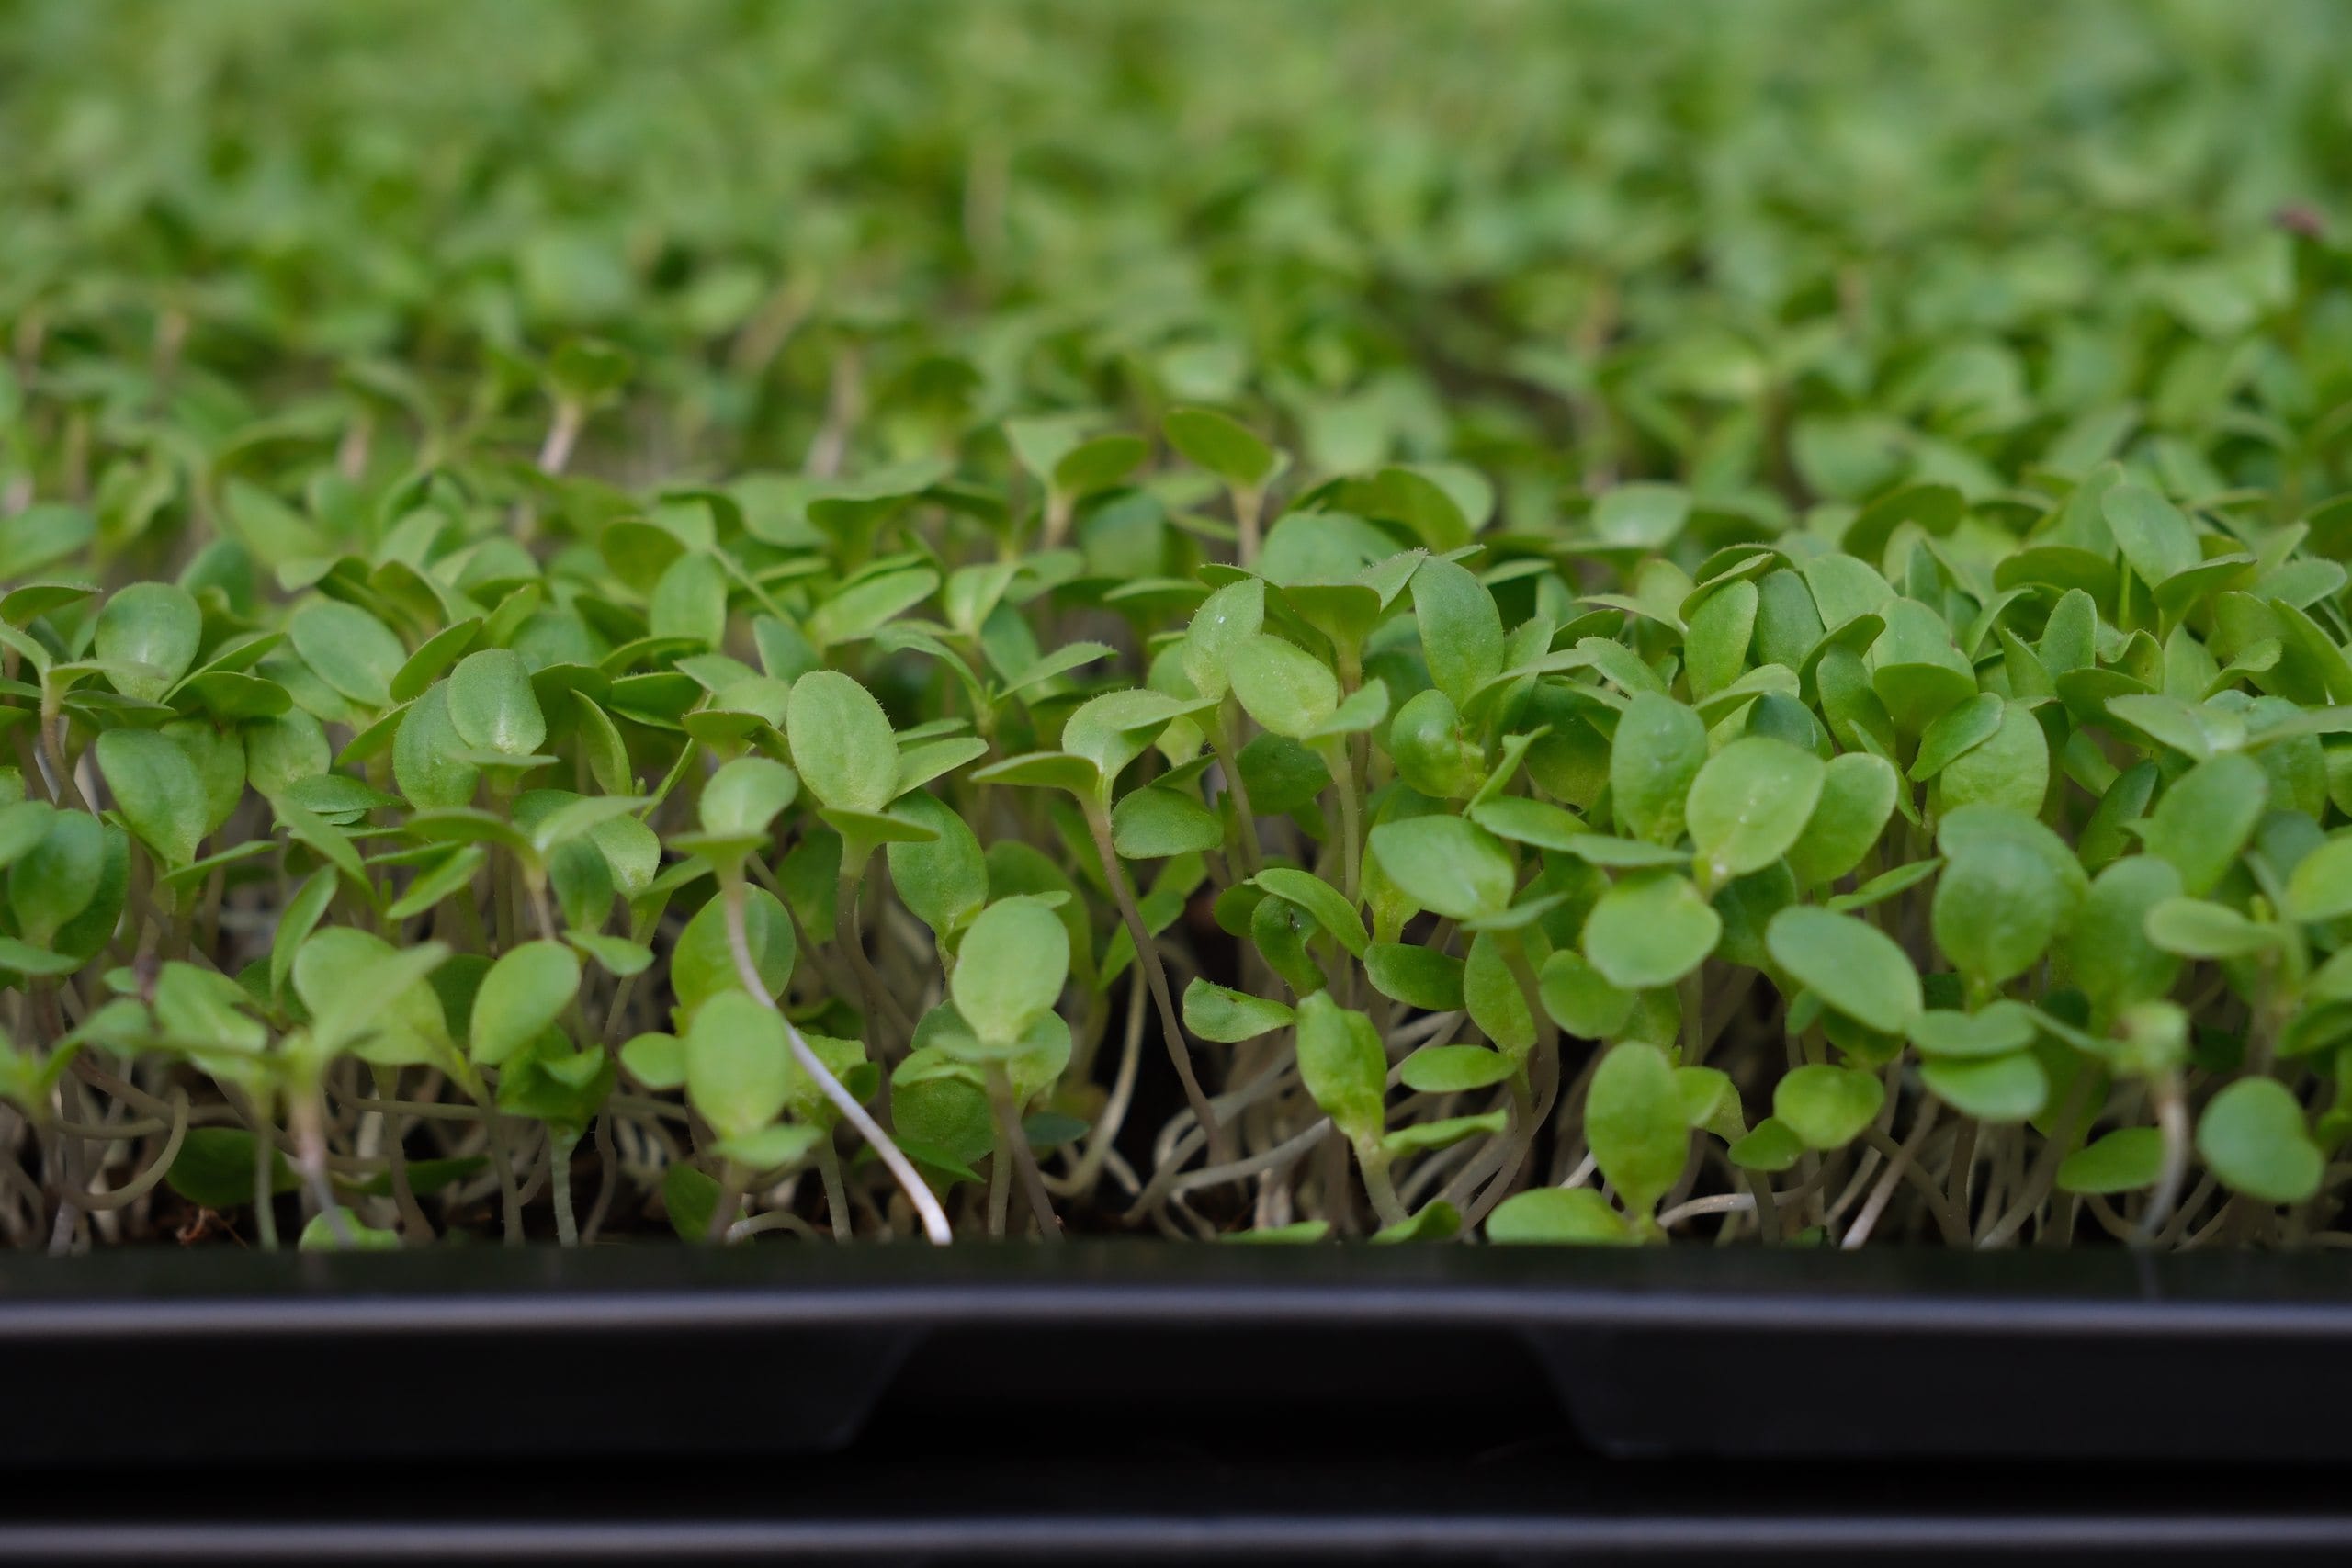
Arugula (rocket) microgreens are a fast, peppery brassica that needs no soaking and is ready to cut in about 8-12 days. Here is how to grow and use them.
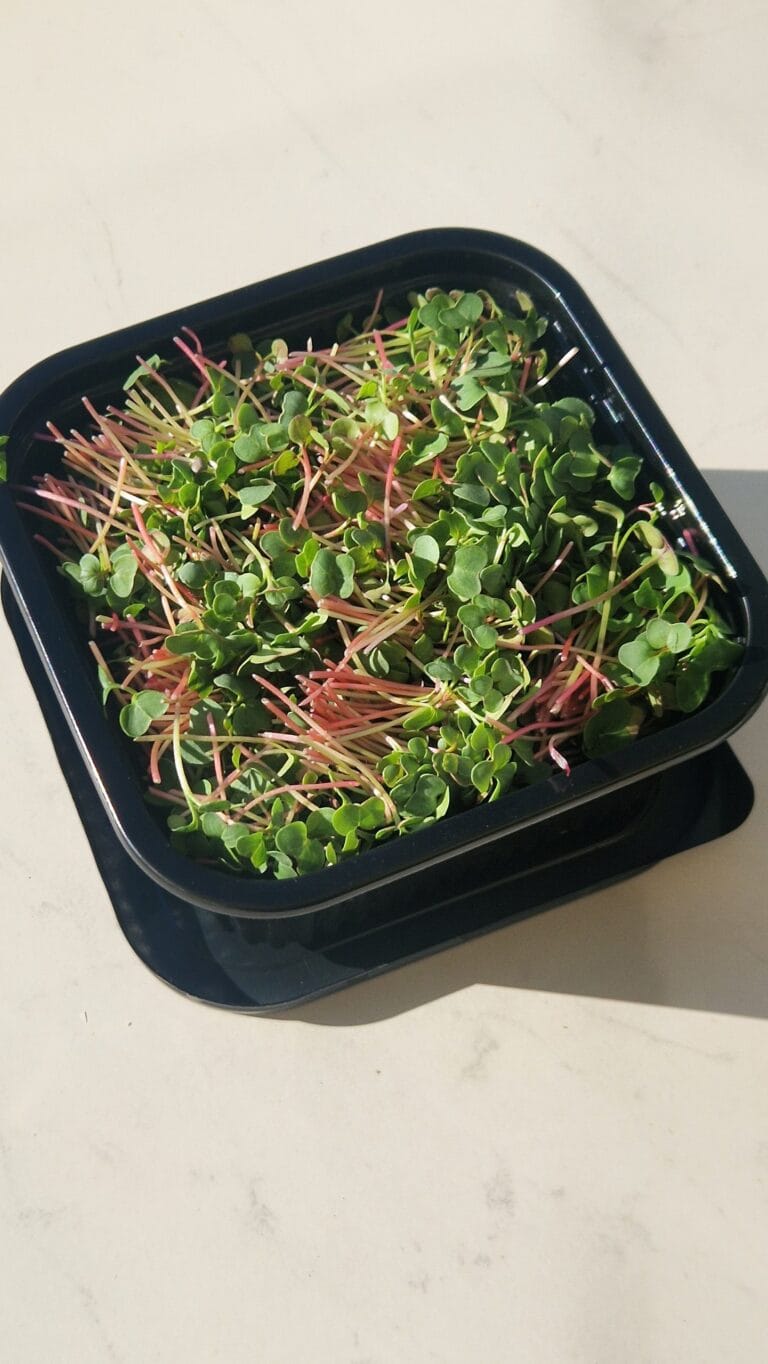
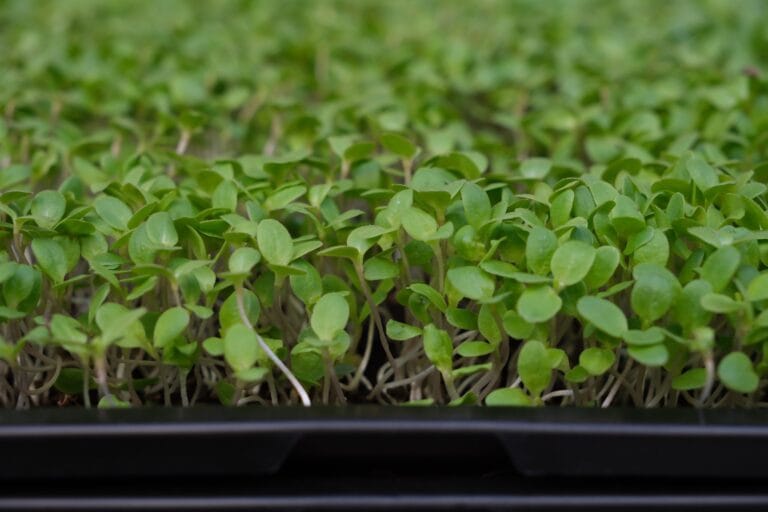
Arugula (rocket) microgreens are one of the quickest, most rewarding peppery greens you can raise on a windowsill, packing all the mustardy bite of mature rocket into a seedling barely a couple of centimetres tall. They belong to the brassica family (Eruca vesicaria sativa), germinate without any soaking, and are usually ready to cut in a little over a week. That mix of speed, strong flavour and low fuss is exactly why chefs keep them on the pass and why they make such a forgiving crop for a first-time grower.
The headline reason is flavour. A pinch of rocket microgreens delivers a concentrated peppery, nutty hit that lifts a finished plate far more than their size suggests, which is why they are a staple garnish in restaurant kitchens. They are also fast and cheap: no soaking, no special equipment, and a harvest in roughly a week and a half from a handful of seed.
They are a genuinely easy starter crop, alongside other brassicas such as broccoli microgreens, and they slot neatly into a rotation of quick, reliable greens in our grow-at-home guides. The one honest caveat is the flavour itself: rocket is assertive, and grown warm or a little too long it can turn quite hot and bitter, so it is not to everyone’s taste.
| Seed soaking | None — sow dry (the seed is mucilaginous and turns gel-like if soaked) |
| Germination | 2–3 days |
| Blackout (dark) period | 3–5 days, depending on conditions |
| Ready to harvest | 8–12 days (up to 14 if you grow on to the first true leaves) |
| Difficulty | Easy — a good beginner crop |
| Flavour | Peppery and nutty, like a concentrated hit of mature rocket |
Harvest by gathering a handful of greens and cutting cleanly just above the soil line with sharp scissors. Cut when the cotyledons are fully open and the greens stand about 4–5 cm tall; leaving them a day or two longer for the first true leaves gives a stronger, more mustardy flavour. Try to harvest dry, as surface moisture is what shortens shelf life.
Store the cut greens unwashed in a sealed container in the fridge, with a sheet of kitchen paper to catch condensation, and use them within about five to seven days. Wash only just before eating — washing before storage can roughly halve how long they keep.
Treat rocket microgreens as a finishing green rather than a cooking one: their bite fades and the leaves wilt with heat, so add them raw at the last moment. Scatter them over a pizza as it comes out of the oven, fold them through pasta, or pile them onto steak, grilled vegetables or a fried egg.
They shine in salads, sandwiches and grain bowls, and their pepperiness pairs beautifully with Parmesan, lemon, good olive oil, cured meats and soft goat’s cheese.
Once you have a peppery brassica in your rotation, it is worth building out a range of flavours and textures to cut alongside it. Related: radish microgreens, mustard microgreens and nasturtium.
Studies from our Science Library that concern arugula microgreens, in plain language with links to the original research. This list updates automatically as new studies are added.
No studies specific to this crop yet — browse the full Science Library.
Recipes and kitchen ideas from our cookbook team that use arugula microgreens.
No recipes for this crop yet — the cookbook has plenty to start with.
Growing a different crop next? Every variety has a guide like this one in the Varieties database.
This article is part of the free knowledge portal of EVEC Microgreens. Wherever you are on your microgreens journey, there is a path for you:
Co-funded by the European Union.
This portal presents the microgreens methodology; the organisation behind it is EVEC Athens — the European Voluntary and Educational Center (evec.org.gr). Views and opinions expressed are those of the author(s) only and do not necessarily reflect those of the European Union or the European Commission. Neither the European Union nor the granting authority can be held responsible for them.