Get in touch
Questions about growing, workshops, the cooperative or partnerships? Send us a message and we will reply by email.
Prefer email? Write to erasmus@evec.org.gr

EVEC Microgreens
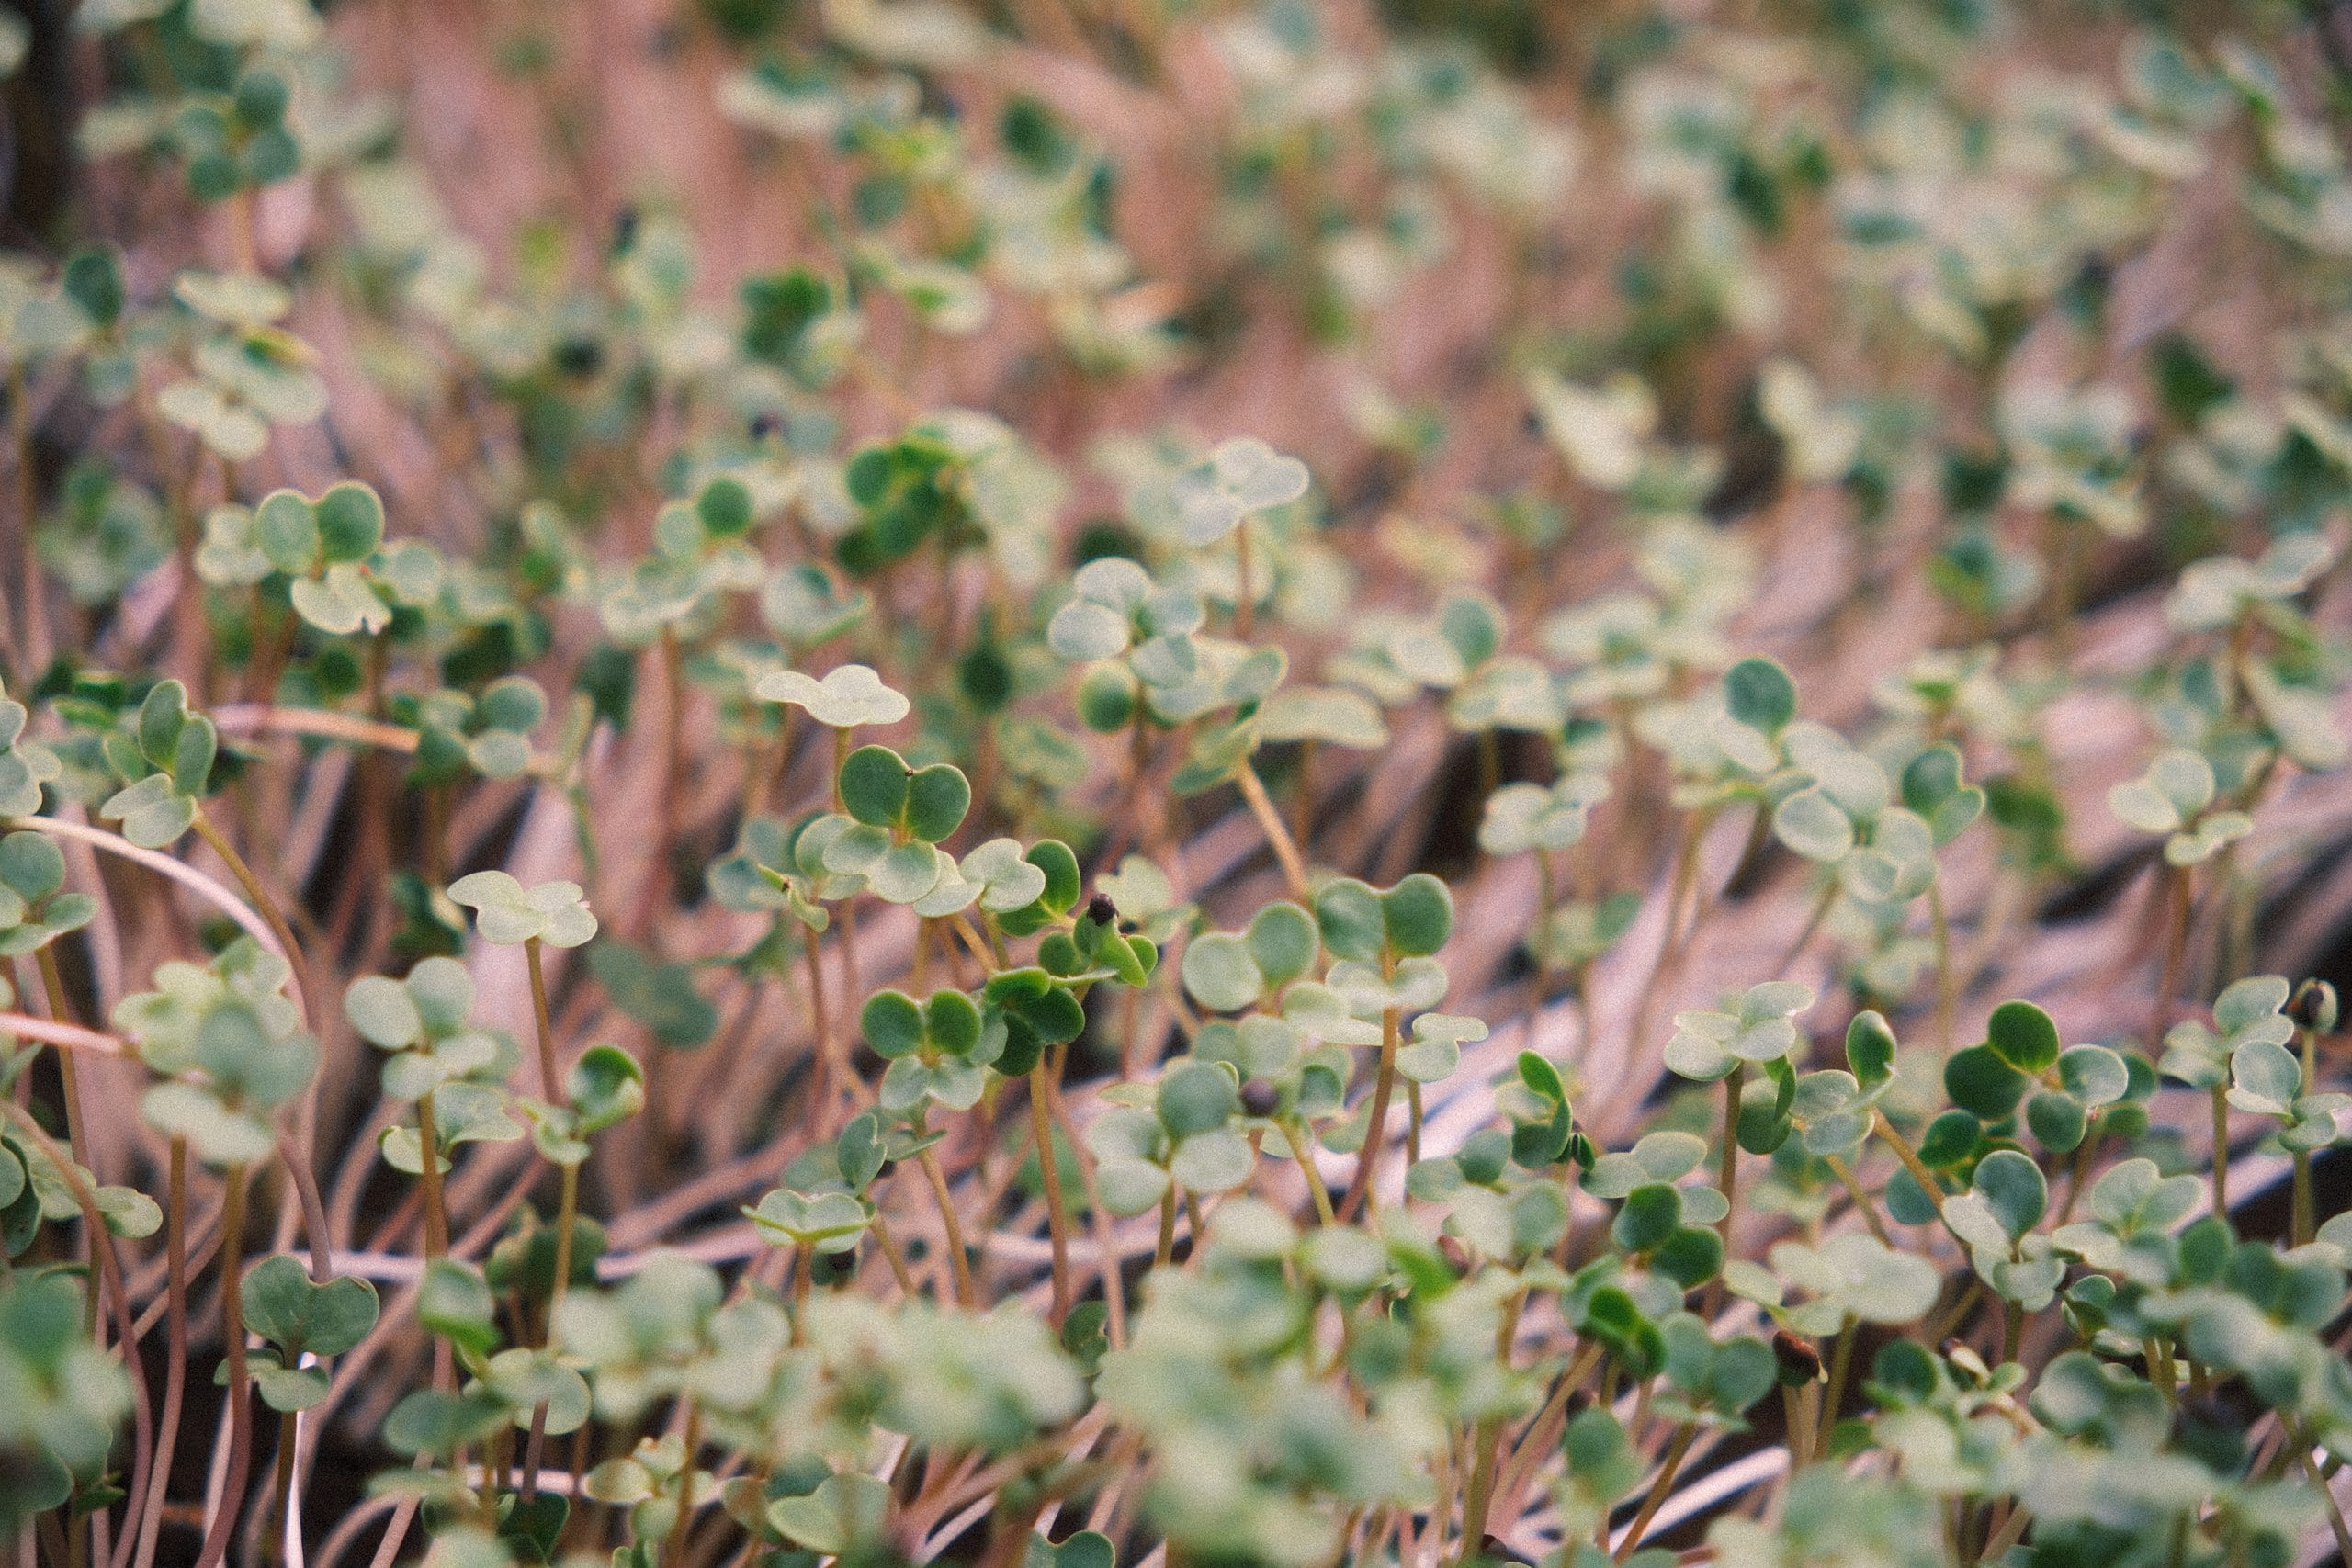
Kale microgreens are a fast, mild brassica that needs no soaking and is ready in 8-12 days. A beginner-friendly guide to growing, harvesting and using them.
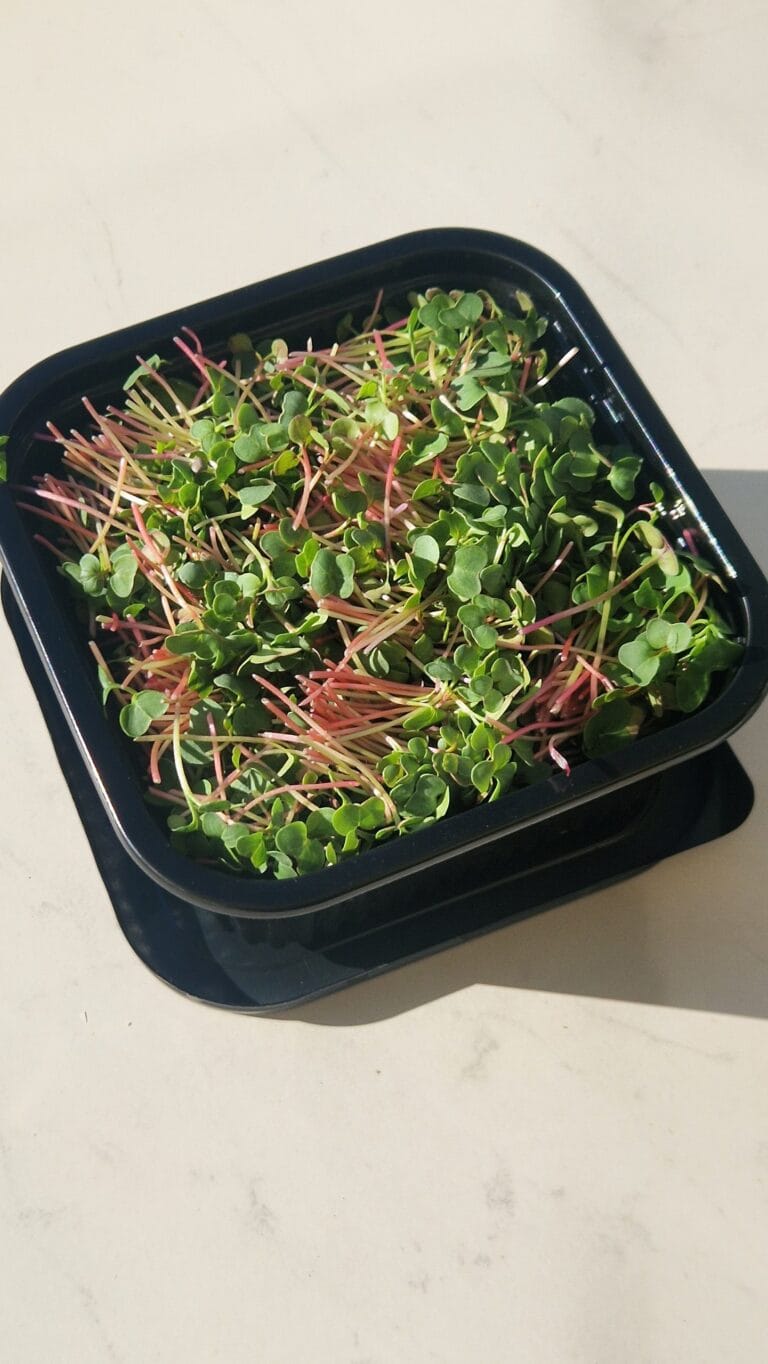
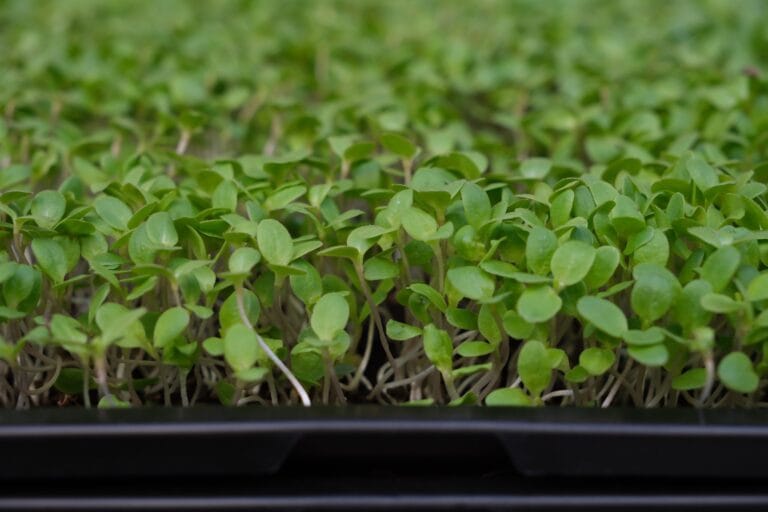
Kale microgreens are one of the gentlest ways into growing at home: a fast, forgiving brassica that gives you the familiar cabbage-family character of full-grown kale without the bitterness or the long wait. Sown on a shallow tray of compost or coir, the seed germinates in a couple of days and is ready to cut inside a fortnight. If you have ever grown mature kale and found it a slow, hungry plant, the microgreen version will feel almost too easy — no staking, no caterpillars, no months of waiting, just tender green shoots on the windowsill.
Kale sits in the brassica family alongside broccoli, radish and mustard, and it shares their best qualities: quick, reliable and genuinely useful in the kitchen. A few honest reasons to start with it:
| Seed soaking | Not needed — sow the seed dry |
| Germination | 2–4 days |
| Blackout (dark) period | 3–4 days |
| Ready to harvest | 8–12 days from sowing |
| Difficulty | Easy — a good first crop |
| Flavour | Mild, tender and faintly sweet, with a gentle cabbage note |
Cut with clean scissors or a sharp knife just above the soil line when the seedlings are five to eight centimetres tall, usually eight to twelve days after sowing. Morning is the best time, while the greens are firm. Only wash them if you really need to, and dry them well afterwards — surface moisture is the enemy of shelf life. Stored dry in a sealed container in the fridge, kale microgreens keep for roughly five to ten days. Unlike some herbs, they do not regrow after cutting, so take the whole tray in one go and sow a fresh one to keep your rotation running.
This is where kale earns its place. The mild, faintly sweet leaves are gentle enough to eat raw by the handful, so scatter them over soups, dhal and roasted vegetables just before serving, fold them through omelettes and grain bowls, or pile them onto sandwiches and toast in place of lettuce. Because the flavour is soft, they carry strong partners well — lemon, good olive oil, feta, toasted seeds and a little chilli all suit them. Add them at the end rather than cooking them, since heat quickly wilts the leaves and dulls their colour. For more ideas, our free microgreens cookbook has plenty of ways to work through a tray.
Kale is one of the best crops to build confidence on, and once you have a tray or two behind you the whole brassica family opens up. Keep a simple rotation going, note down what your kitchen actually gets through, and you will rarely be short of fresh greens. Related: mustard microgreens, the Grow at Home hub, and our full library of crop guides.
Studies from our Science Library that concern kale microgreens, in plain language with links to the original research. This list updates automatically as new studies are added.
No studies specific to this crop yet — browse the full Science Library.
Recipes and kitchen ideas from our cookbook team that use kale microgreens.
Growing a different crop next? Every variety has a guide like this one in the Varieties database.
This article is part of the free knowledge portal of EVEC Microgreens. Wherever you are on your microgreens journey, there is a path for you:
Co-funded by the European Union.
This portal presents the microgreens methodology; the organisation behind it is EVEC Athens — the European Voluntary and Educational Center (evec.org.gr). Views and opinions expressed are those of the author(s) only and do not necessarily reflect those of the European Union or the European Commission. Neither the European Union nor the granting authority can be held responsible for them.