Get in touch
Questions about growing, workshops, the cooperative or partnerships? Send us a message and we will reply by email.
Prefer email? Write to erasmus@evec.org.gr

EVEC Microgreens
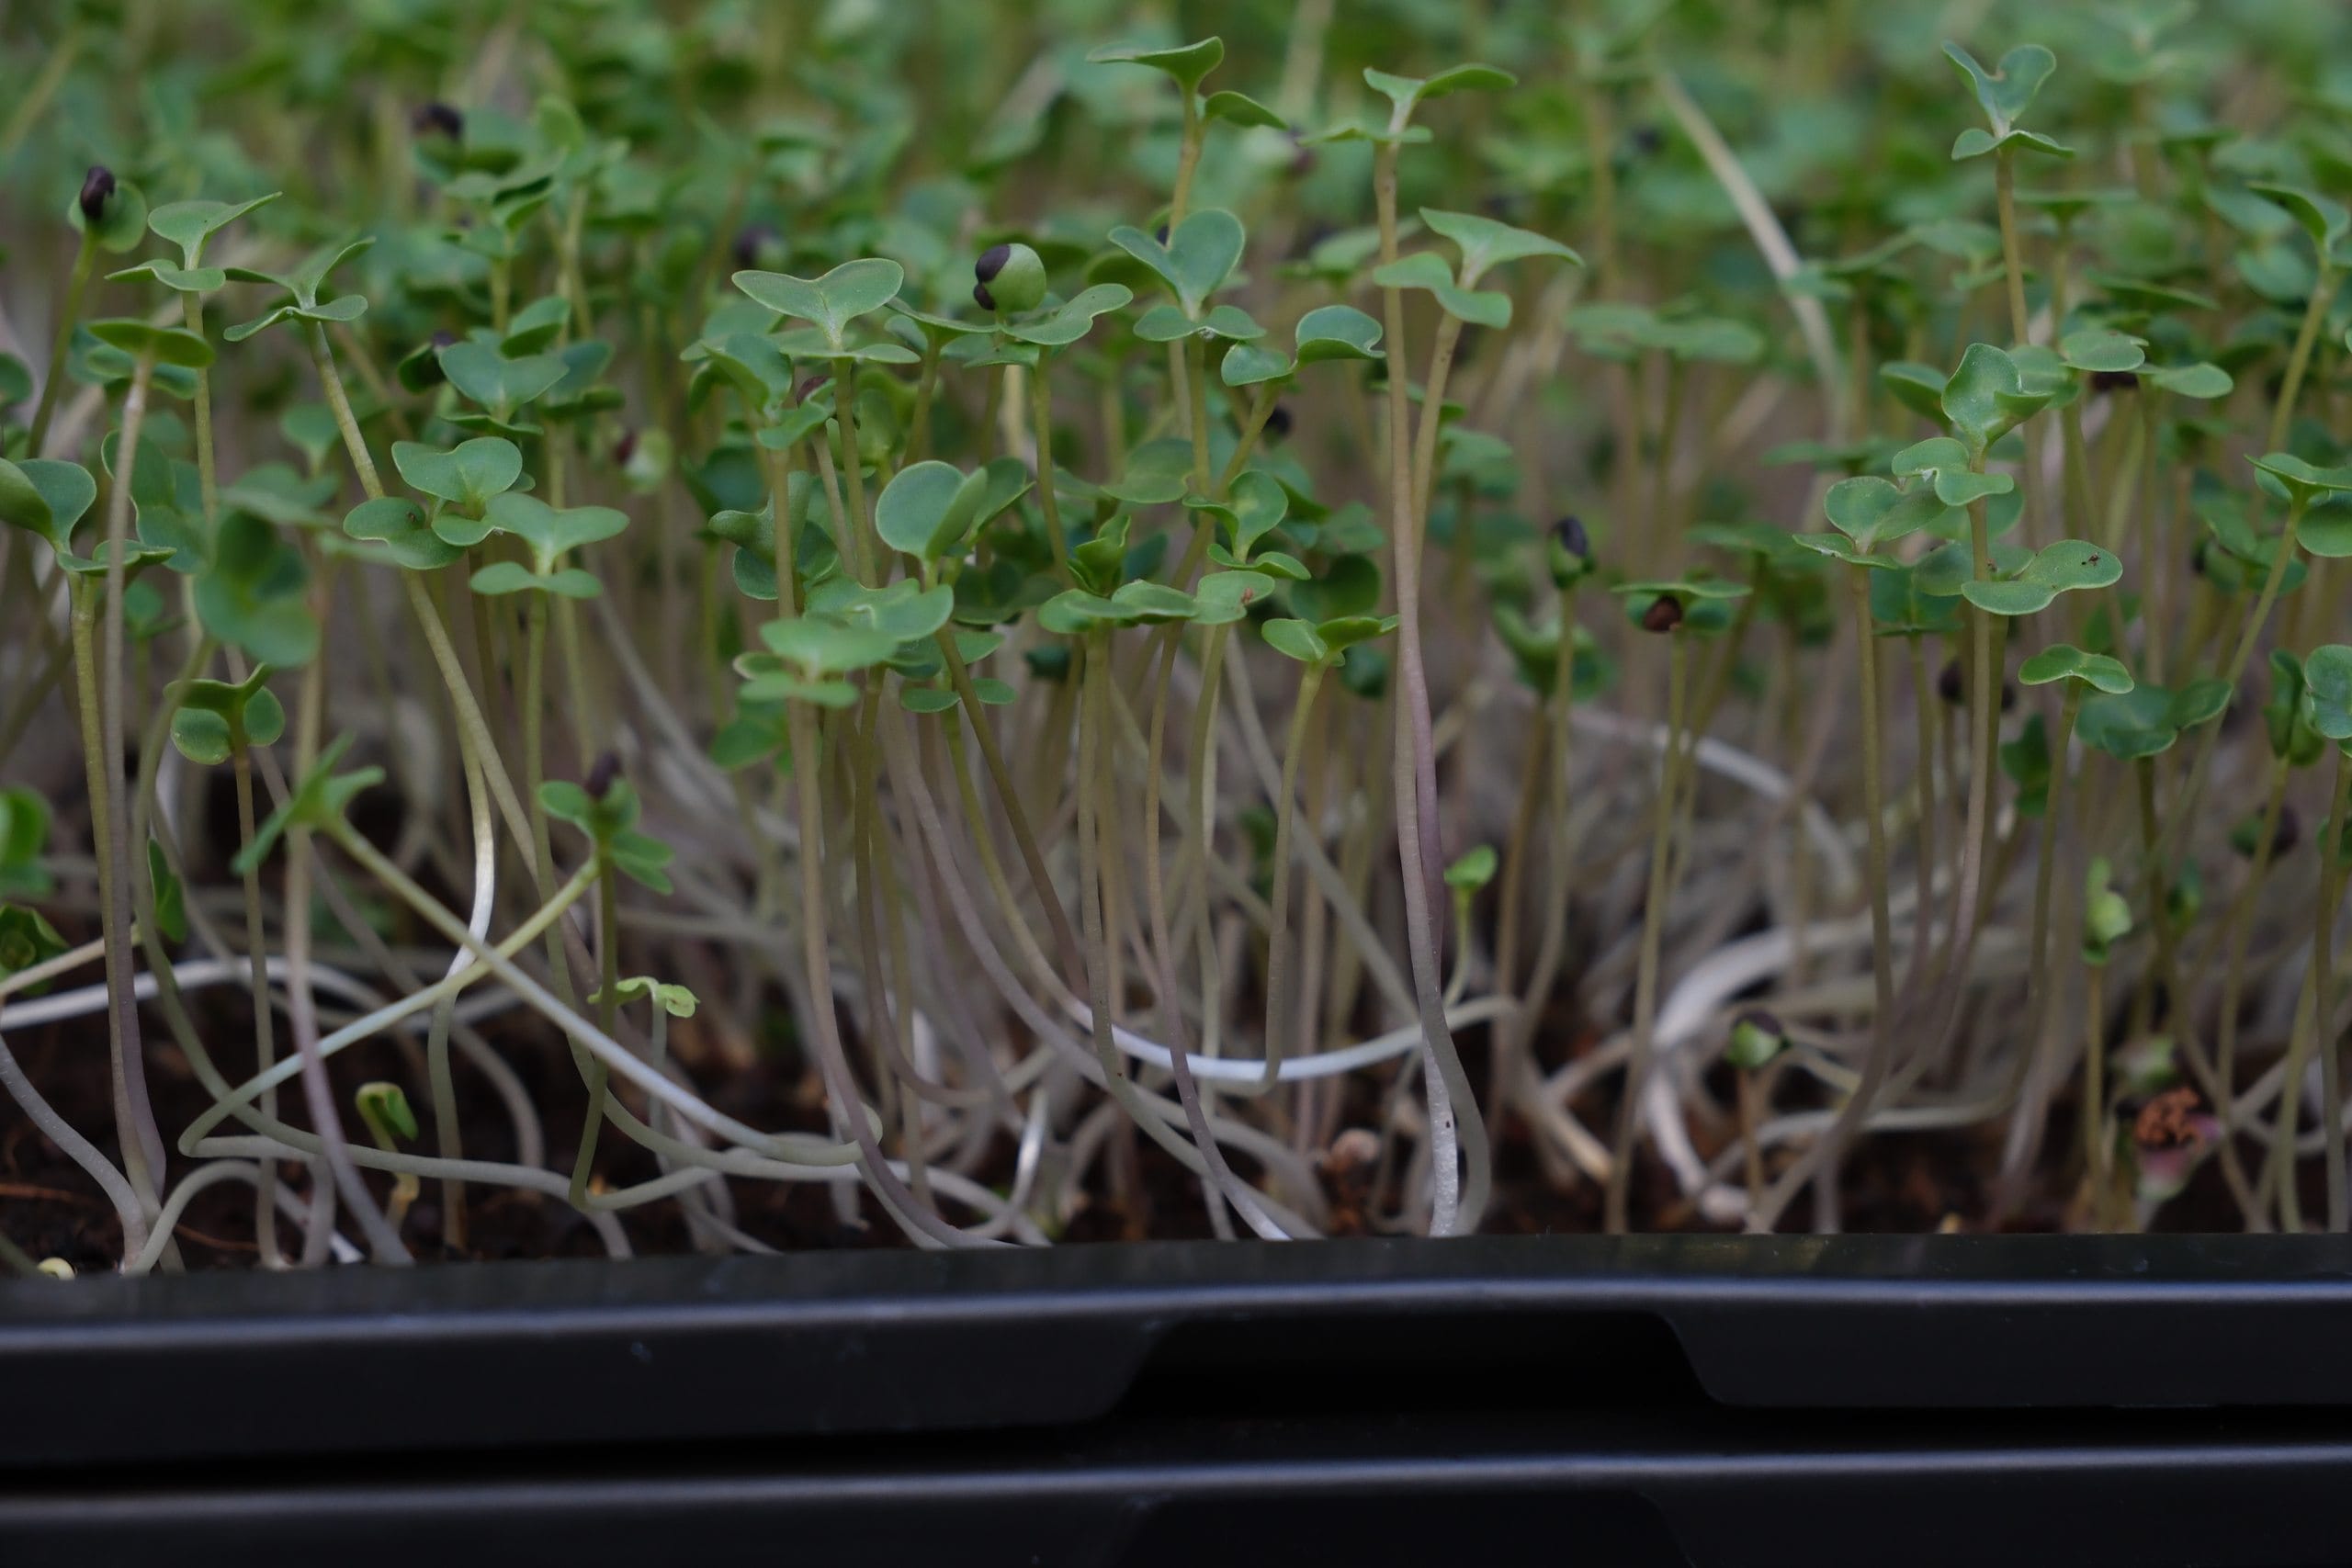
Kohlrabi microgreens are a mild, sweet brassica that needs no soaking and crops in about 8 to 12 days. Learn how to grow, harvest and eat them at home.
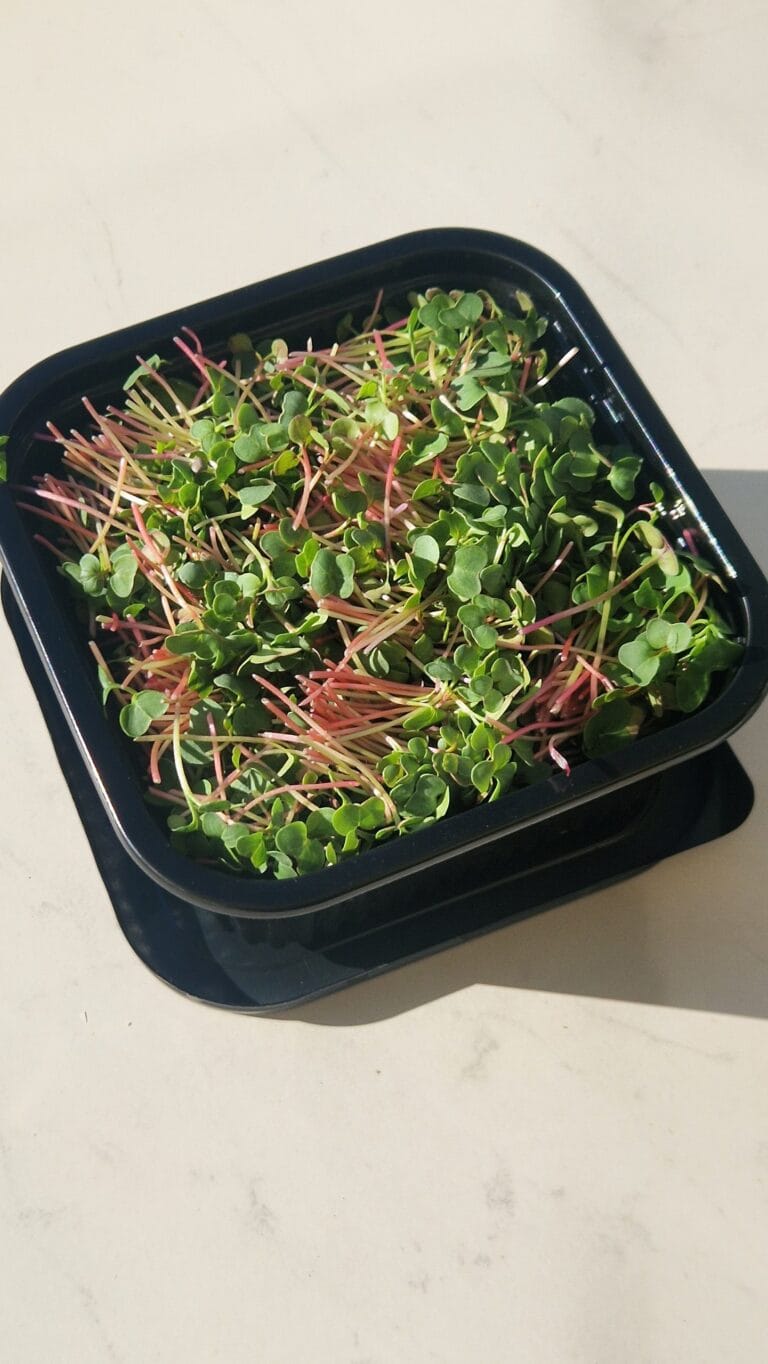
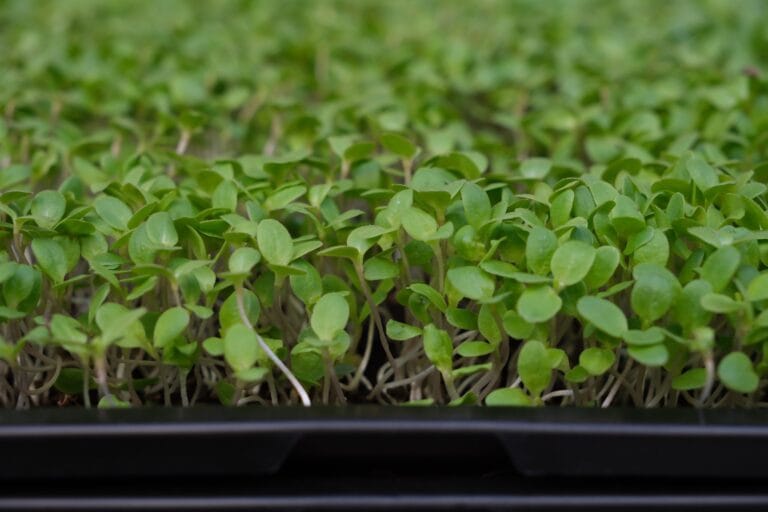
Kohlrabi microgreens are one of the friendliest brassicas you can grow on a kitchen windowsill: small seeds that need no soaking, germinate within a day or two, and give you a tray of crisp, tender greens in a little over a week. They come from the same species as cabbage, broccoli and kale (Brassica oleracea), and they carry a gentle, sweet-cabbage flavour with a faint peppery edge. Depending on the variety you sow, the slender stems can be pale green or a striking purple. If you have already tried broccoli or radish, this crop will feel reassuringly familiar.
There is a lot to like here, especially if you are still finding your feet. Kohlrabi is forgiving, quick and rarely temperamental, which makes it a sensible choice for a first or second tray.
Like the rest of the brassica family, kohlrabi is easy to slot into a rotation alongside broccoli, radish and mustard, so once you have the routine you can keep several trays on the go at different stages.
| Seed soaking | Not needed |
| Germination | 1-3 days |
| Blackout (dark) period | 3-4 days |
| Ready to harvest | 8-12 days |
| Difficulty | Easy – good for beginners |
| Flavour | Mild, sweet cabbage with a faint peppery bite |
Kohlrabi is usually at its best from around day 8 to day 12, once the seed leaves (cotyledons) are fully open and the stems are firm. Harvest before the first true leaves develop; leave it much longer and the stems toughen and the flavour turns a little bitter. Cut just above the soil line with clean scissors, ideally in the morning when the greens are crisp and dry.
They keep best when they go into the fridge dry, so avoid watering just before cutting and don’t wash them until you are ready to eat. Stored in a breathable container in the fridge, expect them to stay fresh for about 5 to 10 days.
The mild, sweet-cabbage flavour makes kohlrabi one of the easiest microgreens to work into everyday cooking, because it adds freshness without overpowering a dish. It is lovely with eggs, folded through an omelette or scattered over scrambled eggs at the last moment. Pile it into sandwiches and wraps, stir it through a potato or grain salad, or use it as a soft, colourful bed for grilled fish or roast vegetables. As with all microgreens, add them raw and at the very end, so the heat of the plate does not wilt them.
Kohlrabi is a genuinely rewarding place to build confidence: quick, mild and hard to get badly wrong. Once you have a tray or two under your belt, the same routine carries straight over to the rest of the brassicas. Related: broccoli microgreens, radish microgreens and the Grow at Home hub.
Studies from our Science Library that concern kohlrabi microgreens, in plain language with links to the original research. This list updates automatically as new studies are added.
No studies specific to this crop yet — browse the full Science Library.
Recipes and kitchen ideas from our cookbook team that use kohlrabi microgreens.
No recipes for this crop yet — the cookbook has plenty to start with.
Growing a different crop next? Every variety has a guide like this one in the Varieties database.
This article is part of the free knowledge portal of EVEC Microgreens. Wherever you are on your microgreens journey, there is a path for you:
Co-funded by the European Union.
This portal presents the microgreens methodology; the organisation behind it is EVEC Athens — the European Voluntary and Educational Center (evec.org.gr). Views and opinions expressed are those of the author(s) only and do not necessarily reflect those of the European Union or the European Commission. Neither the European Union nor the granting authority can be held responsible for them.