One guide per crop: how to grow it, how long it takes, how it tastes, what the science says and what to cook with it. Every guide follows the same structure, so once you have grown one variety you can grow them all.
Every variety guide gives you the same information in the same order: an at-a-glance table (days to harvest, difficulty, flavour), step-by-step growing instructions, and safety notes where a crop needs them. Teachers use the guides as lesson material, home growers as tray-side instructions, and entrepreneurs as production references. All of it is free and open.
New to microgreens? Start with these four
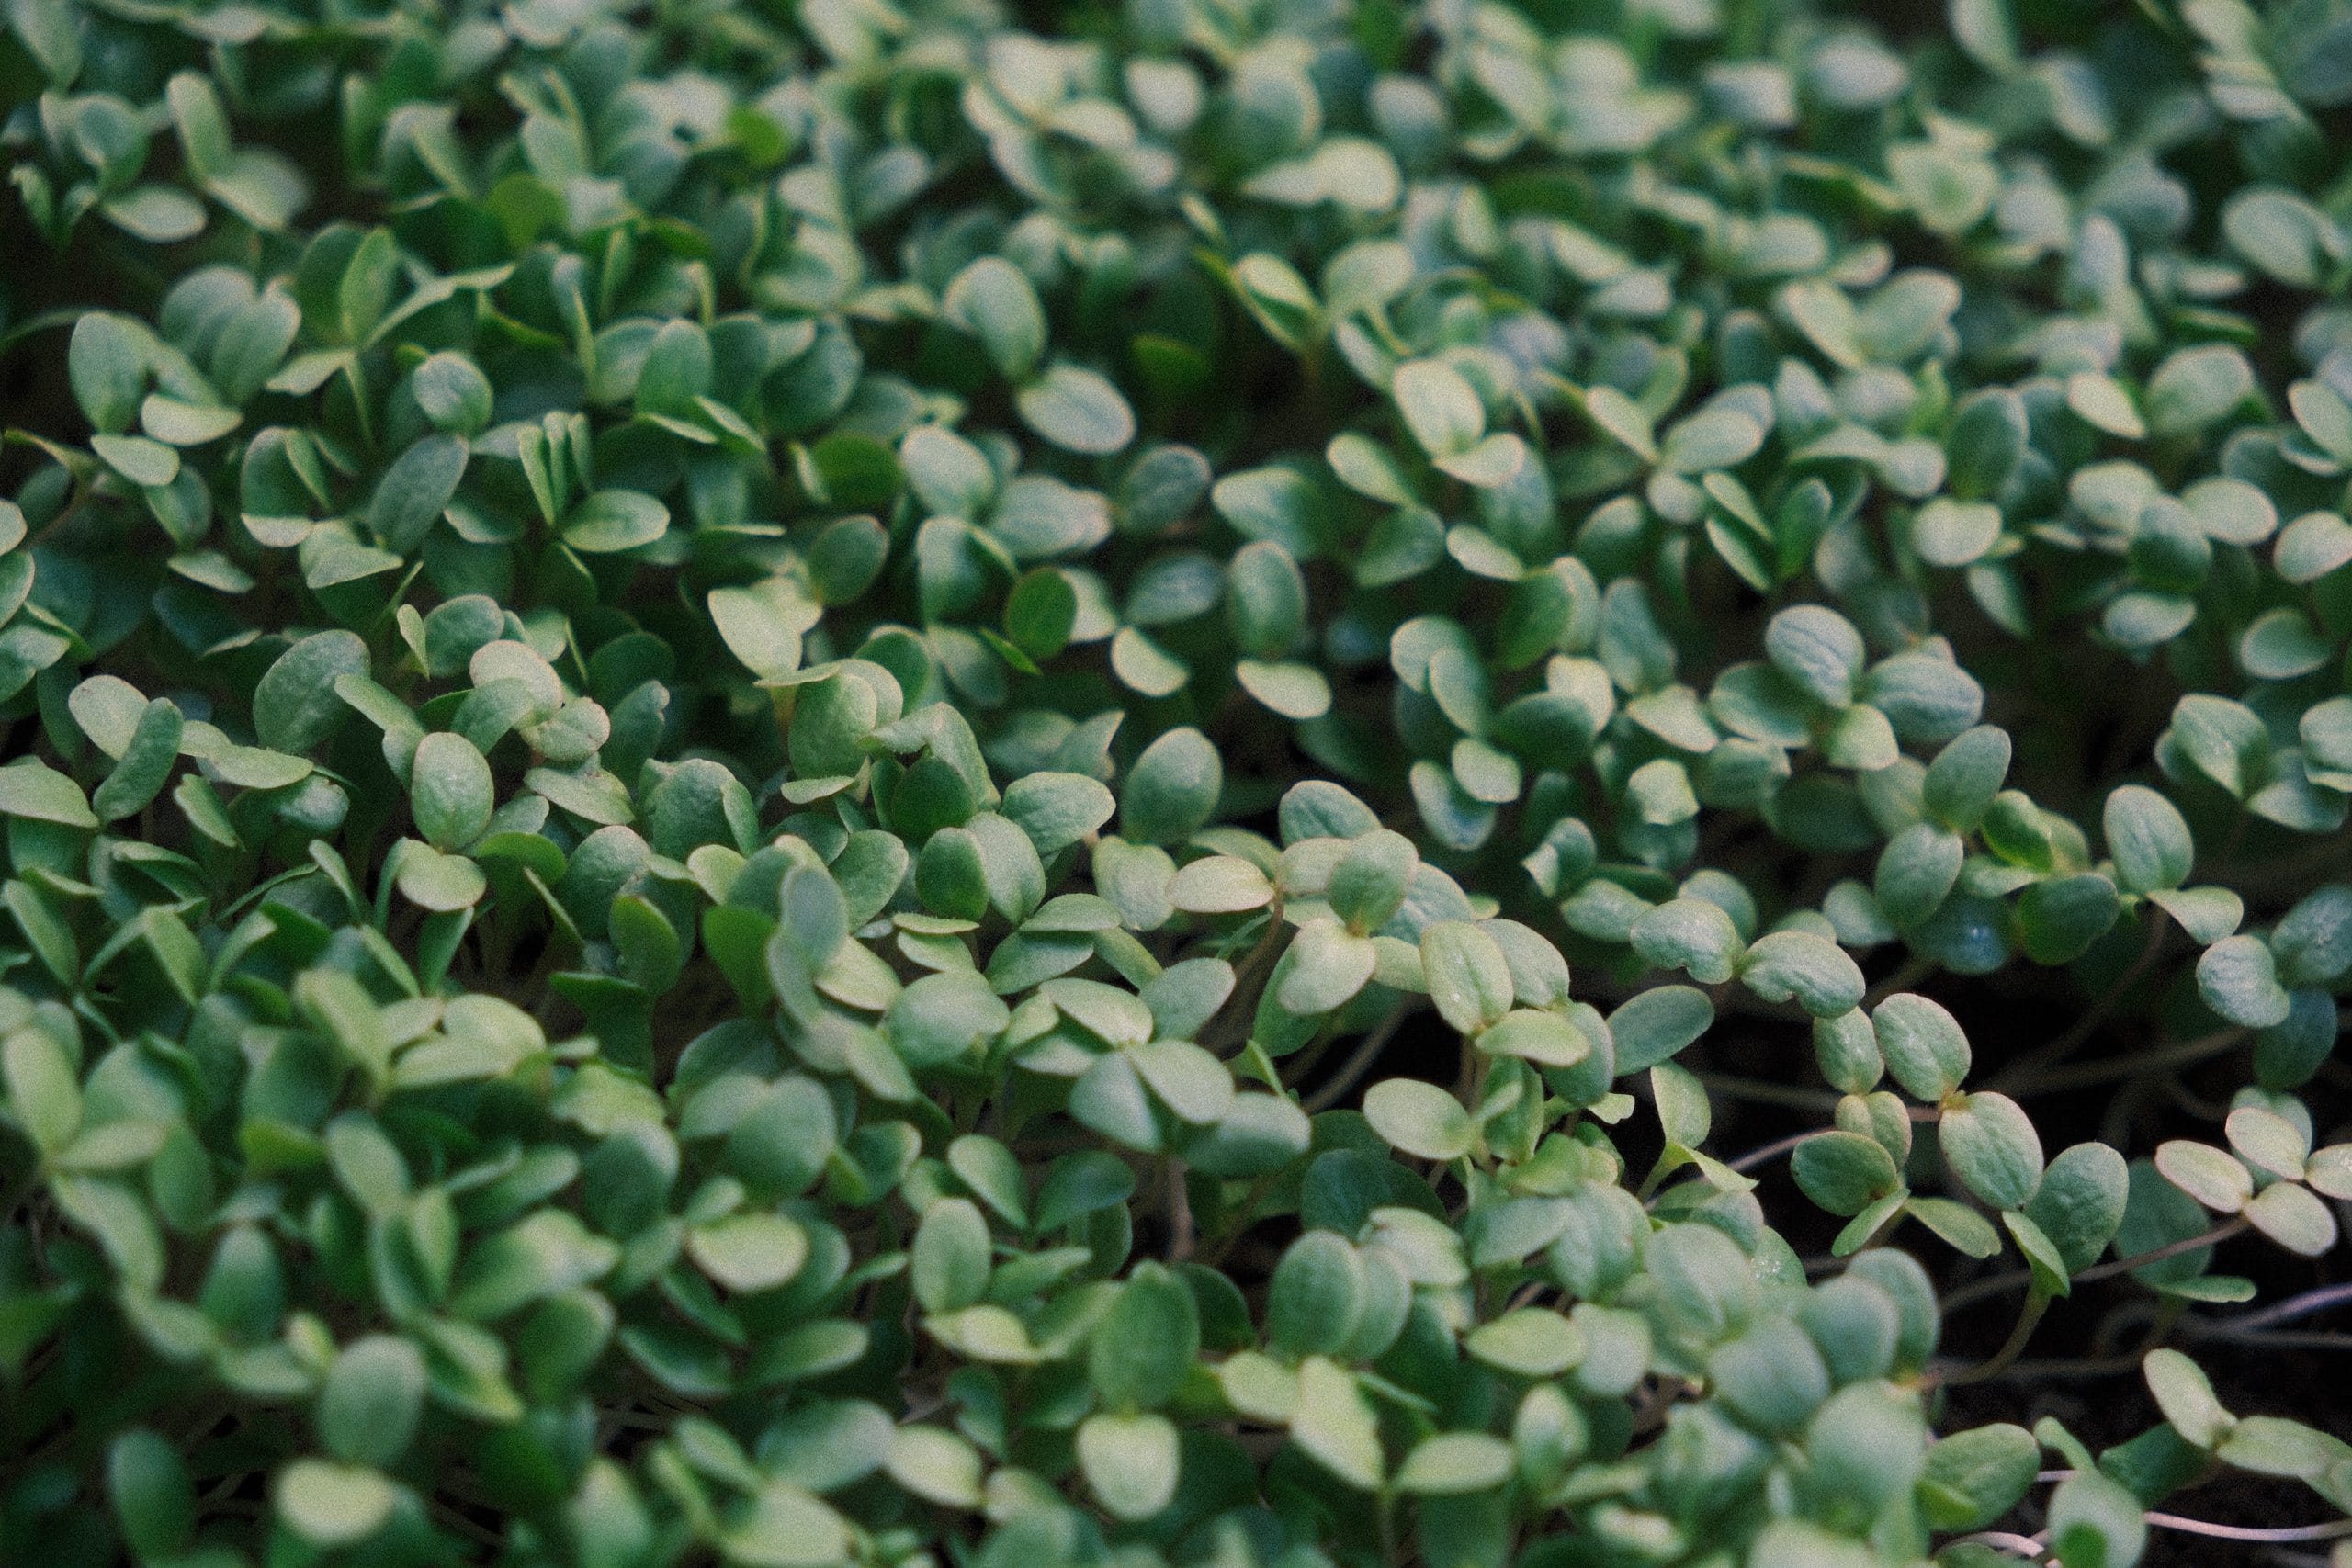
Twenty-six guides is a lot to face on day one. These four crops are the ones we hand to every beginner: they germinate reliably, they forgive mistakes, and between them they cover the whole range of colour, speed and flavour. Grow these and the method transfers to every other variety below.
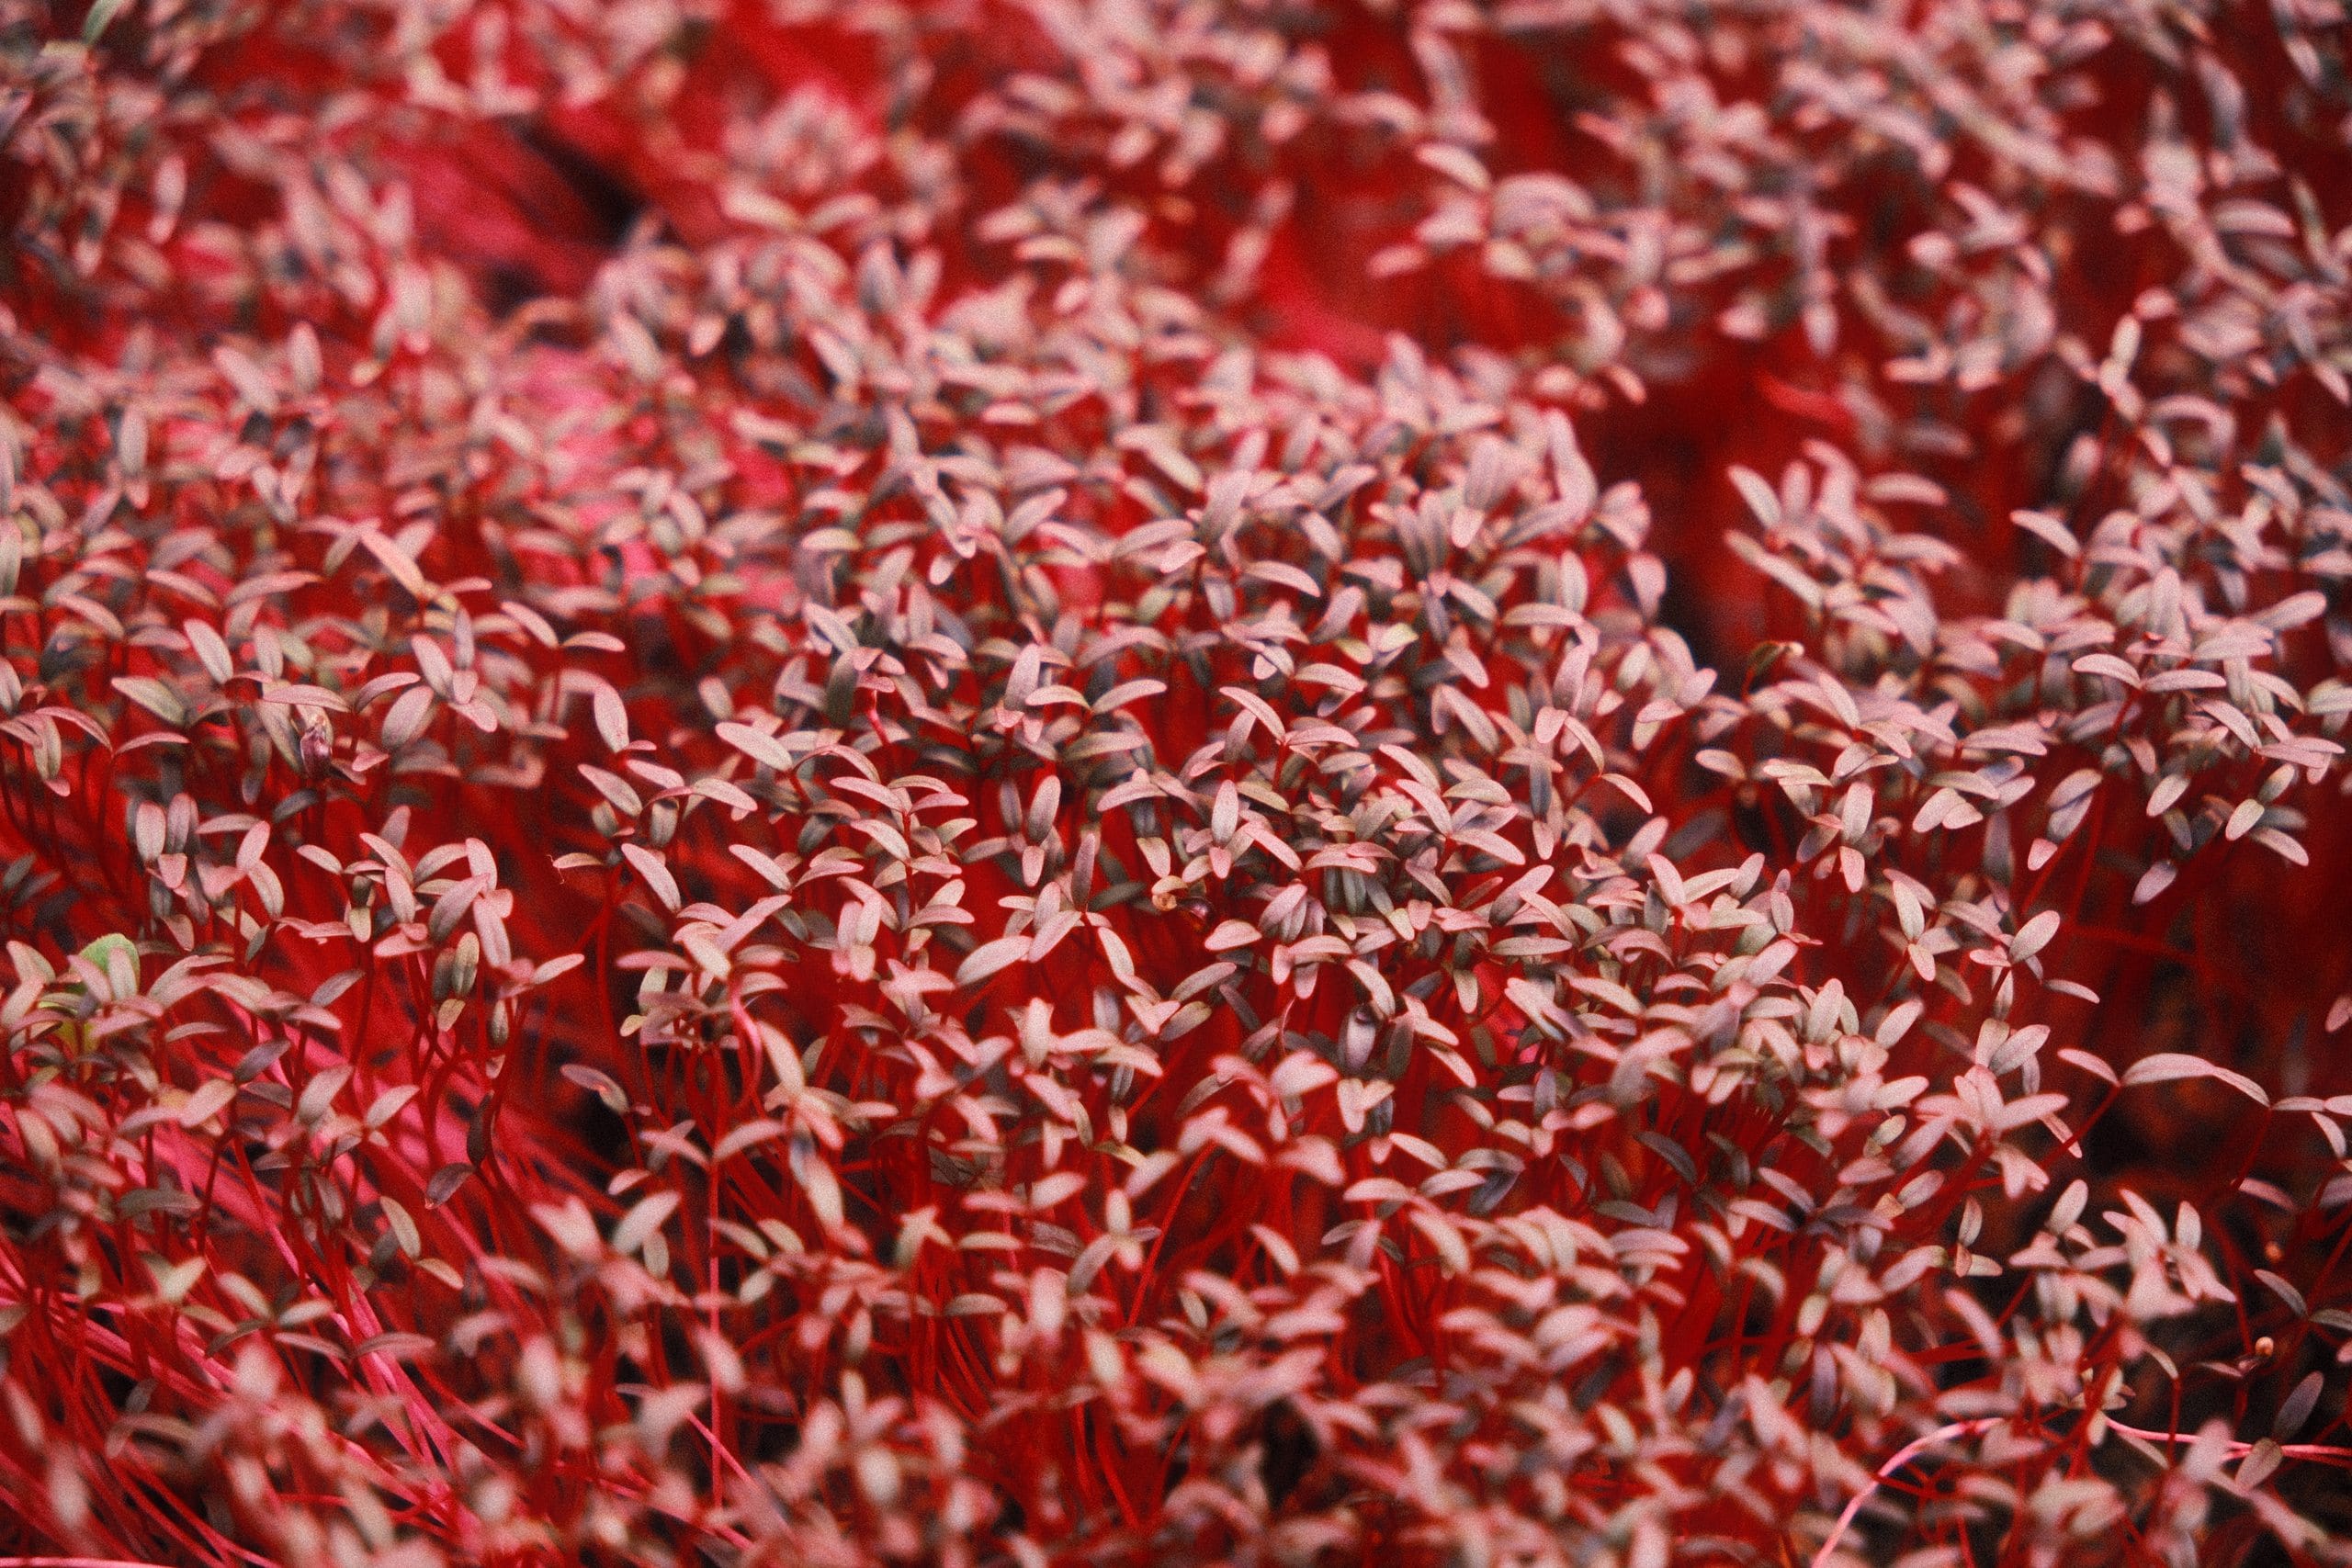
Amaranth — unique colour and a mild nutty taste
What you need
Red amaranth seeds — easily found in specialty stores or online.
Growing trays — flat and shallow, with and without drainage holes.
Growing medium — potting soil or coconut coir.
Spray bottle or watering can.
Natural light or an LED grow light — red amaranth needs plenty of light.
Prepare the tray — always clean it thoroughly with water and soap.
Add the growing medium — slightly moisten the soil before sowing.
Sow the seeds — spread them evenly. Unlike other varieties, red amaranth germinates best without being covered with soil.
Water gently — use a spray bottle to avoid disturbing the seeds.
Cover the tray — for the first few days, cover it with another tray to create a blackout effect.
Light — once the seeds have germinated, place the tray in a well-lit spot.
Consistent watering — keep the soil moist but not waterlogged.
Harvest — ready in 2 to 3 weeks. Use scissors to cut just above the soil.
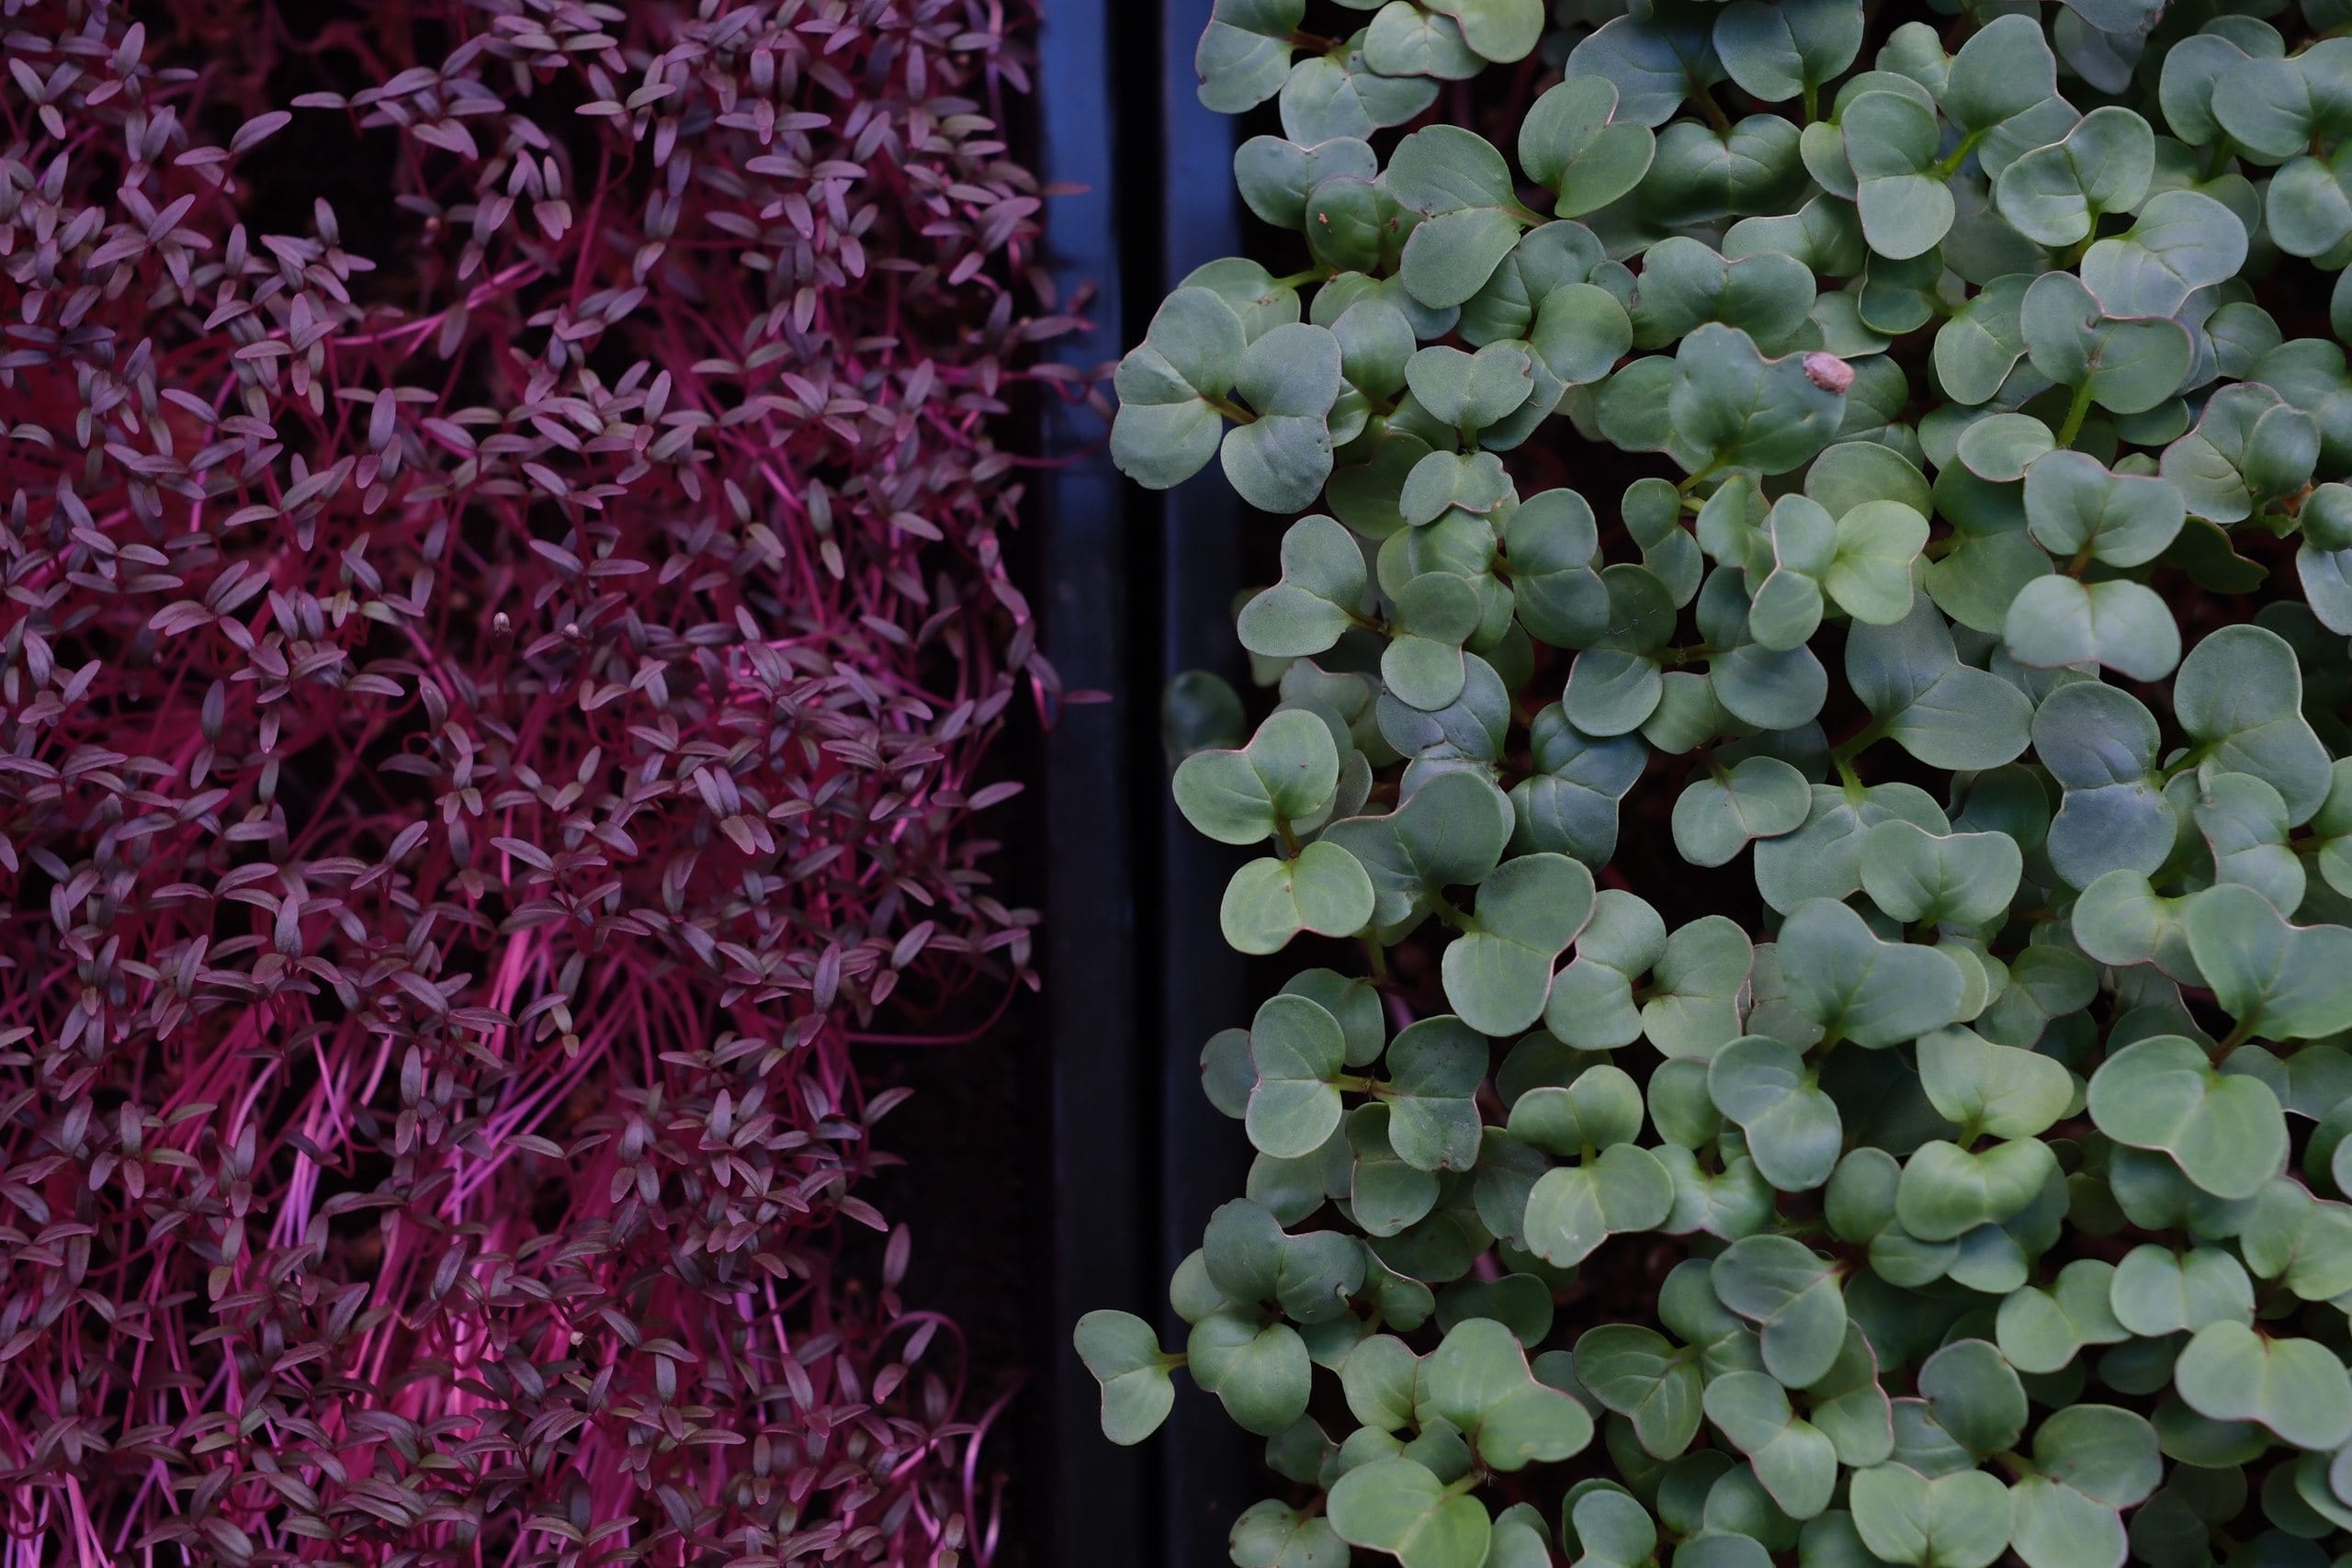
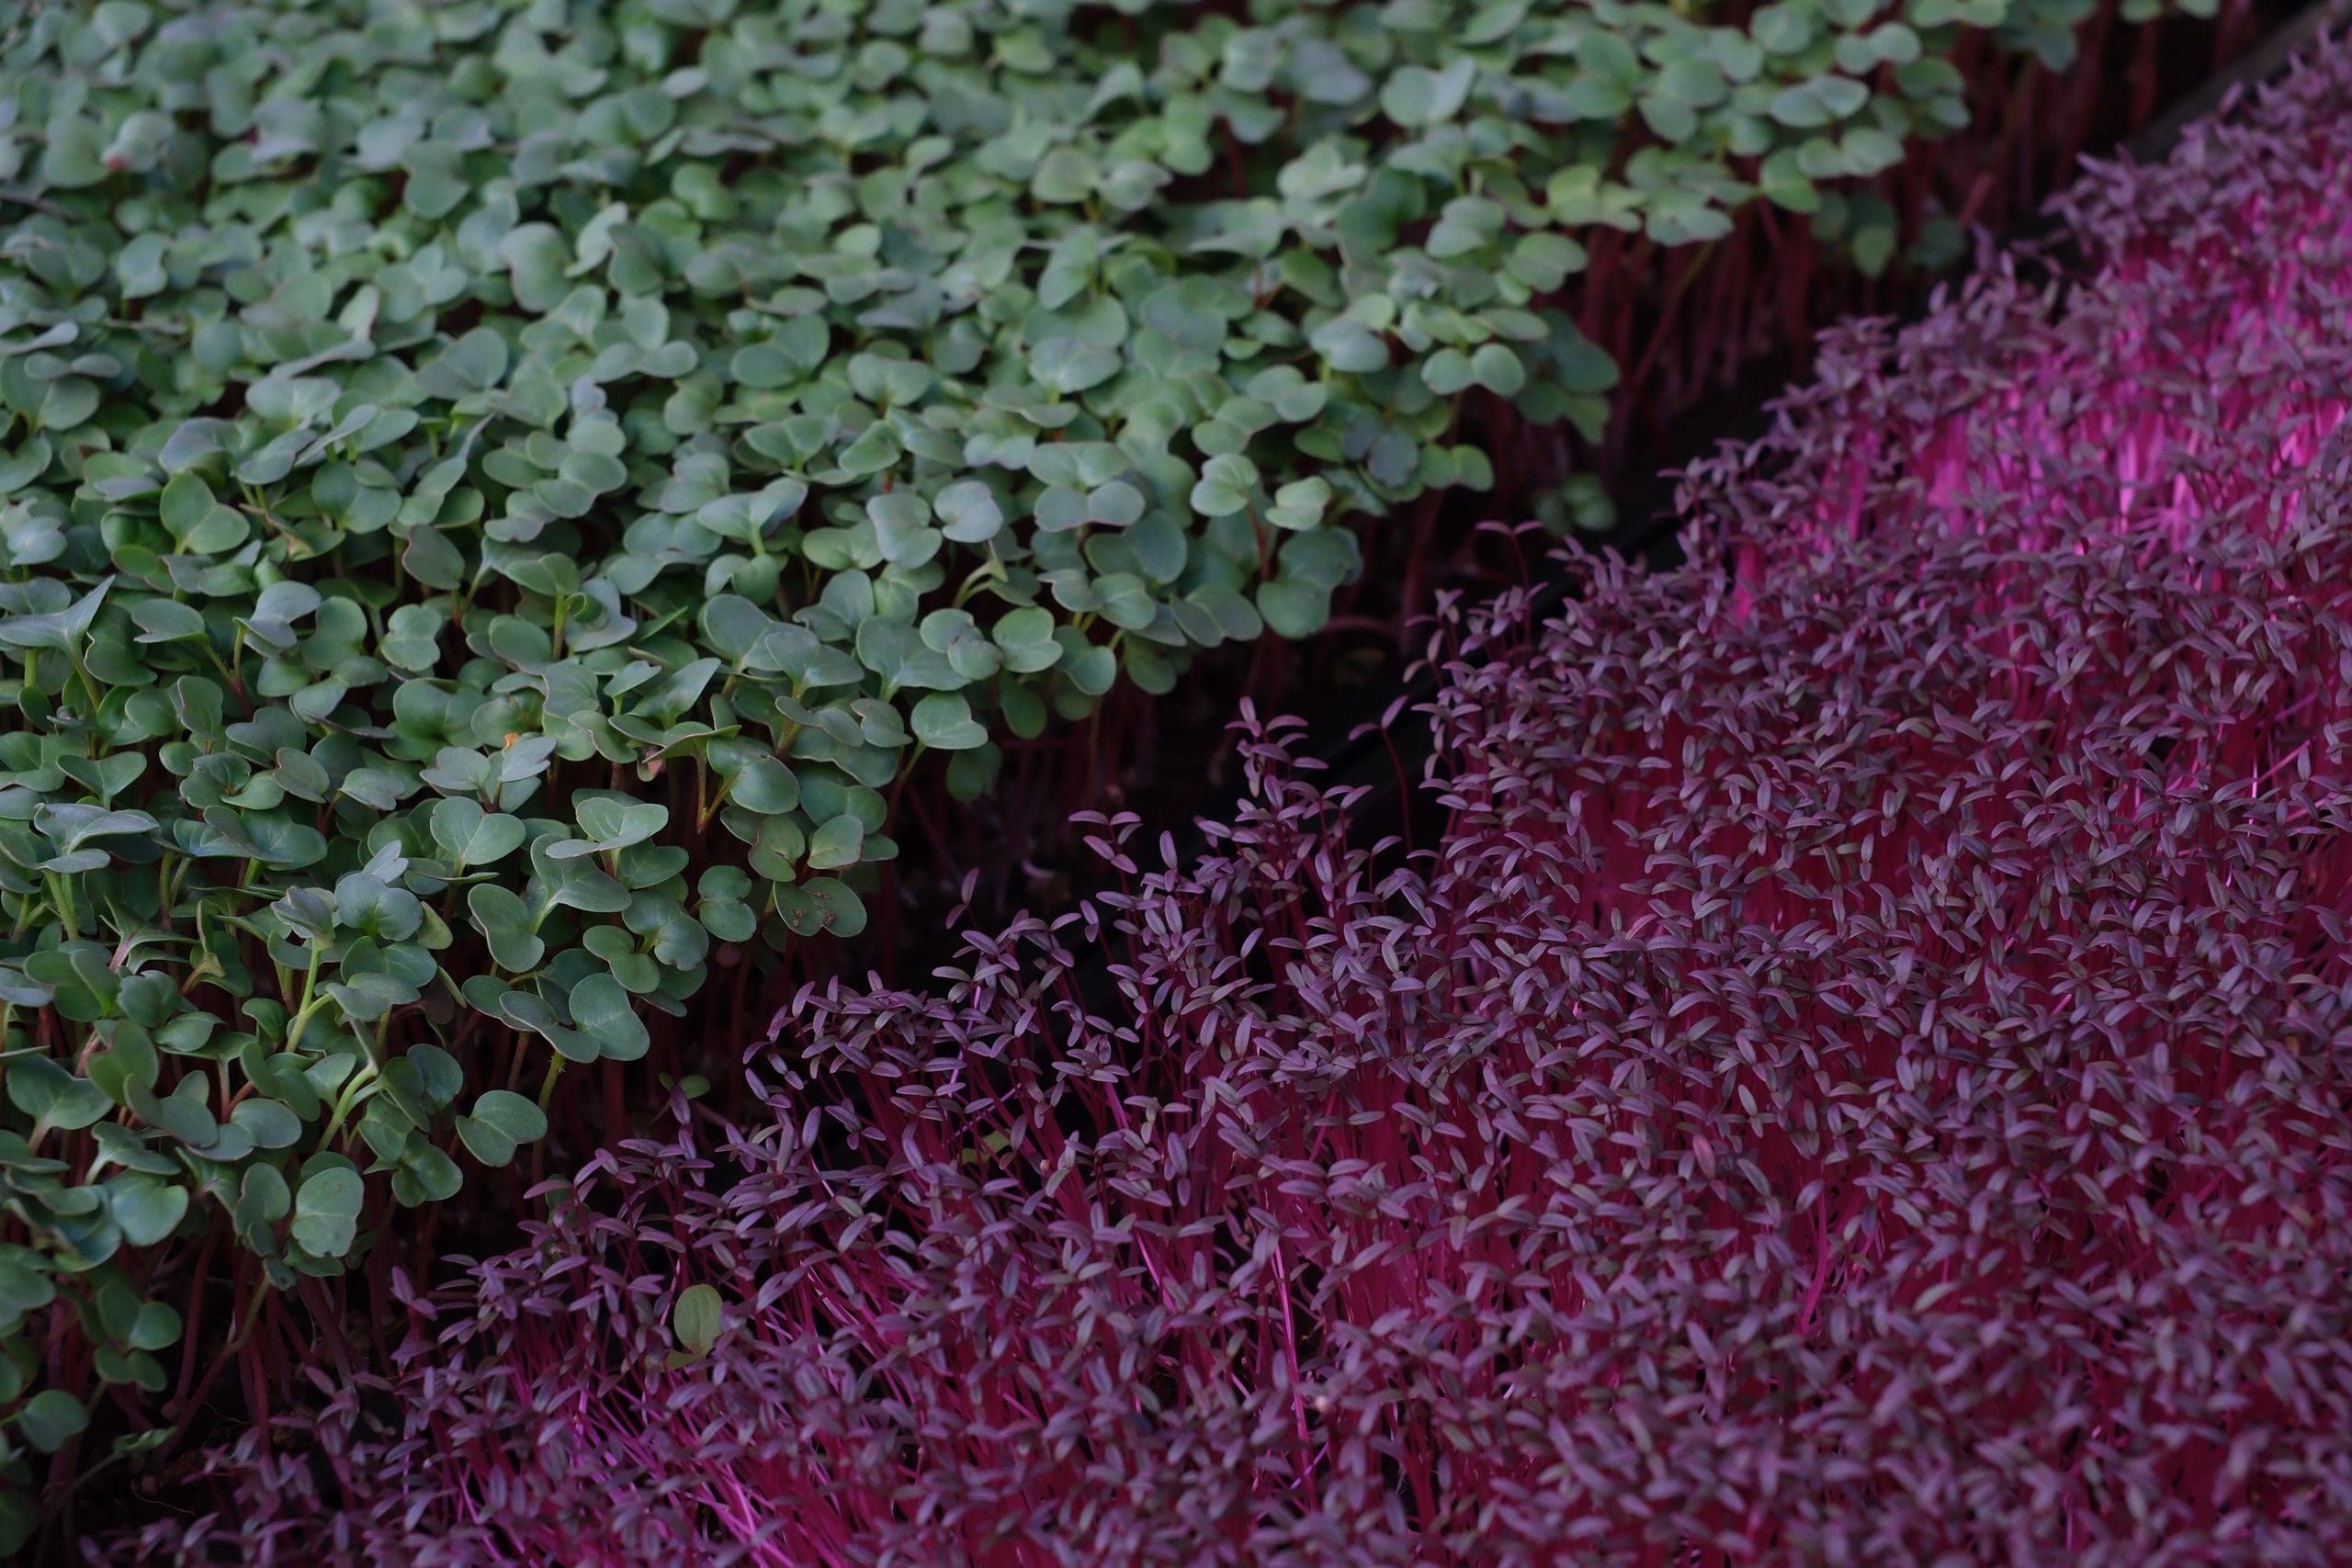
Red amaranth is not only tasty, it also adds a striking pop of colour to your dishes — good in salads, sandwiches, or as a garnish.
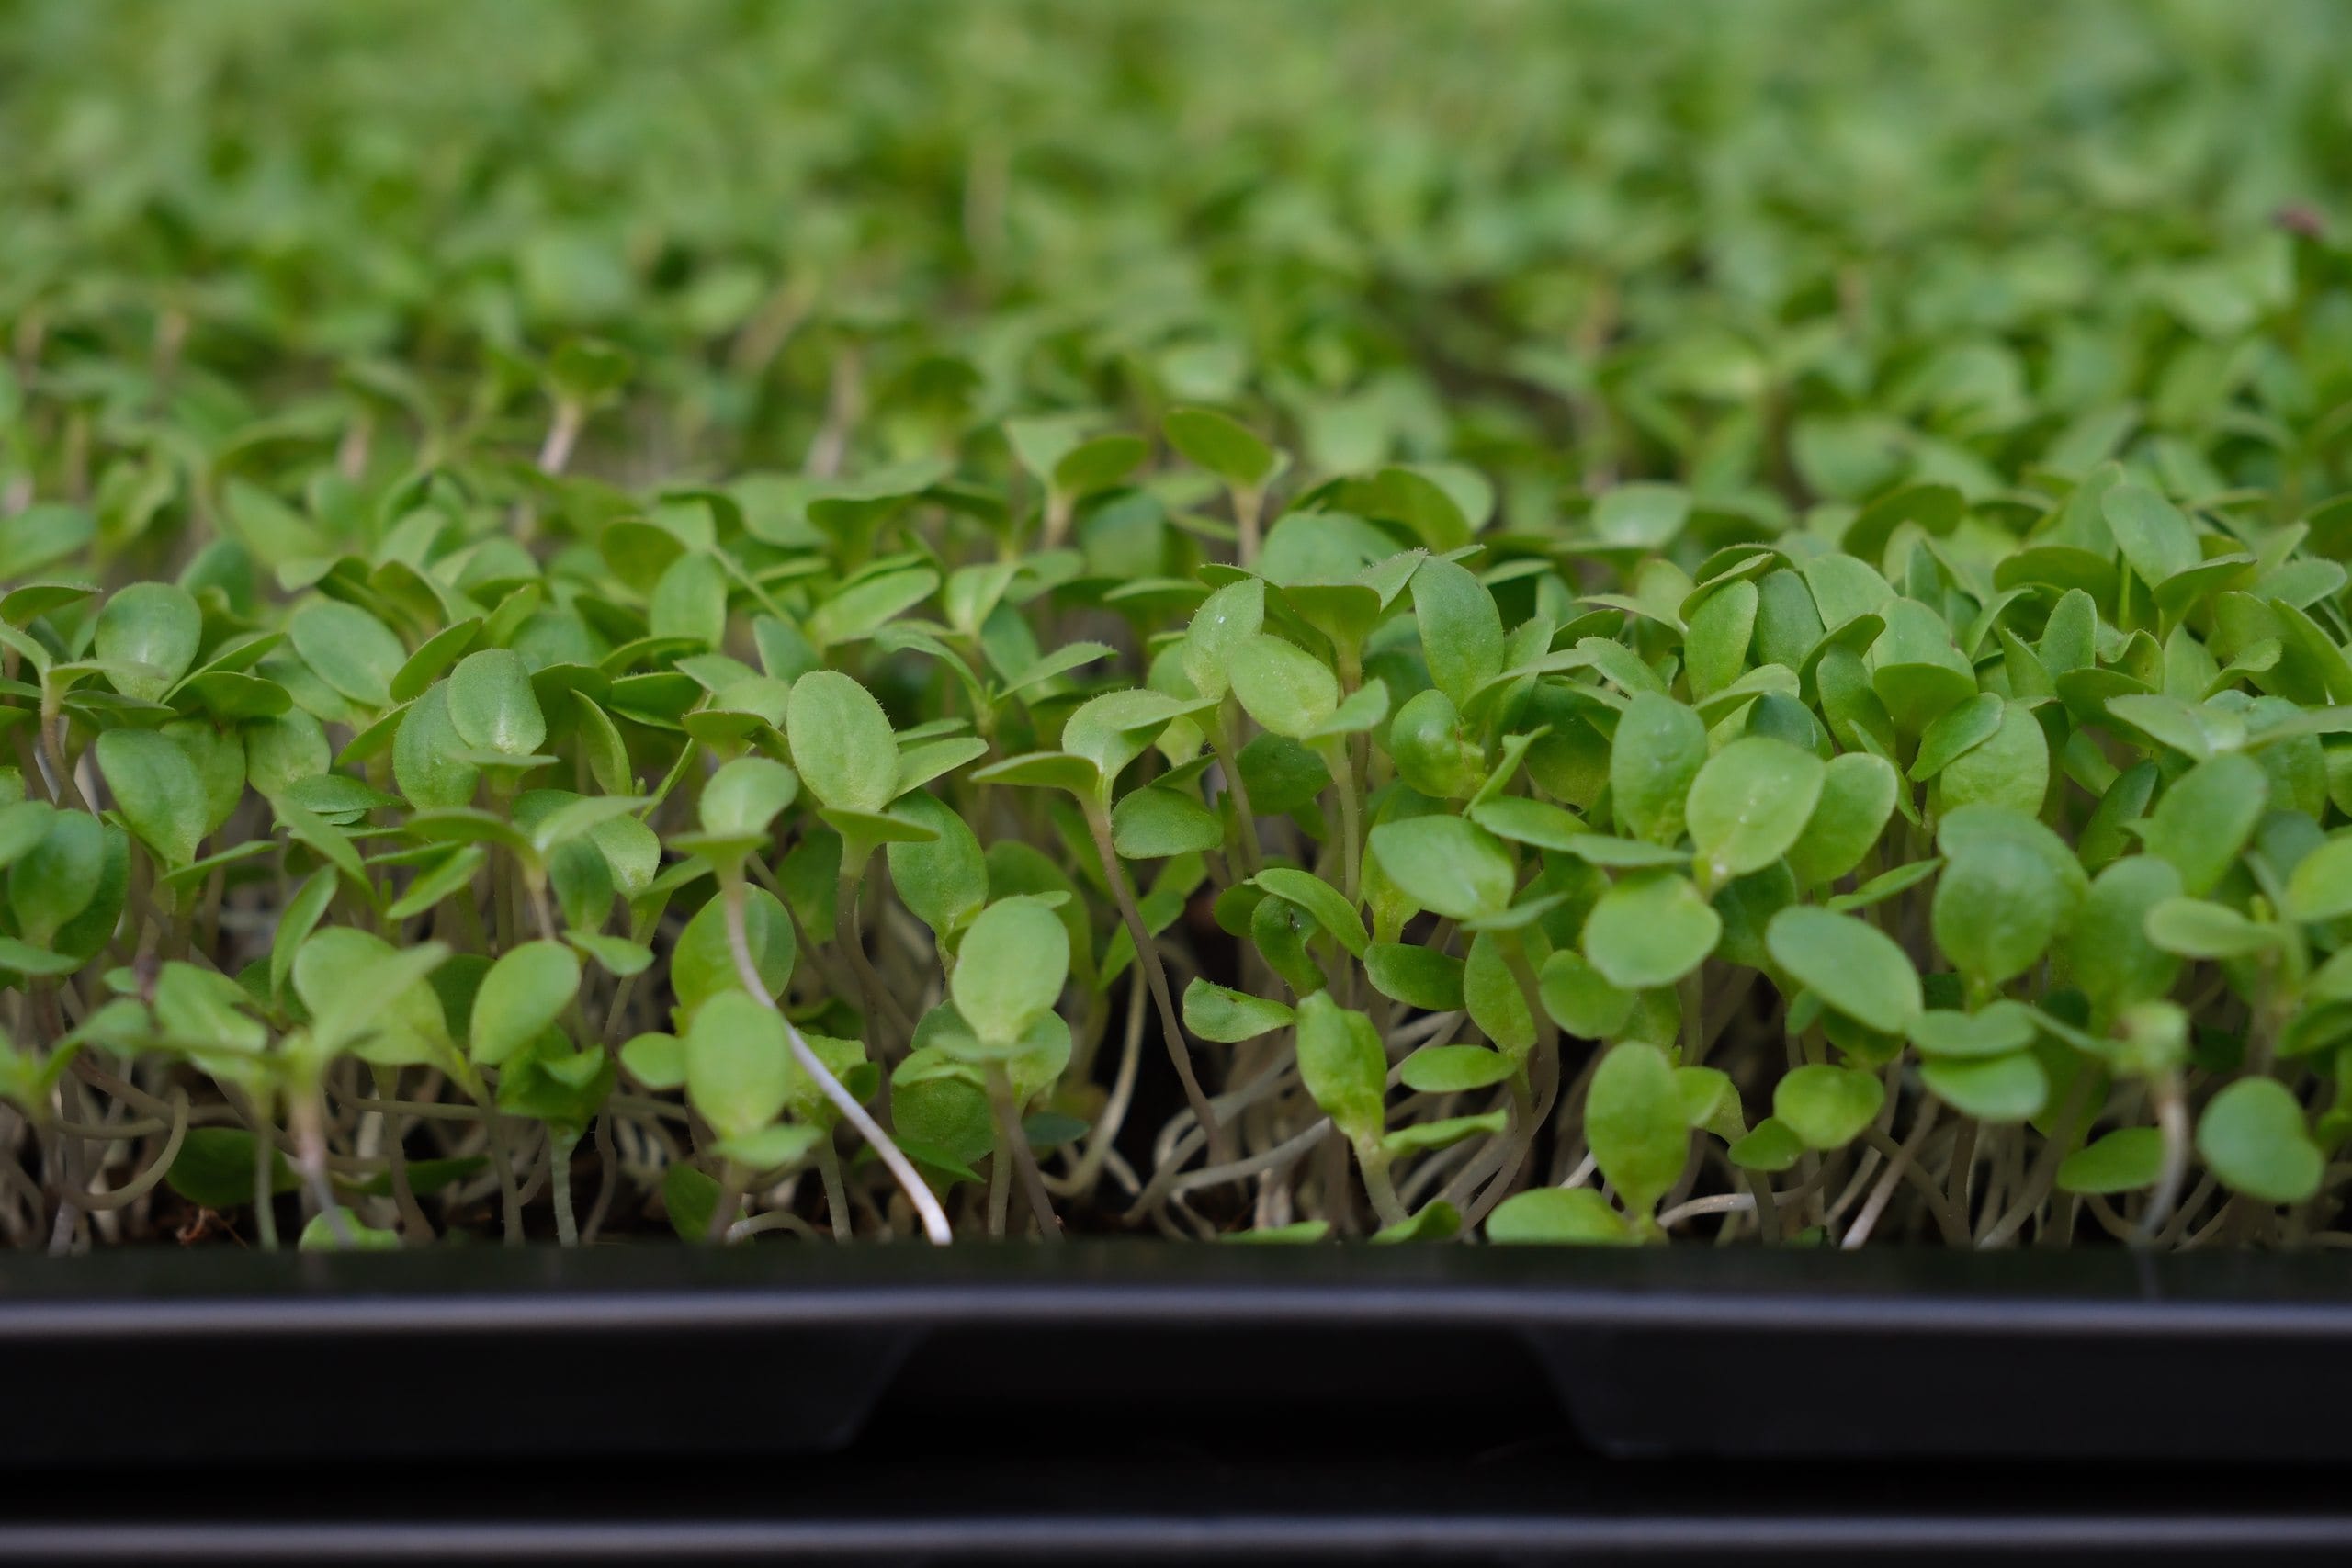
Lettuce — the fastest and easiest: crisp leaves in only a few days
What you need
Lettuce seeds — easily found in specialty stores or online.
Growing trays — flat and shallow, with and without drainage holes.
Growing medium — potting soil or coconut coir.
Spray bottle or watering can.
Natural light or an LED grow light — LED works well indoors.
Prepare the container — use a tray with good drainage. Wash it thoroughly with soap and water before you start.
Add the substrate — fill the tray with soil and moisten it.
Sow the seeds — spread them evenly over the soil. You do not need to cover them; just press gently for good contact with the substrate.
Water gently — use a spray bottle to keep the surface moist without displacing the seeds.
Light and location — place the tray in a well-lit area, or under grow lights if indoors.
Maintain moisture — water regularly, but avoid overwatering.
Harvest — usually between 1 and 3 weeks later. Use clean scissors and cut just above the soil line.
Easy, tasty and full of nutrients — the best first tray if you want a result within days.
Broccoli — a superfood made simple: sulforaphane in about a week
What you need
Broccoli seeds — preferably organic and labelled for sprouting or microgreens.
Growing trays — flat and shallow, with and without drainage holes.
Growing medium — potting soil or coconut coir.
Spray bottle or watering can.
Natural light or an LED grow light — broccoli microgreens need good lighting to develop their rich green colour.
Prepare the tray — wash it well with soap before using. Add an even layer of growing medium and lightly moisten it.
Sow the seeds — spread them evenly over the surface. There is no need to cover them; just press gently so they make good contact.
First watering — mist the seeds carefully to moisten them without moving them.
Darkness period — cover the tray with another inverted tray or an opaque lid for 2 or 3 days. This helps germination and makes the stems stronger.
Light and ventilation — when the first sprouts appear (around day 2 or 3), uncover the tray and give it good natural light or LED grow lights.
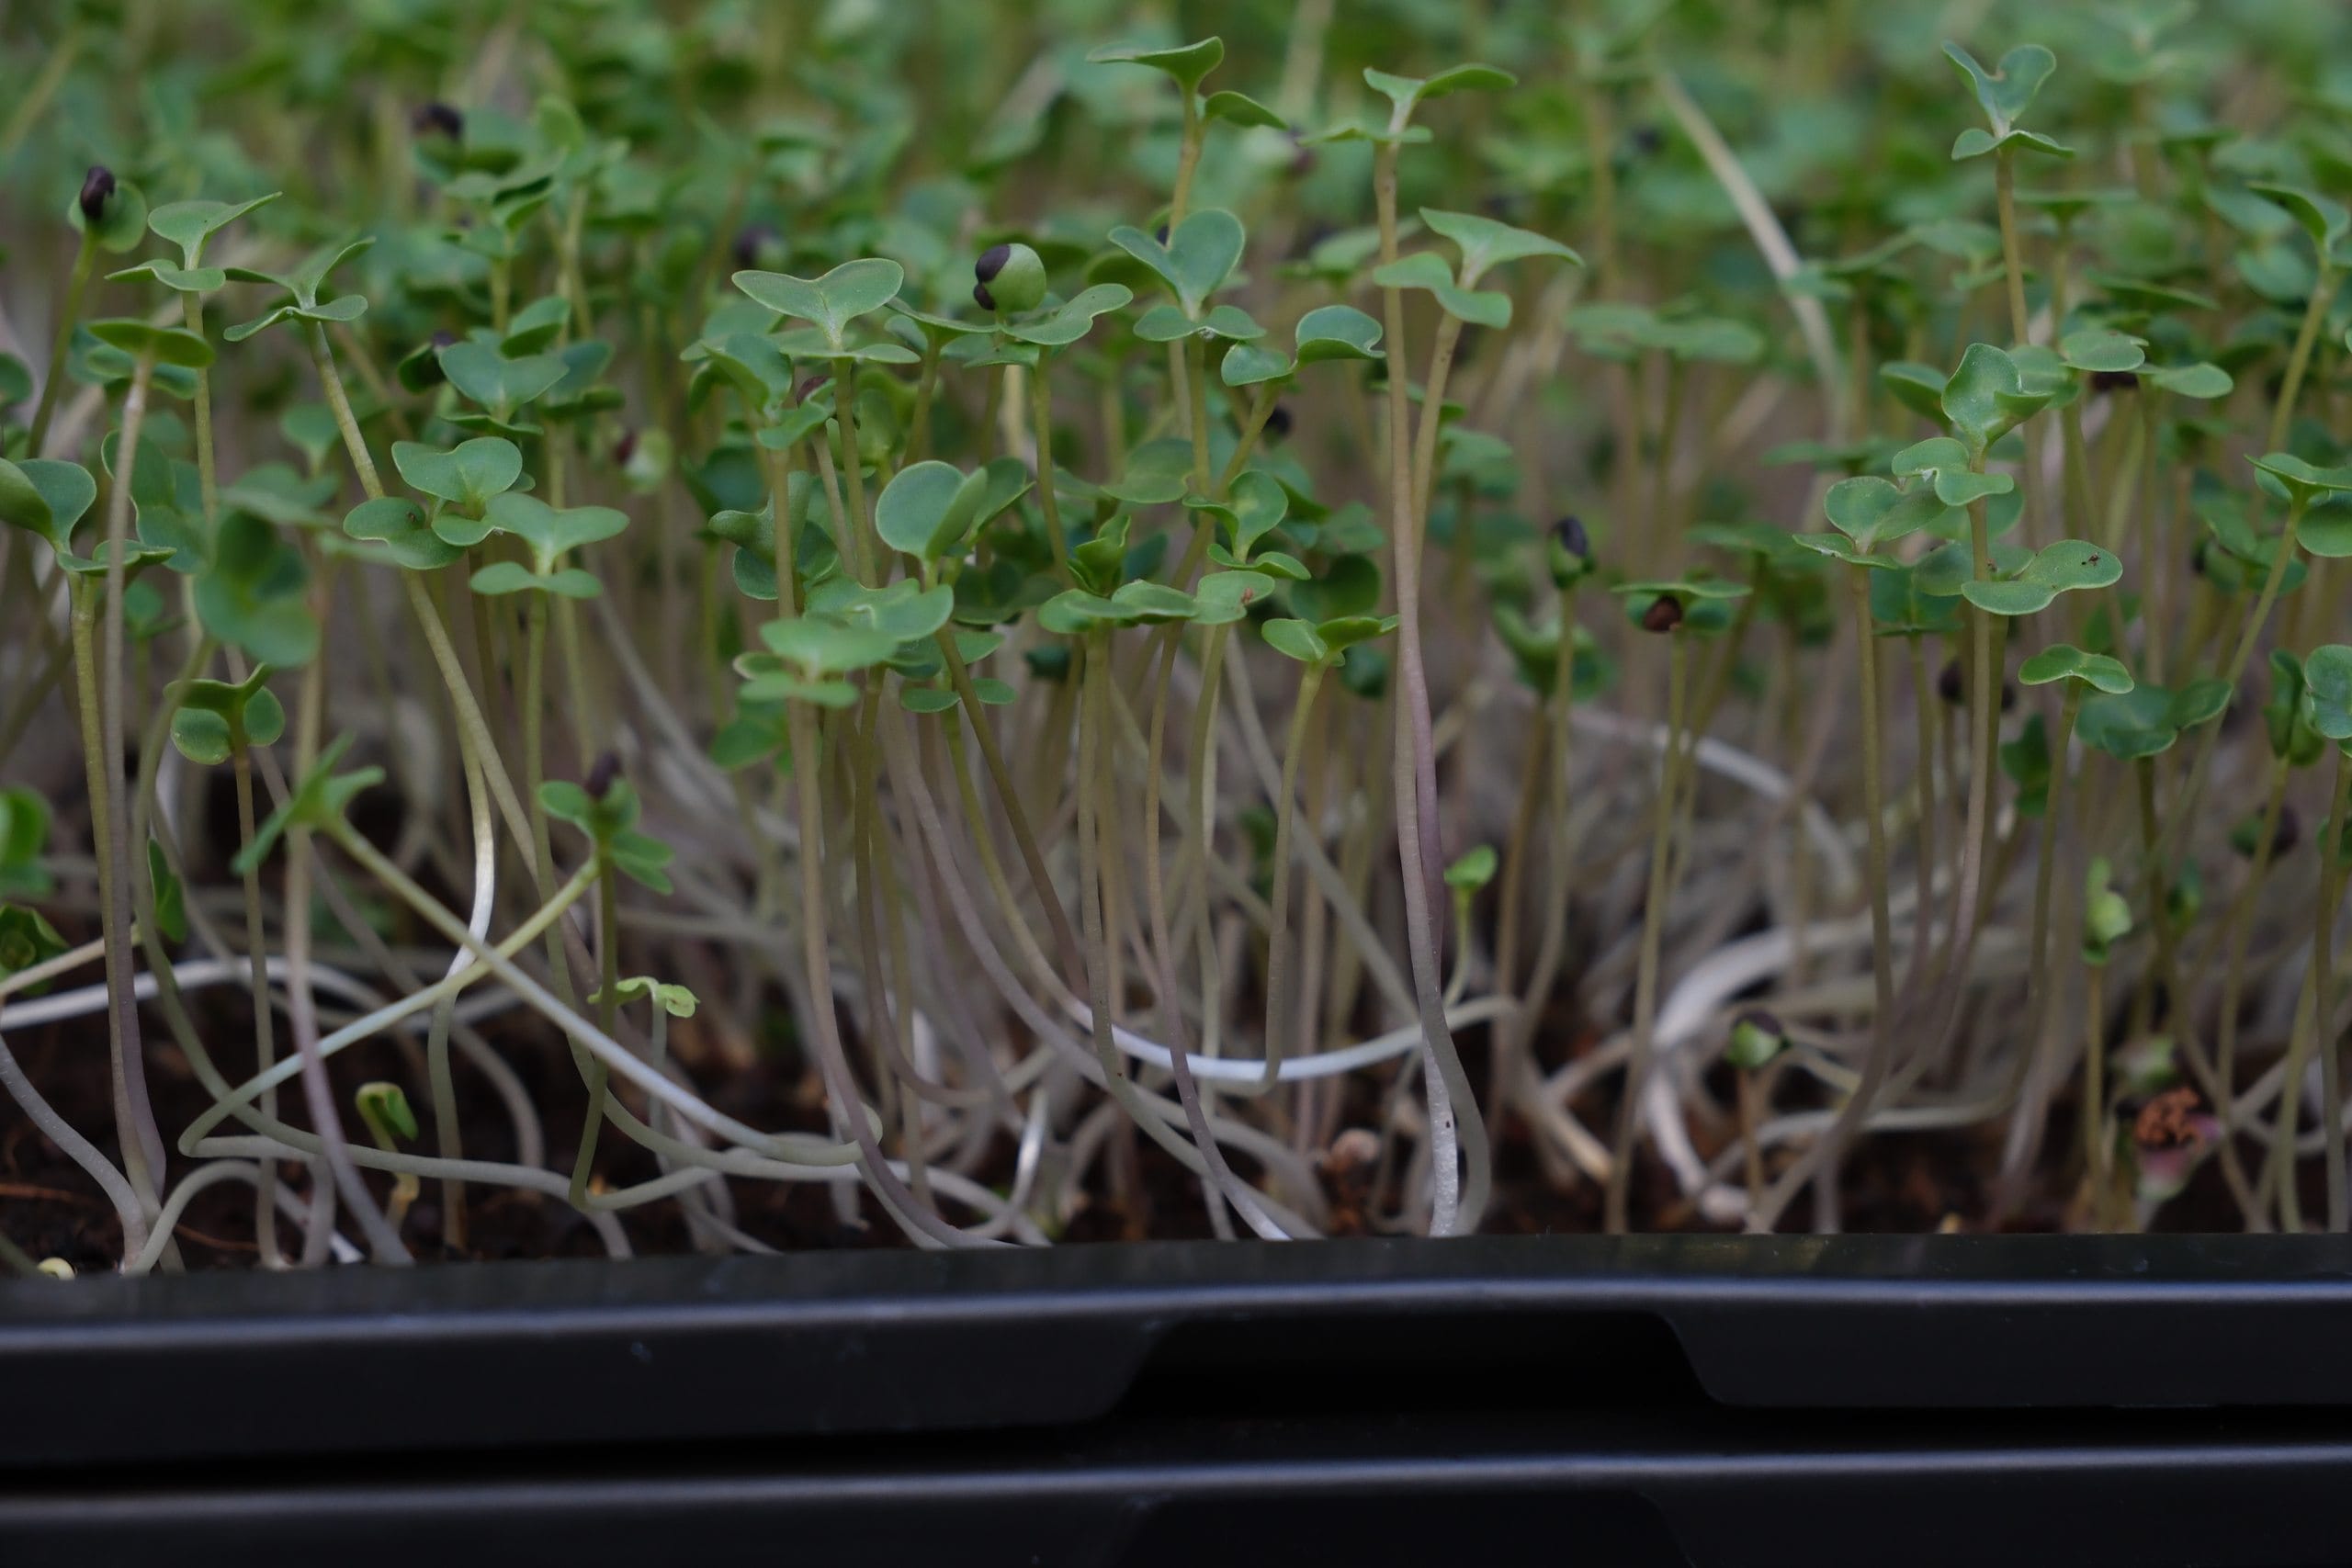
Growth and colour — within a few days the stems straighten and the leaves turn deep green.
Harvest — between days 7 and 10. Cut just above the growing medium with clean scissors.
Broccoli microgreens carry a much higher concentration of nutrients and antioxidants than mature broccoli, including sulforaphane.
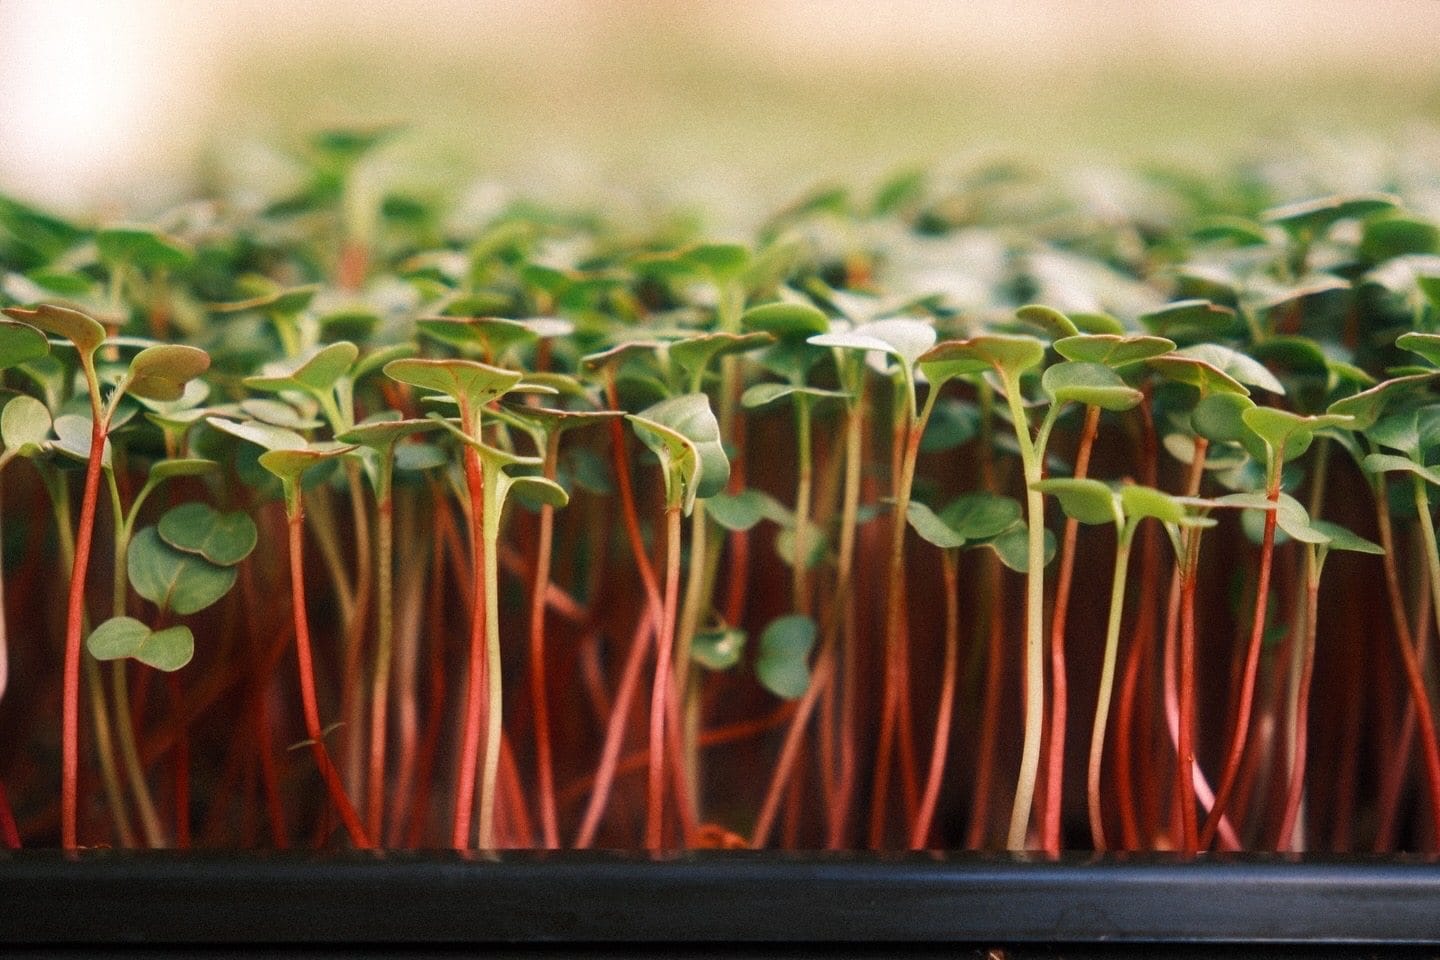
Radish — fast, spicy and full of colour
What you need
Radish seeds — common varieties are red radish, daikon or watermelon radish.
Growing trays — flat and shallow, with and without drainage holes.
Growing medium — potting soil or coconut coir.
Spray bottle or watering can.
Natural light or an LED grow light — they grow stronger and more colourful with good lighting.
Prepare the tray — clean it thoroughly before using, with water and soap if necessary.
Add the growing medium — fill with an even layer of soil or coconut coir and moisten it.
Sow the seeds — spread them evenly over the surface. They do not need covering.
Initial watering — use a spray bottle to moisten gently without displacing the seeds.
Darkness period — cover the tray with another tray turned upside down, or a piece of opaque cardboard, for 2–3 days.
Light and ventilation — when the first sprouts appear (usually on the second day), uncover and give the tray good natural light or LED grow lights.
Keep it moist — mist once or twice a day so the substrate never dries out completely.
Harvest — in 7–10 days. Cut with clean scissors just above the soil.
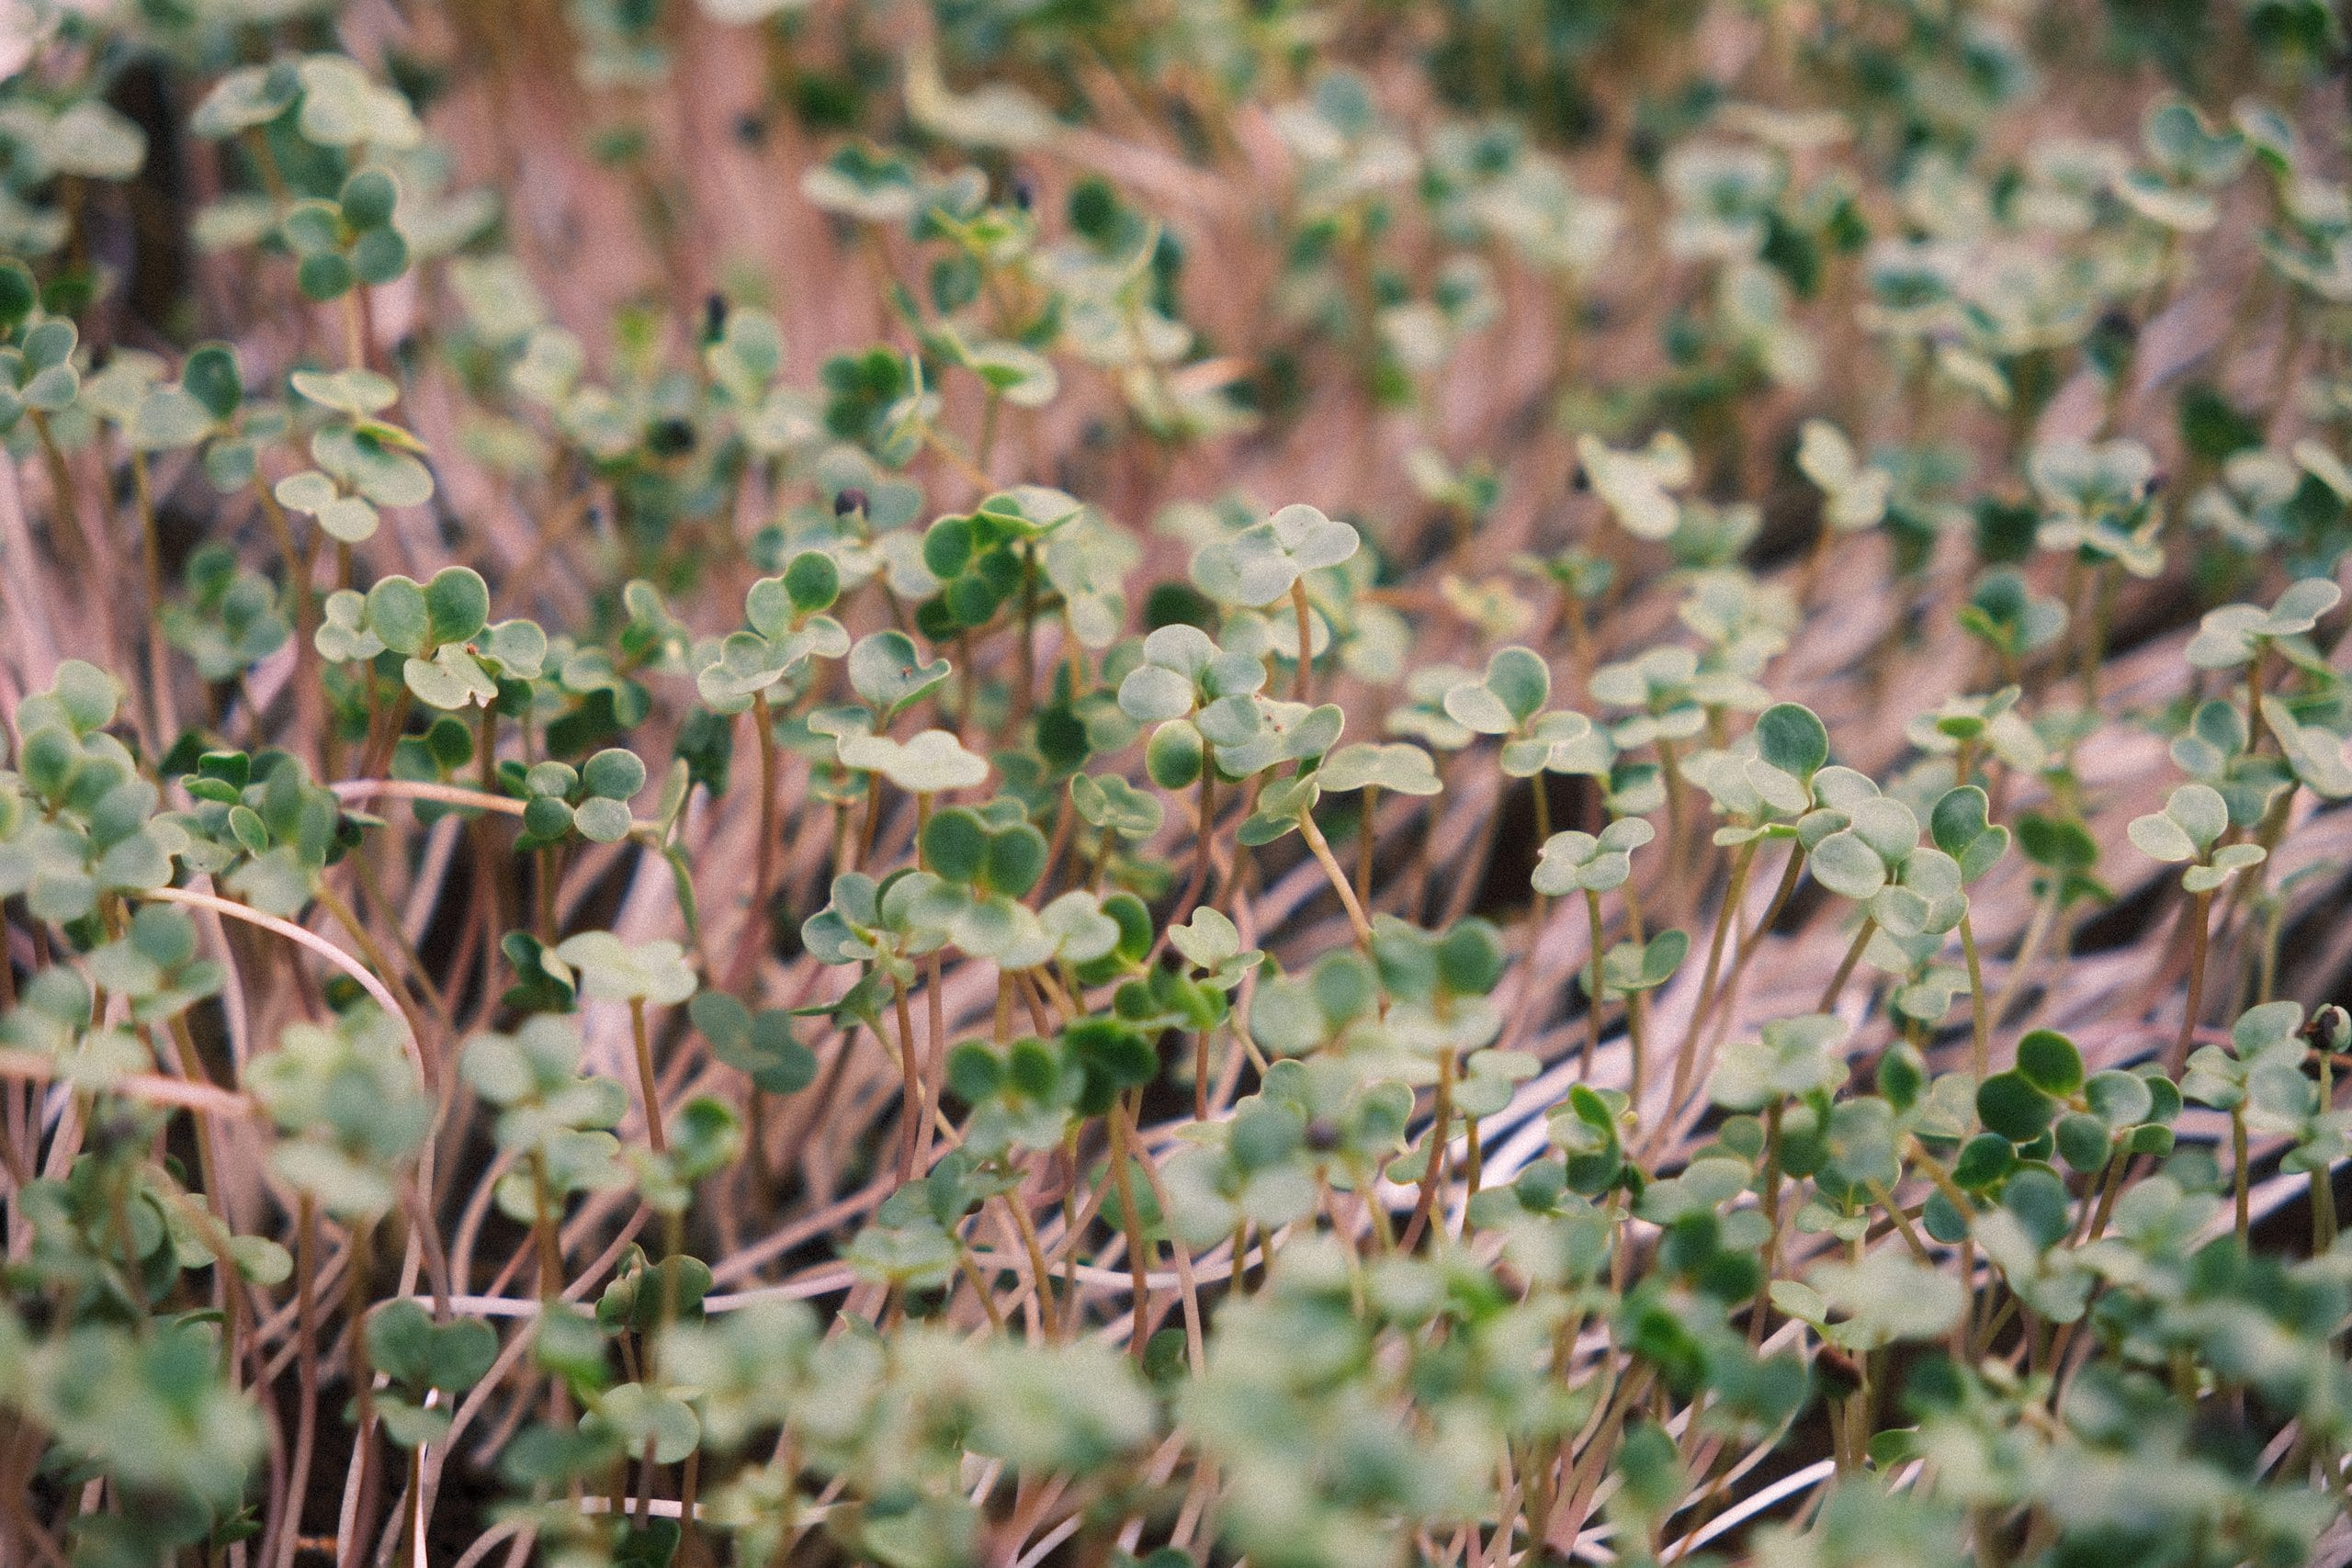
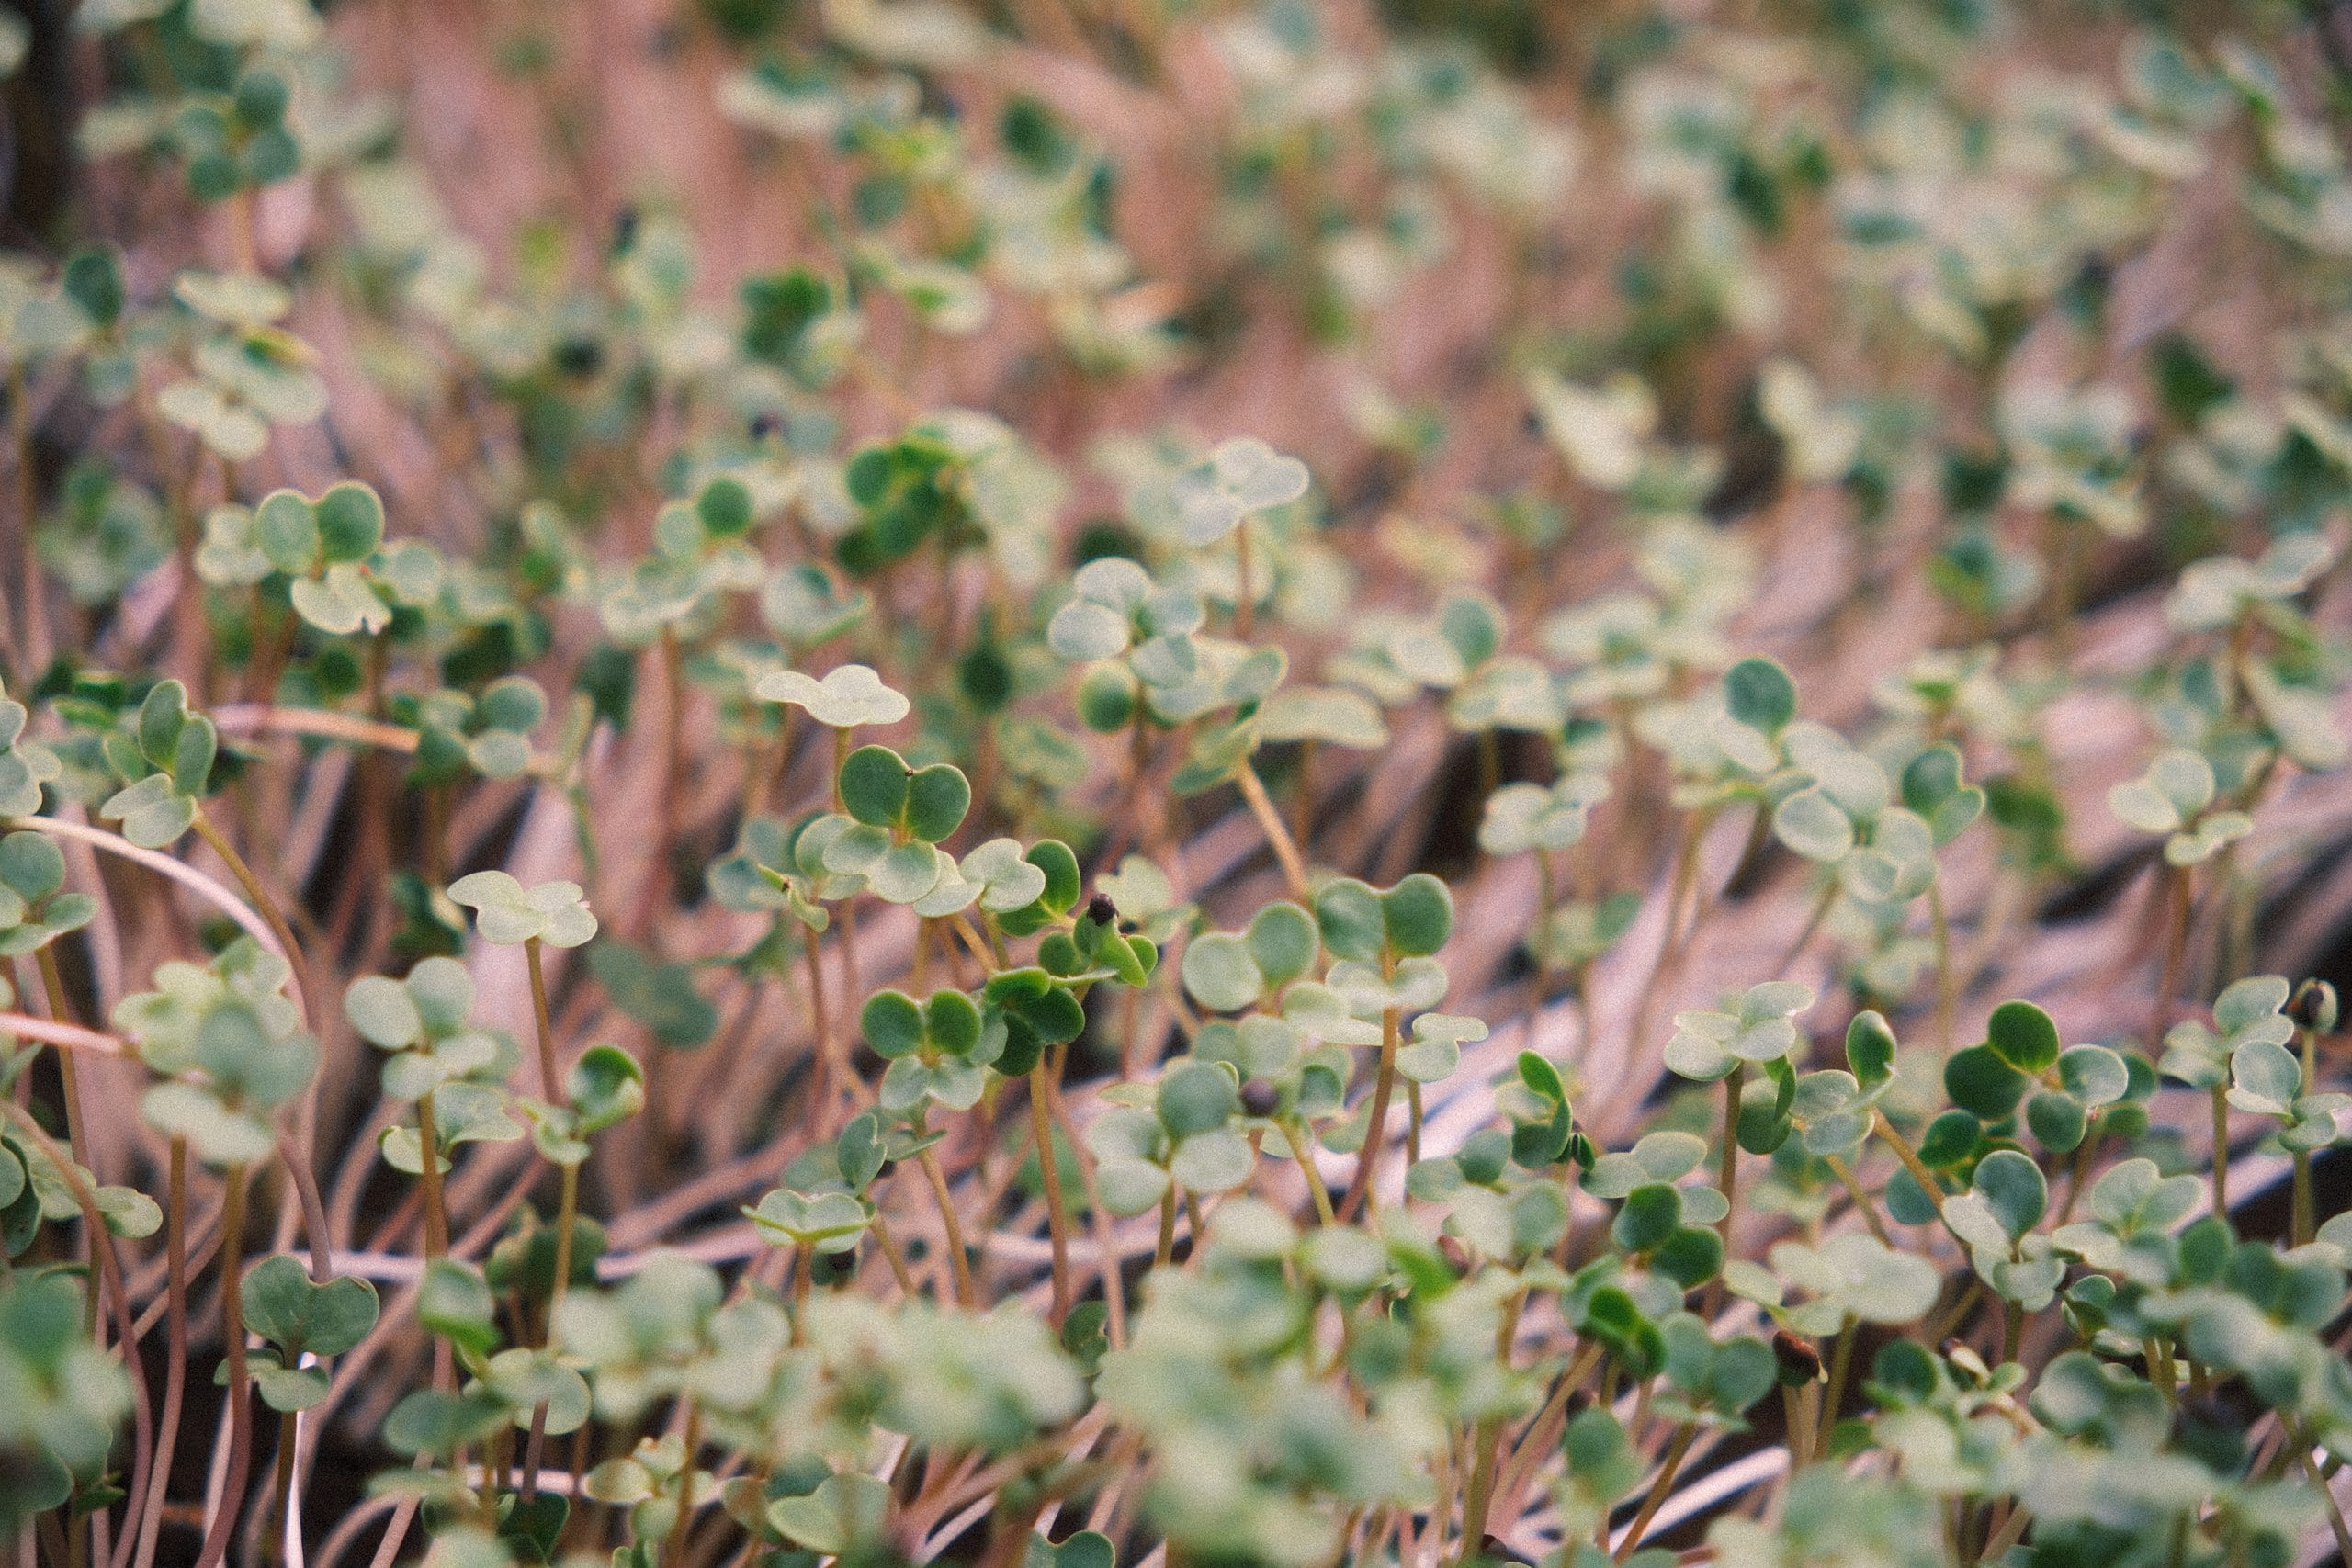
Radish microgreens are visually striking with their red stems and green leaves, and they contain vitamins A, B, C, E and K plus calcium, iron, magnesium and antioxidants.
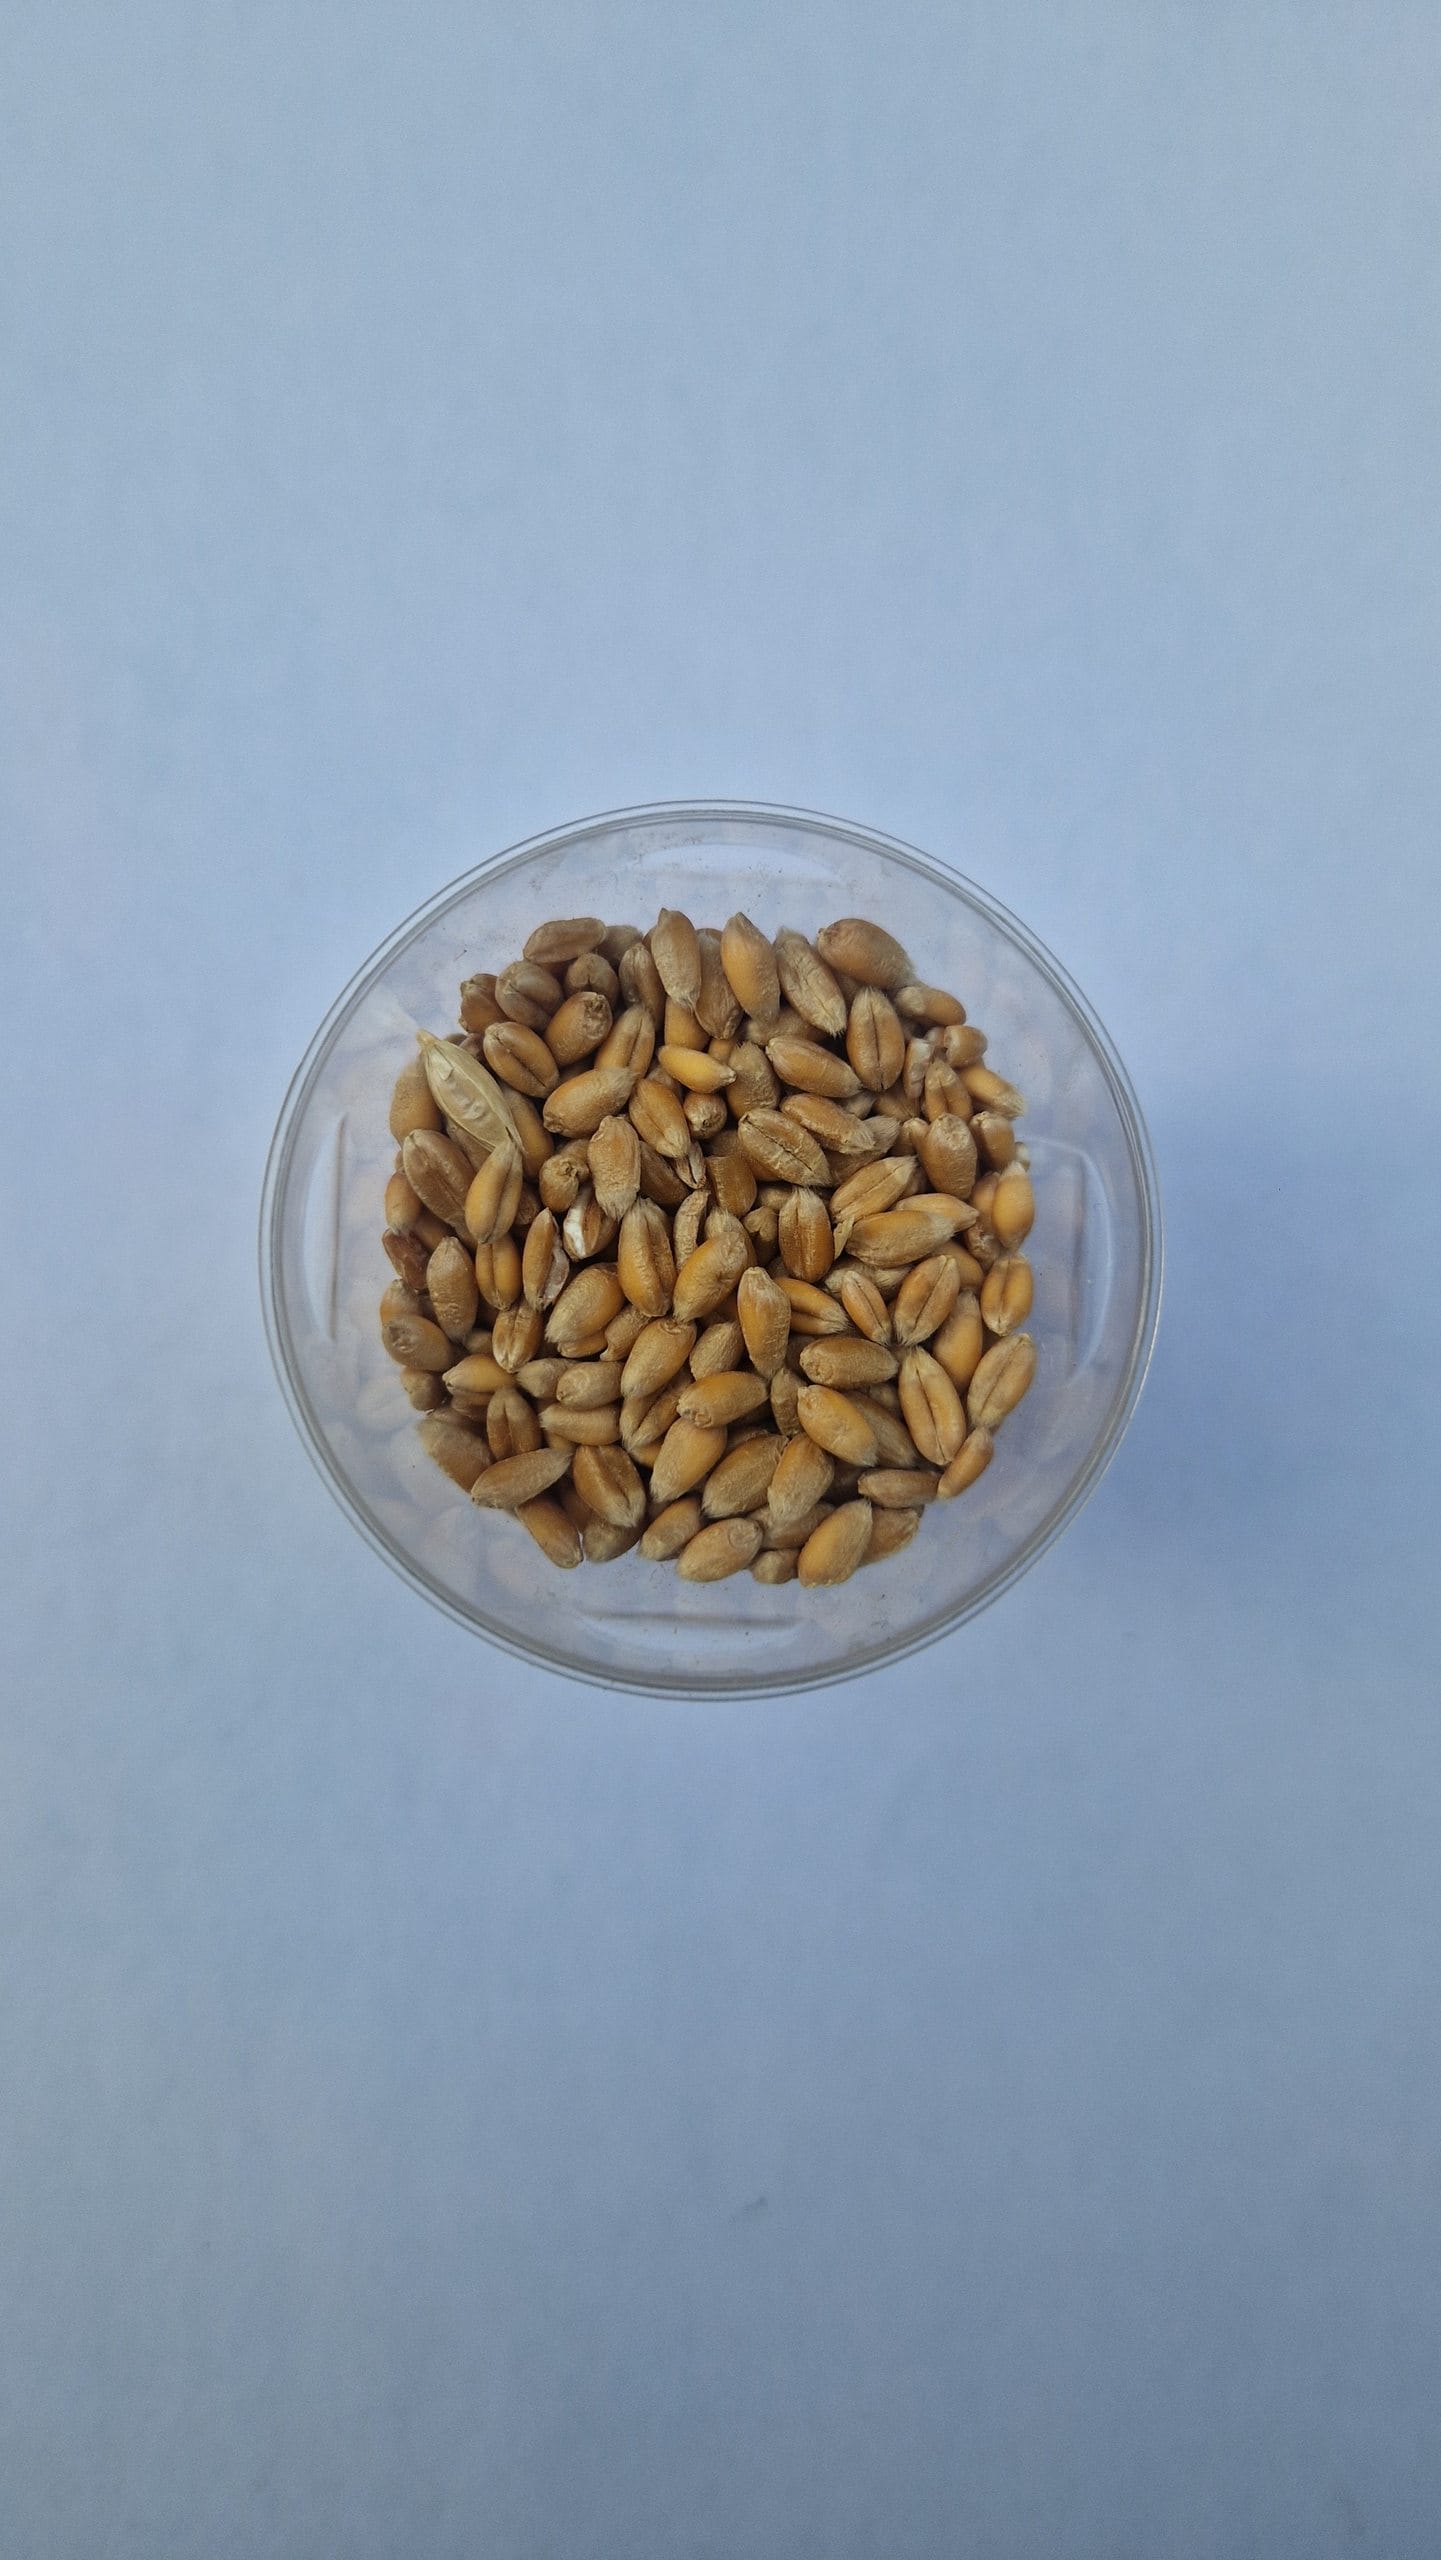
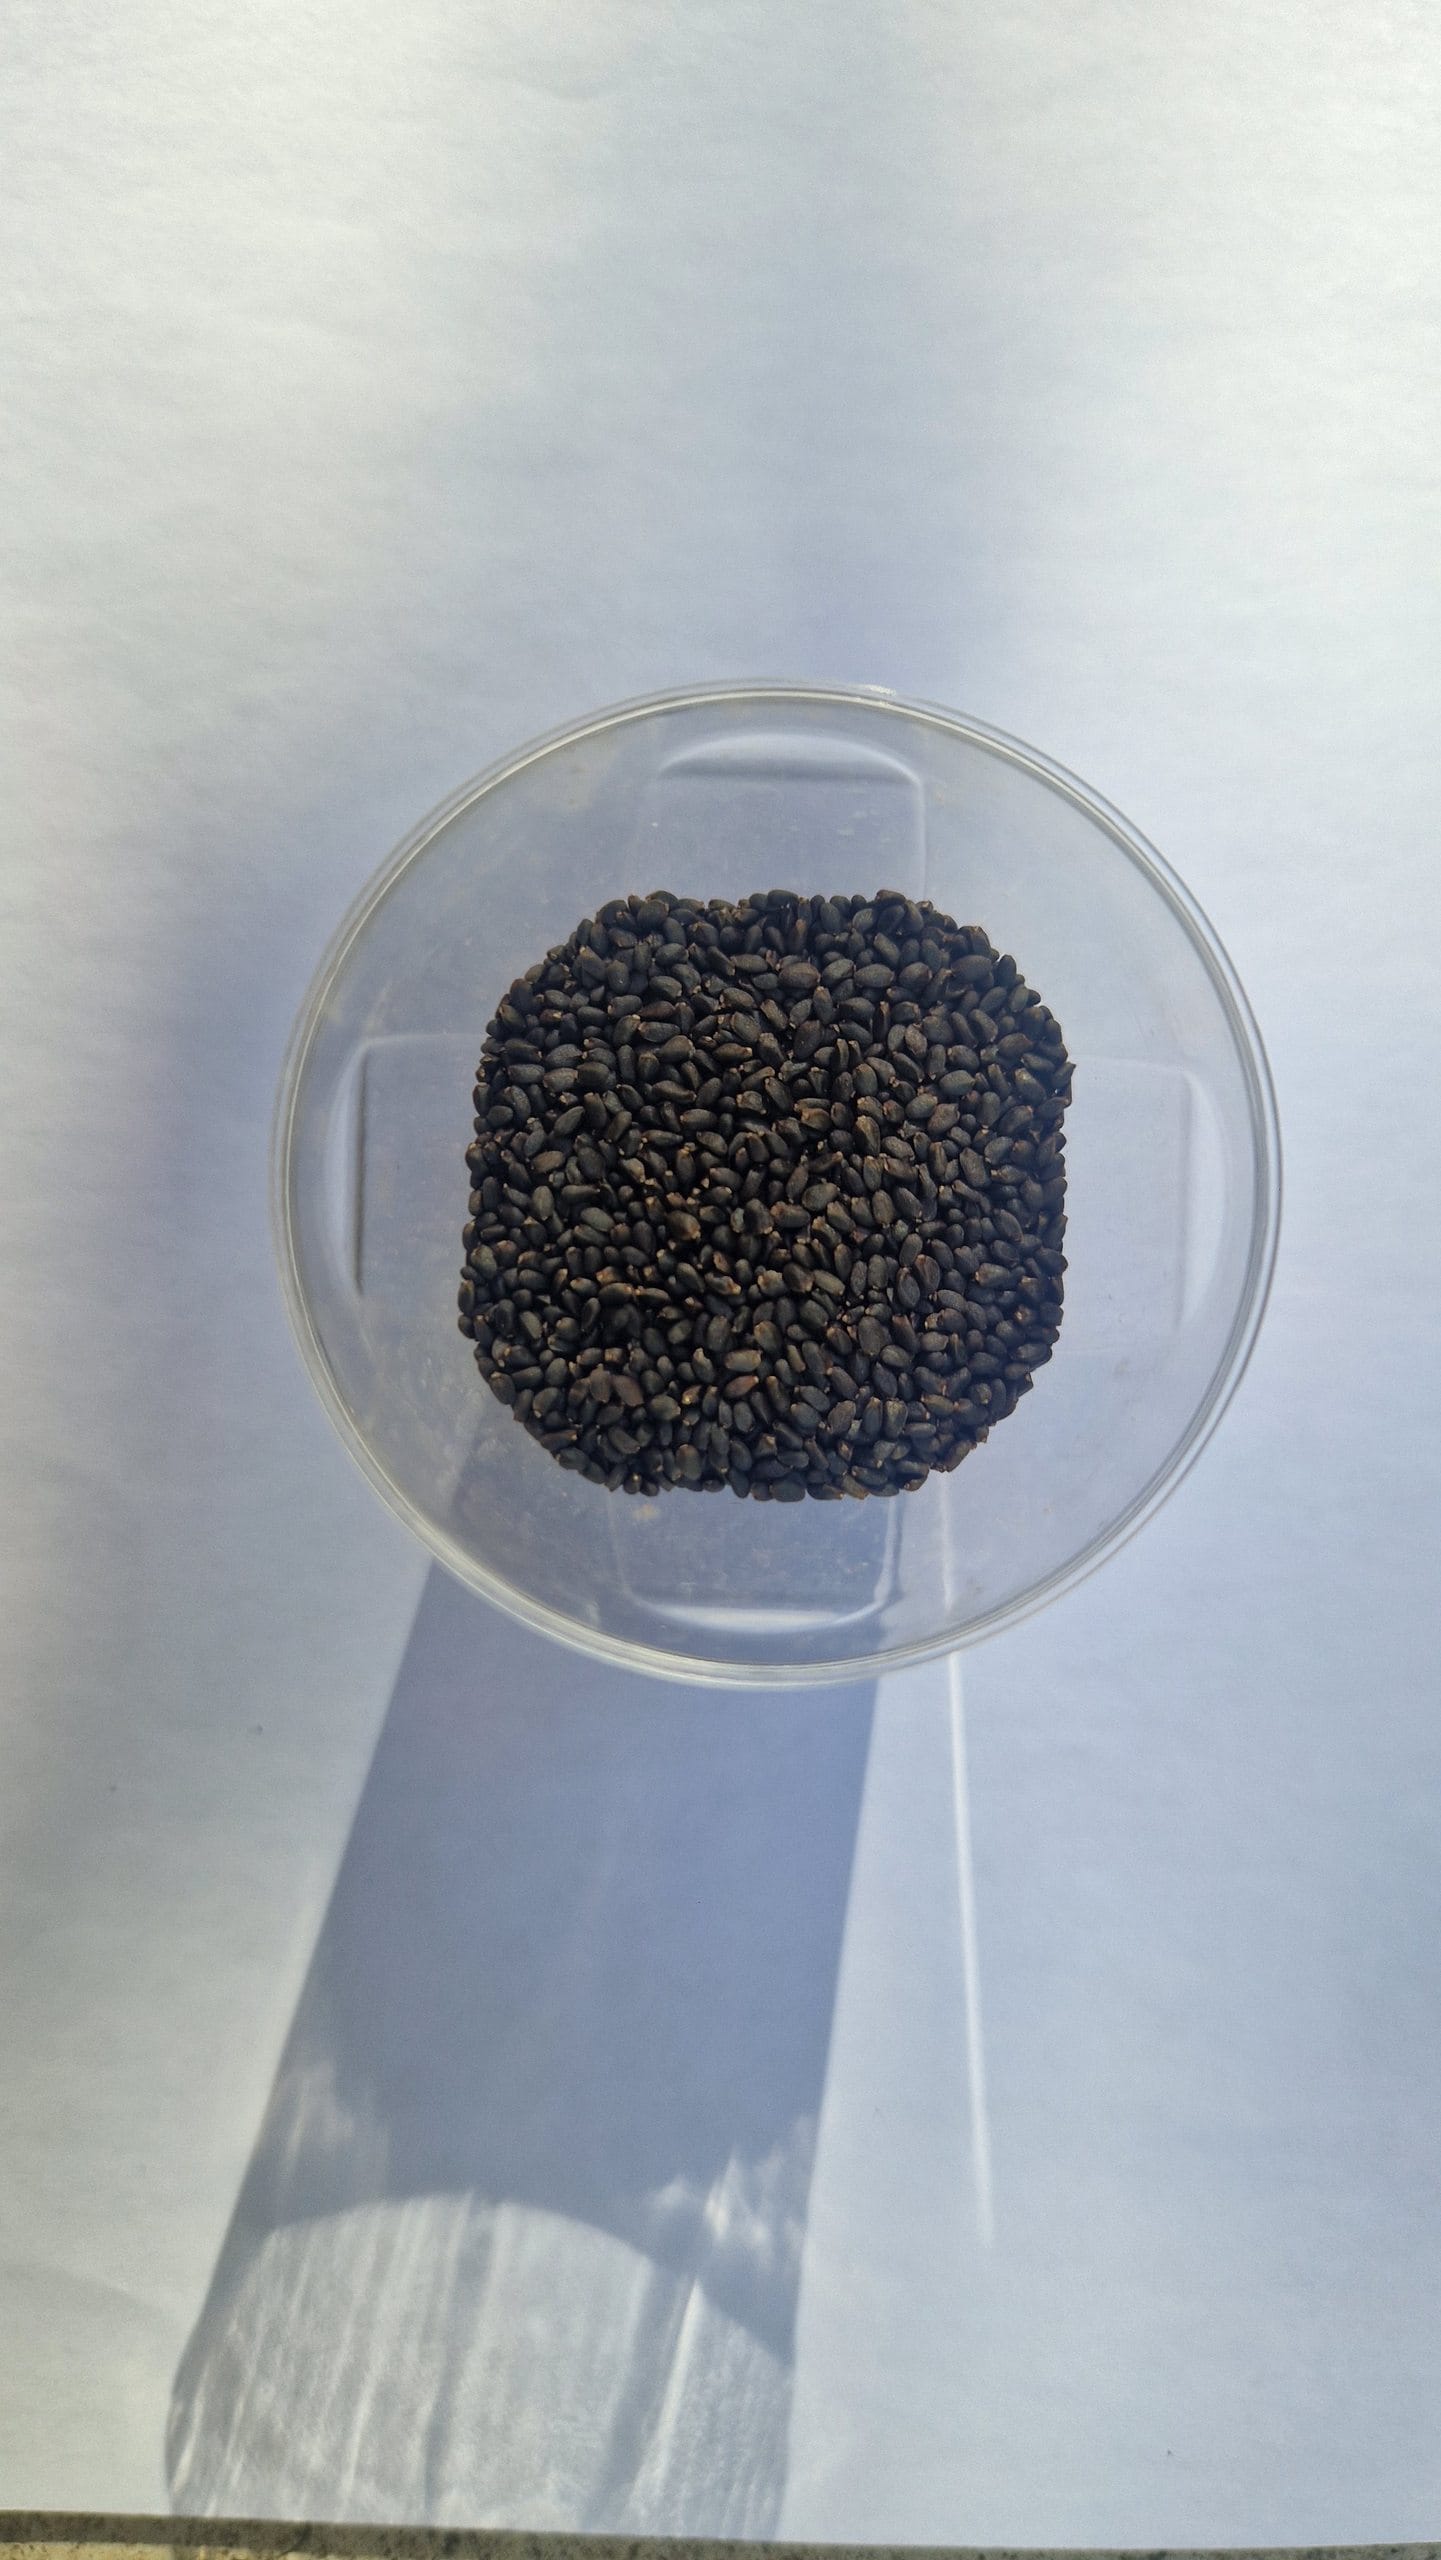
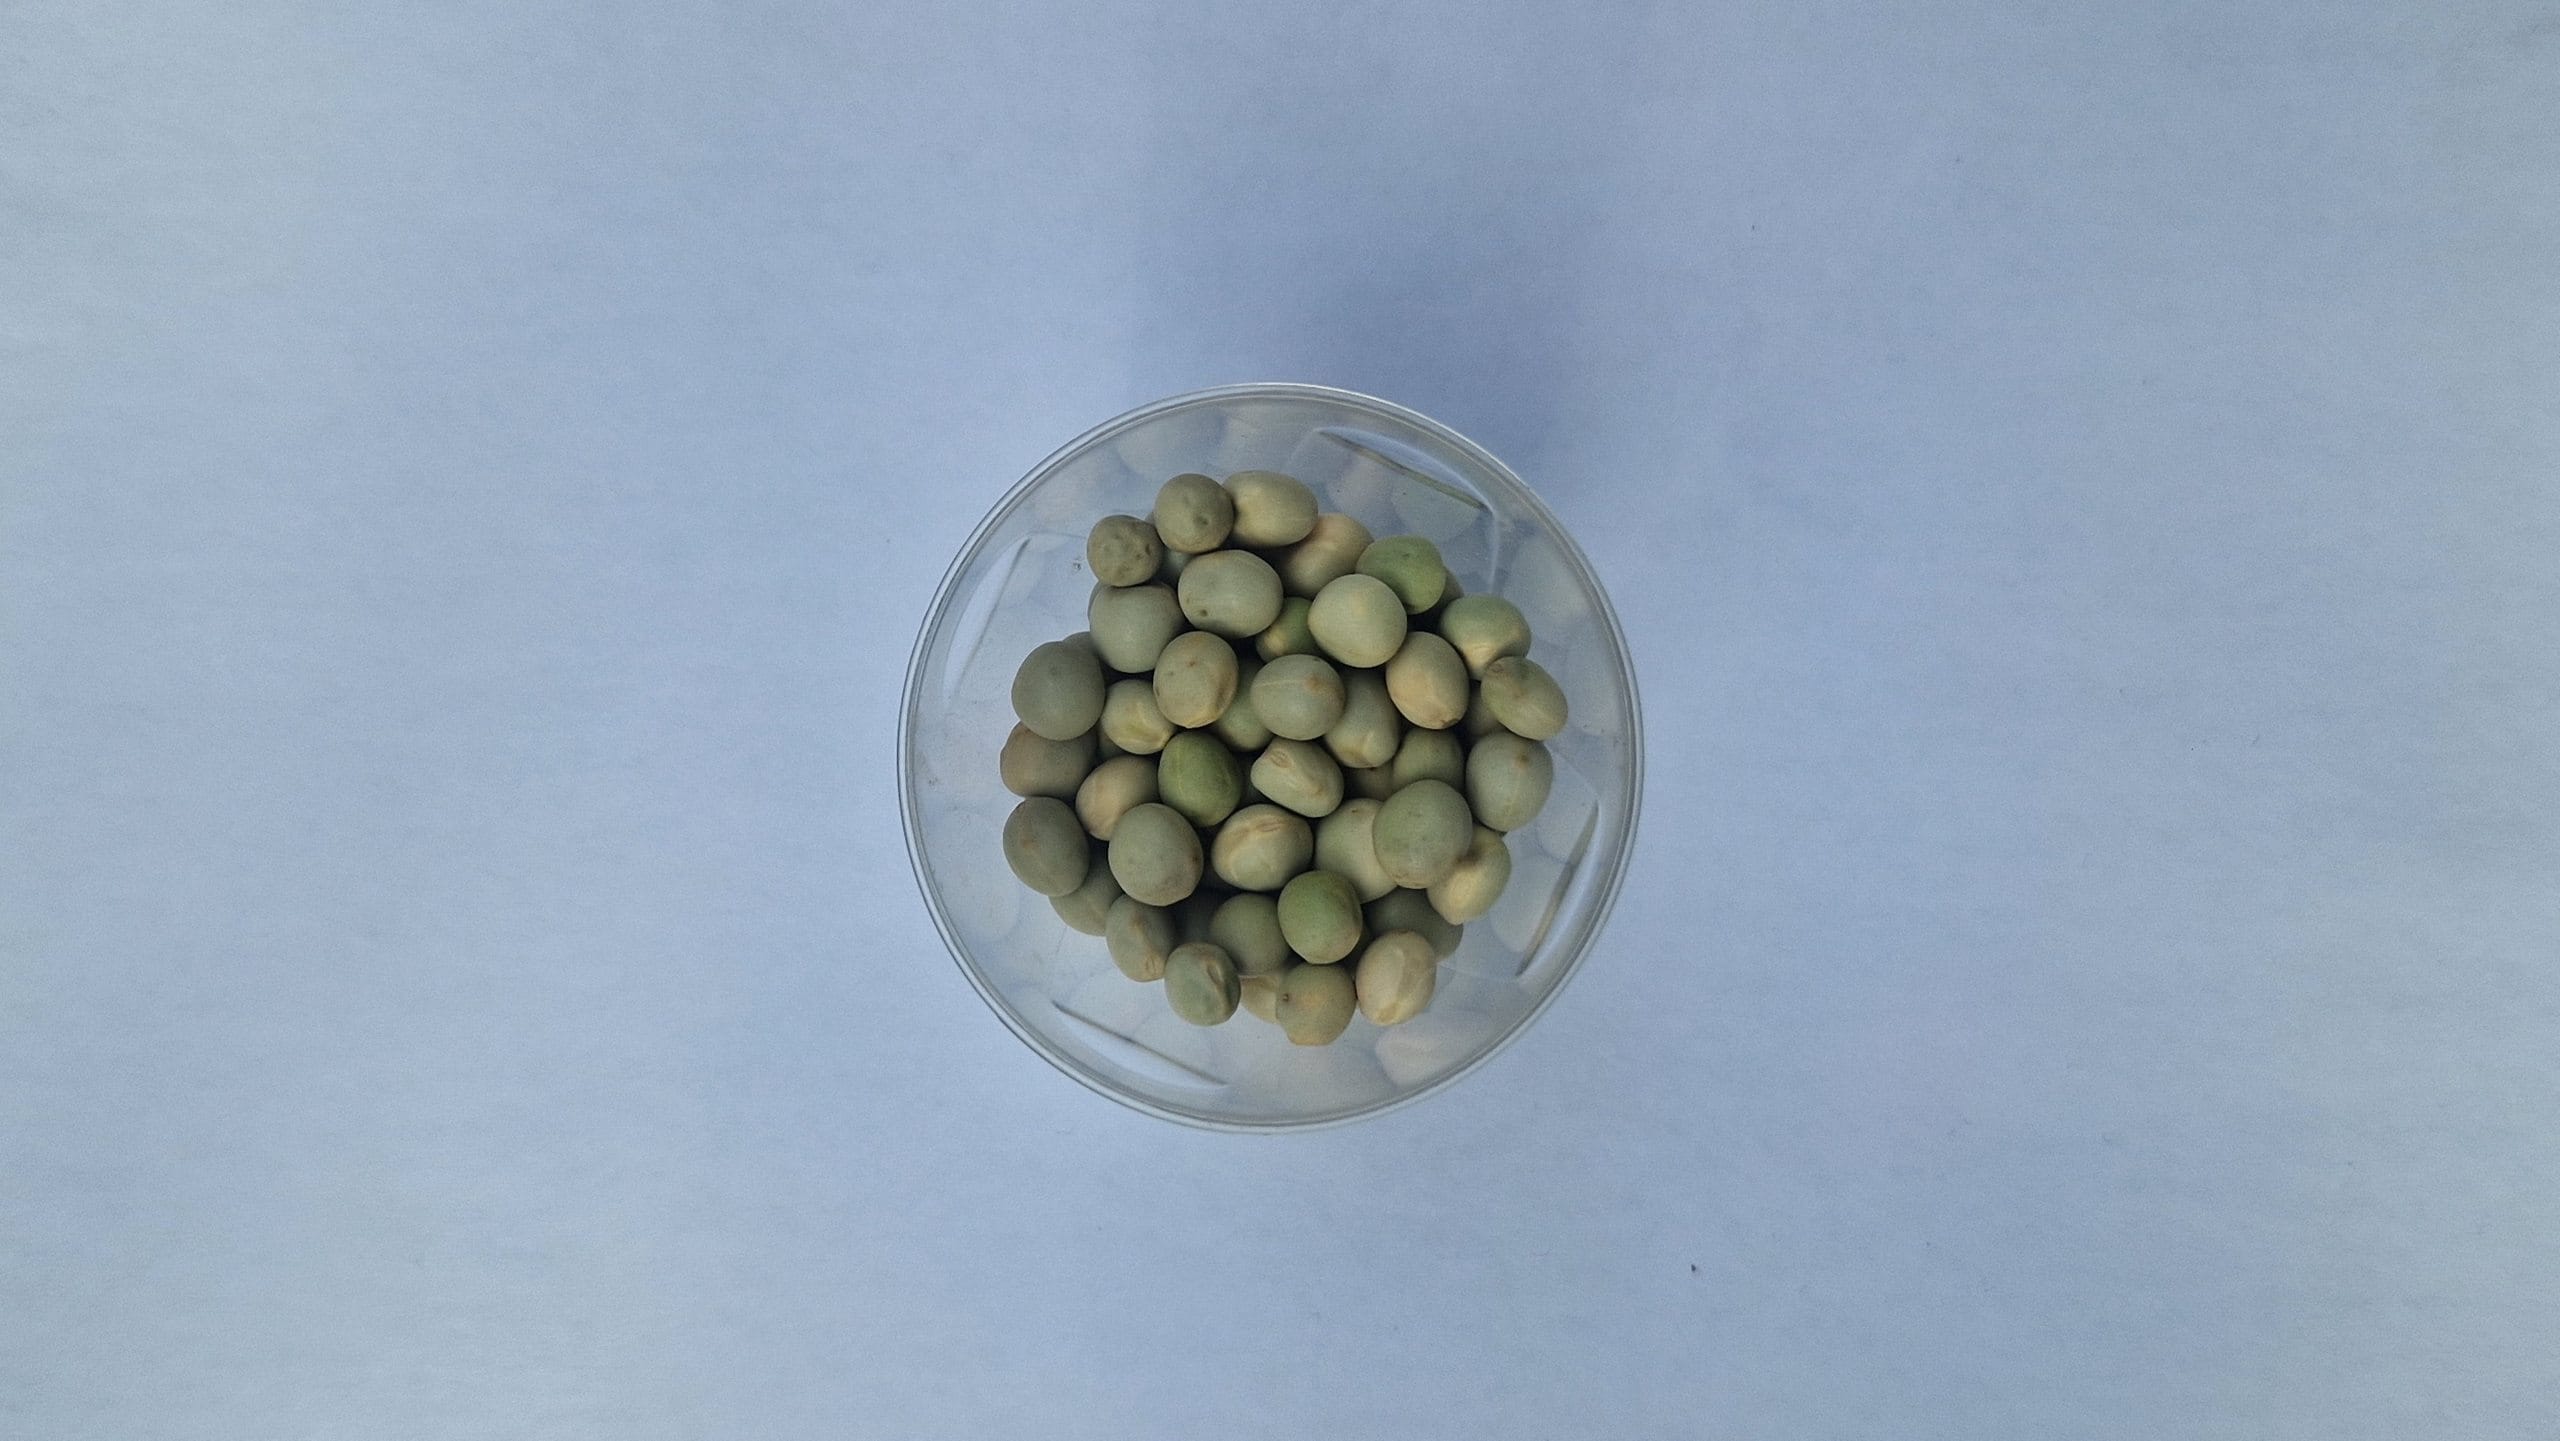
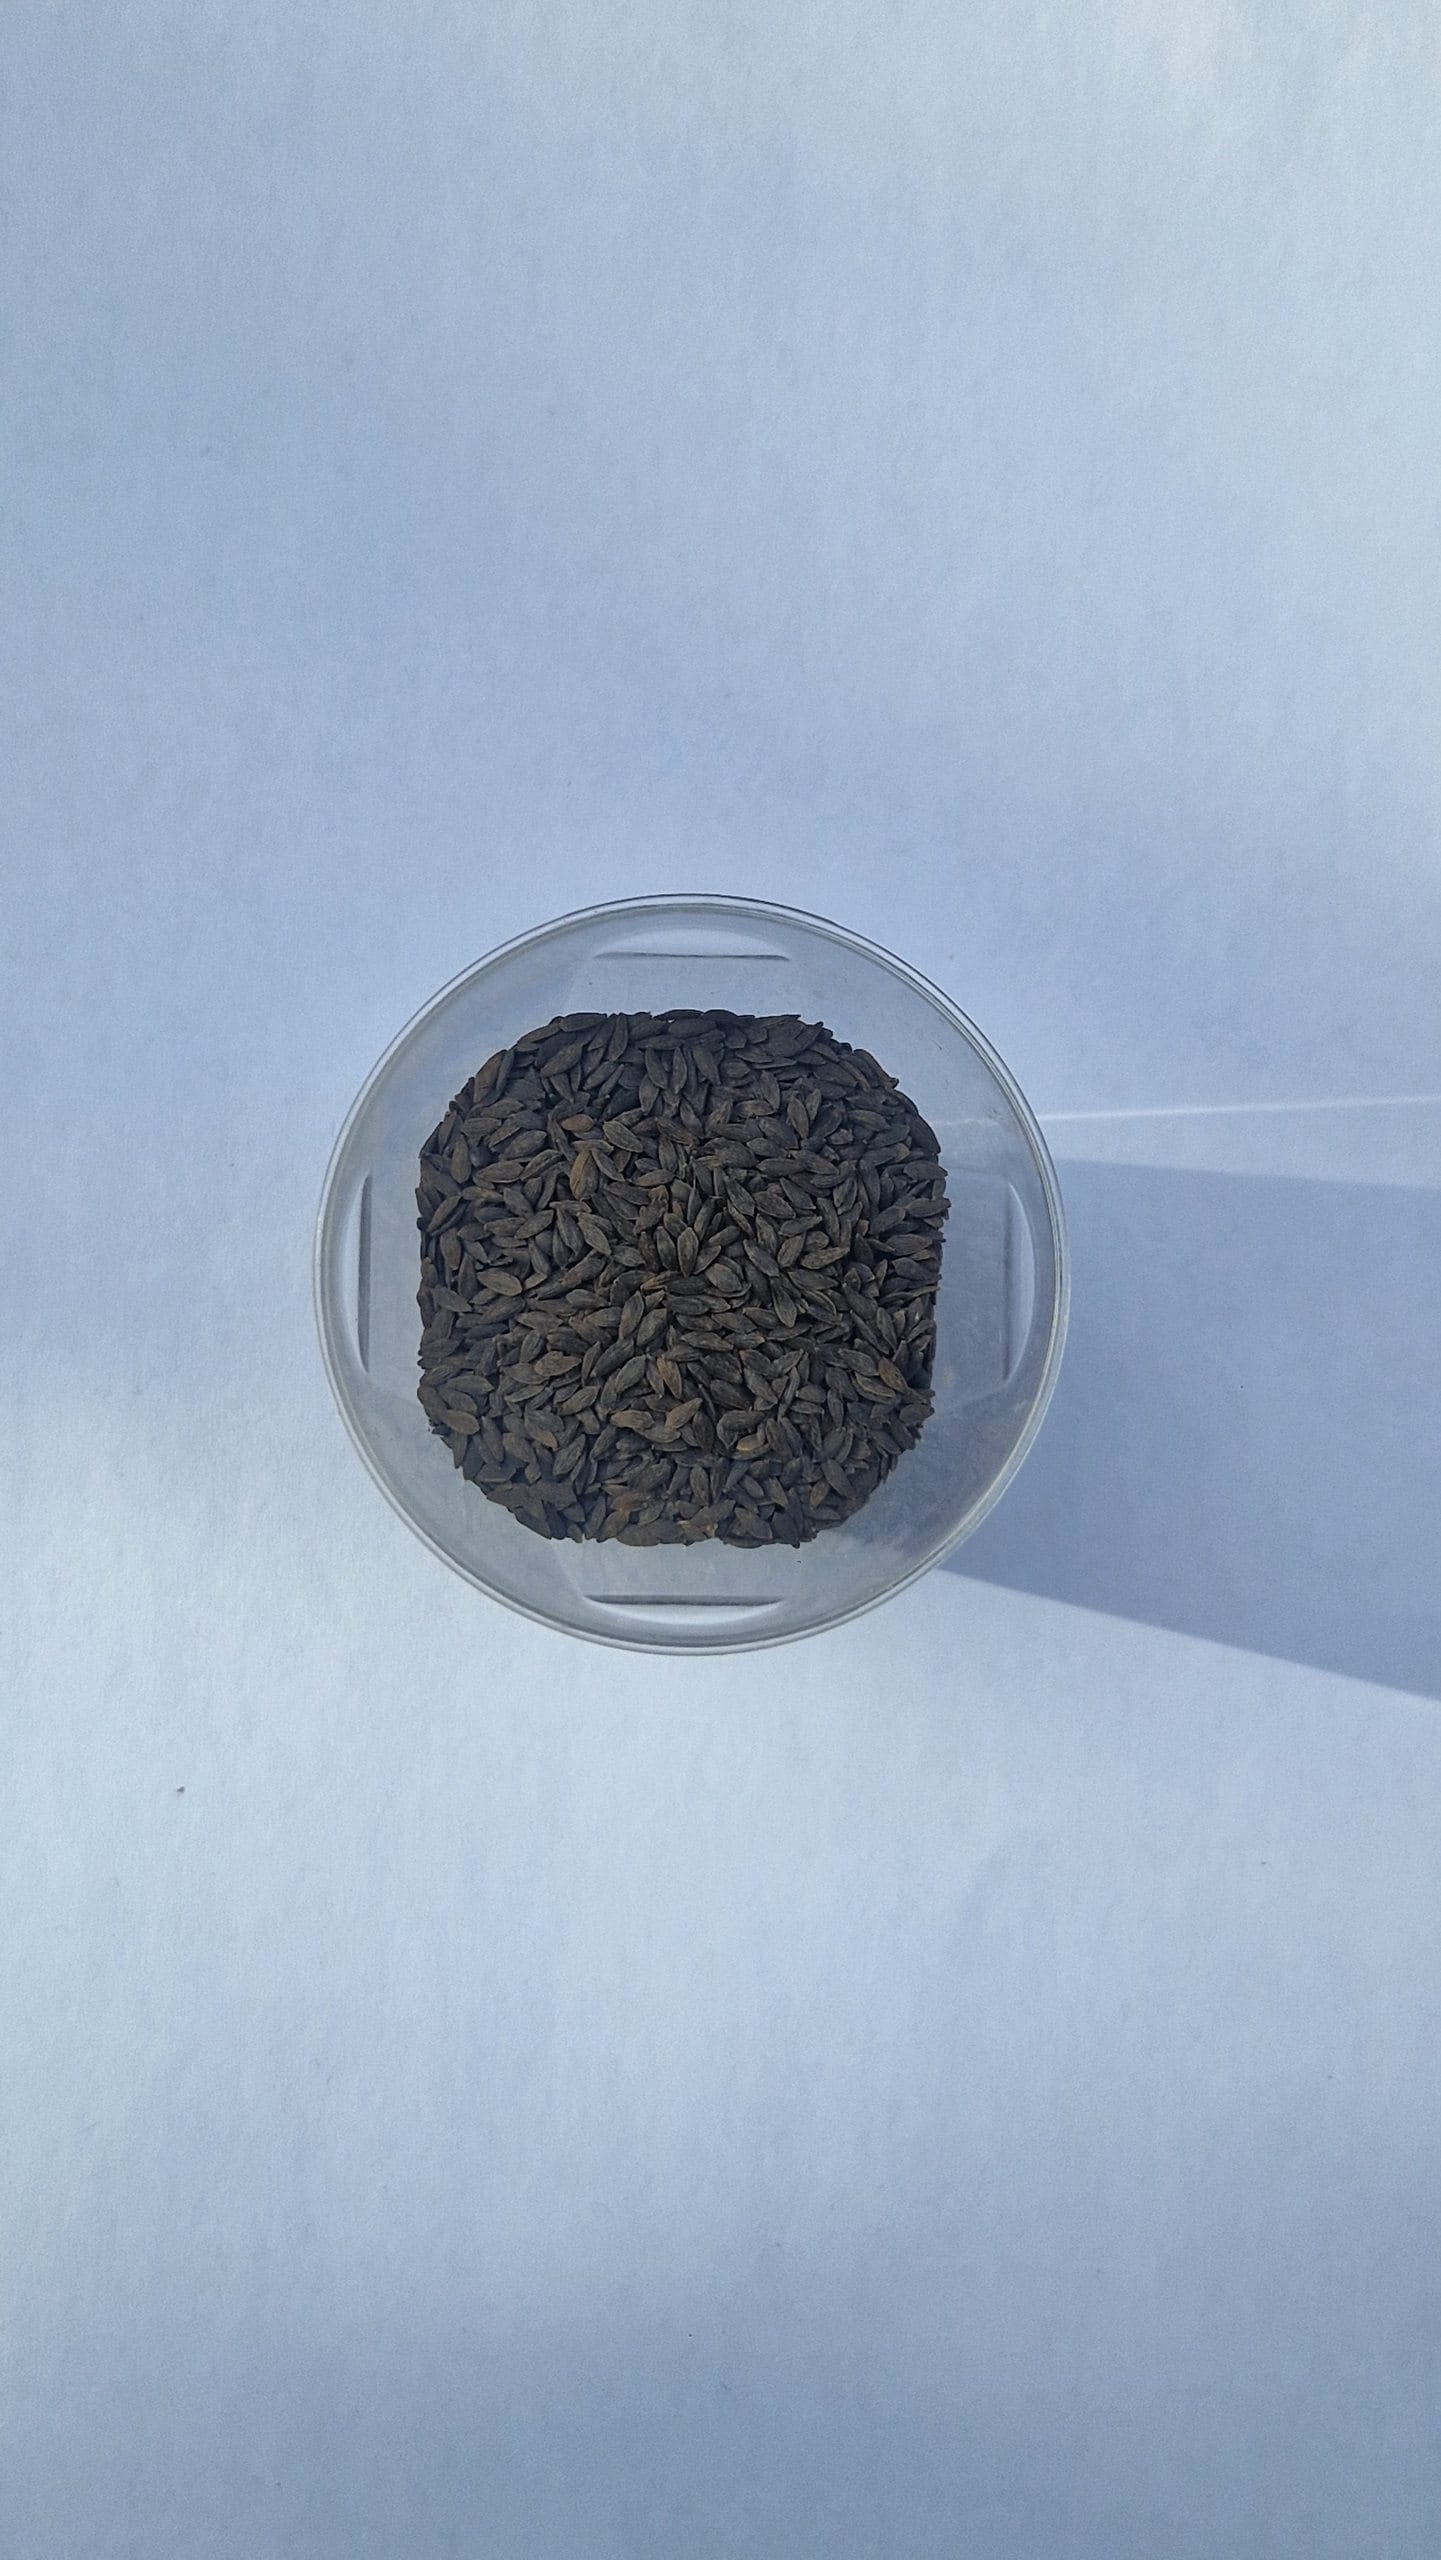
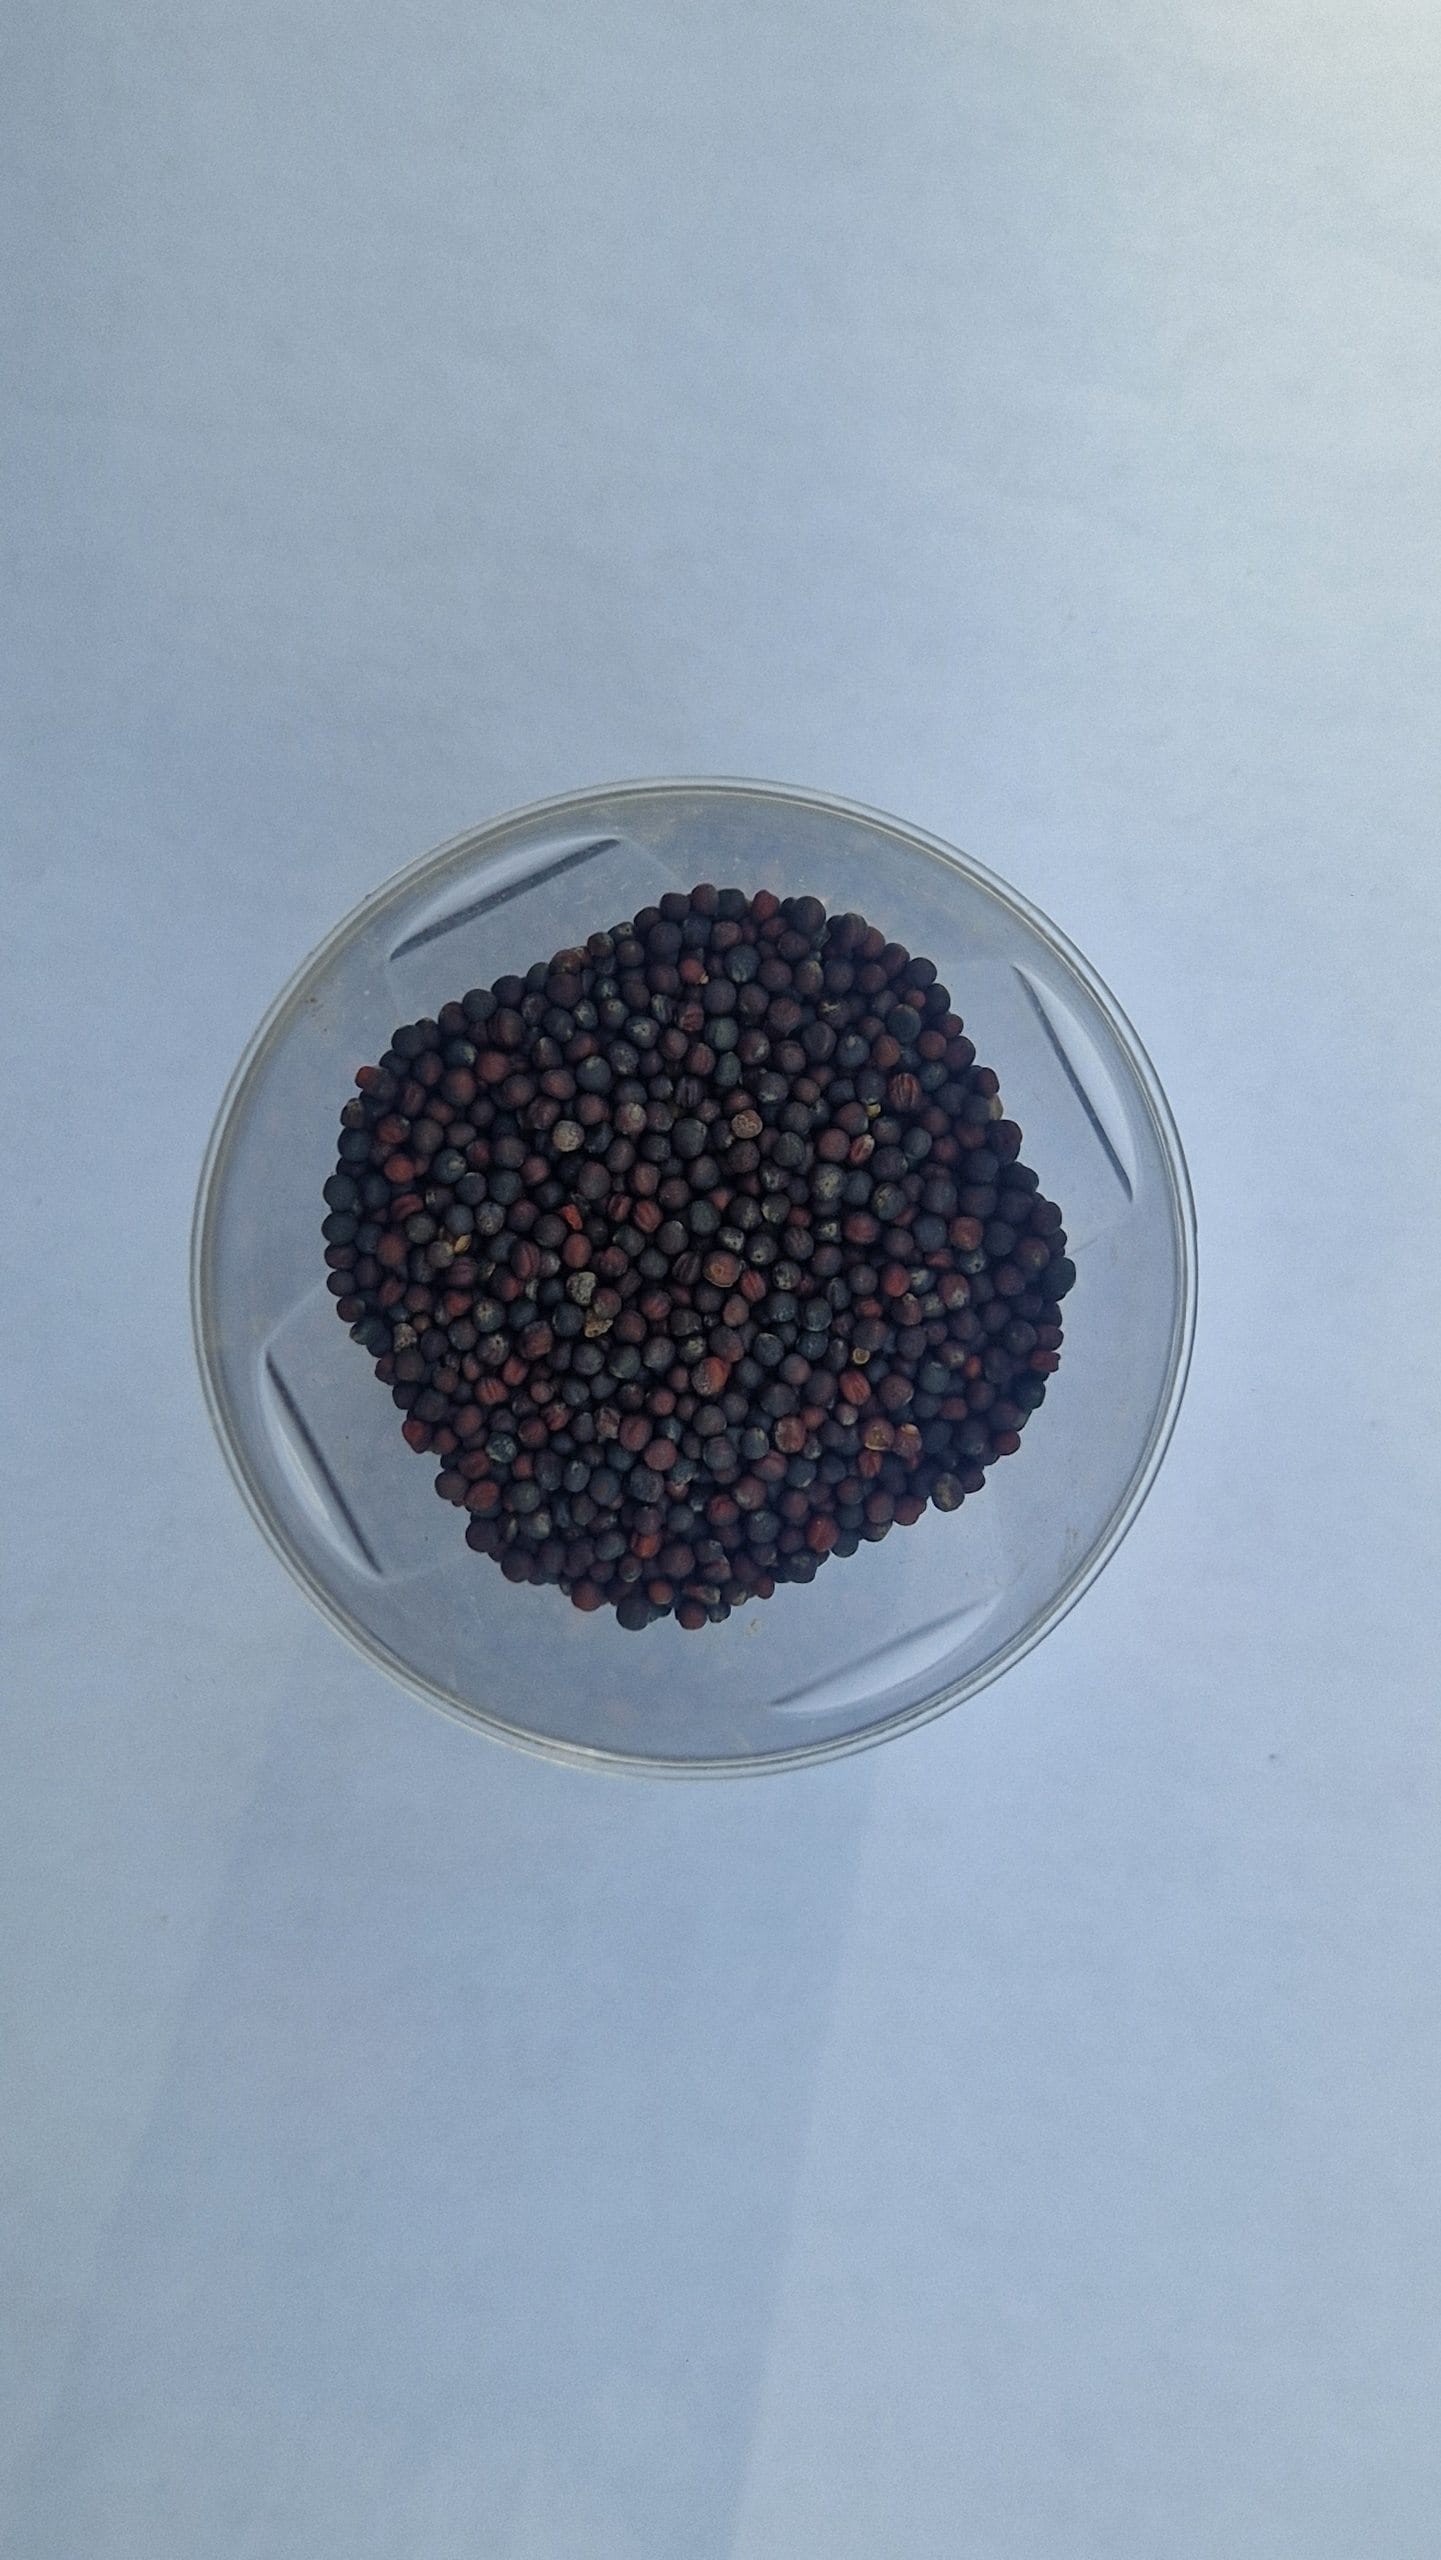
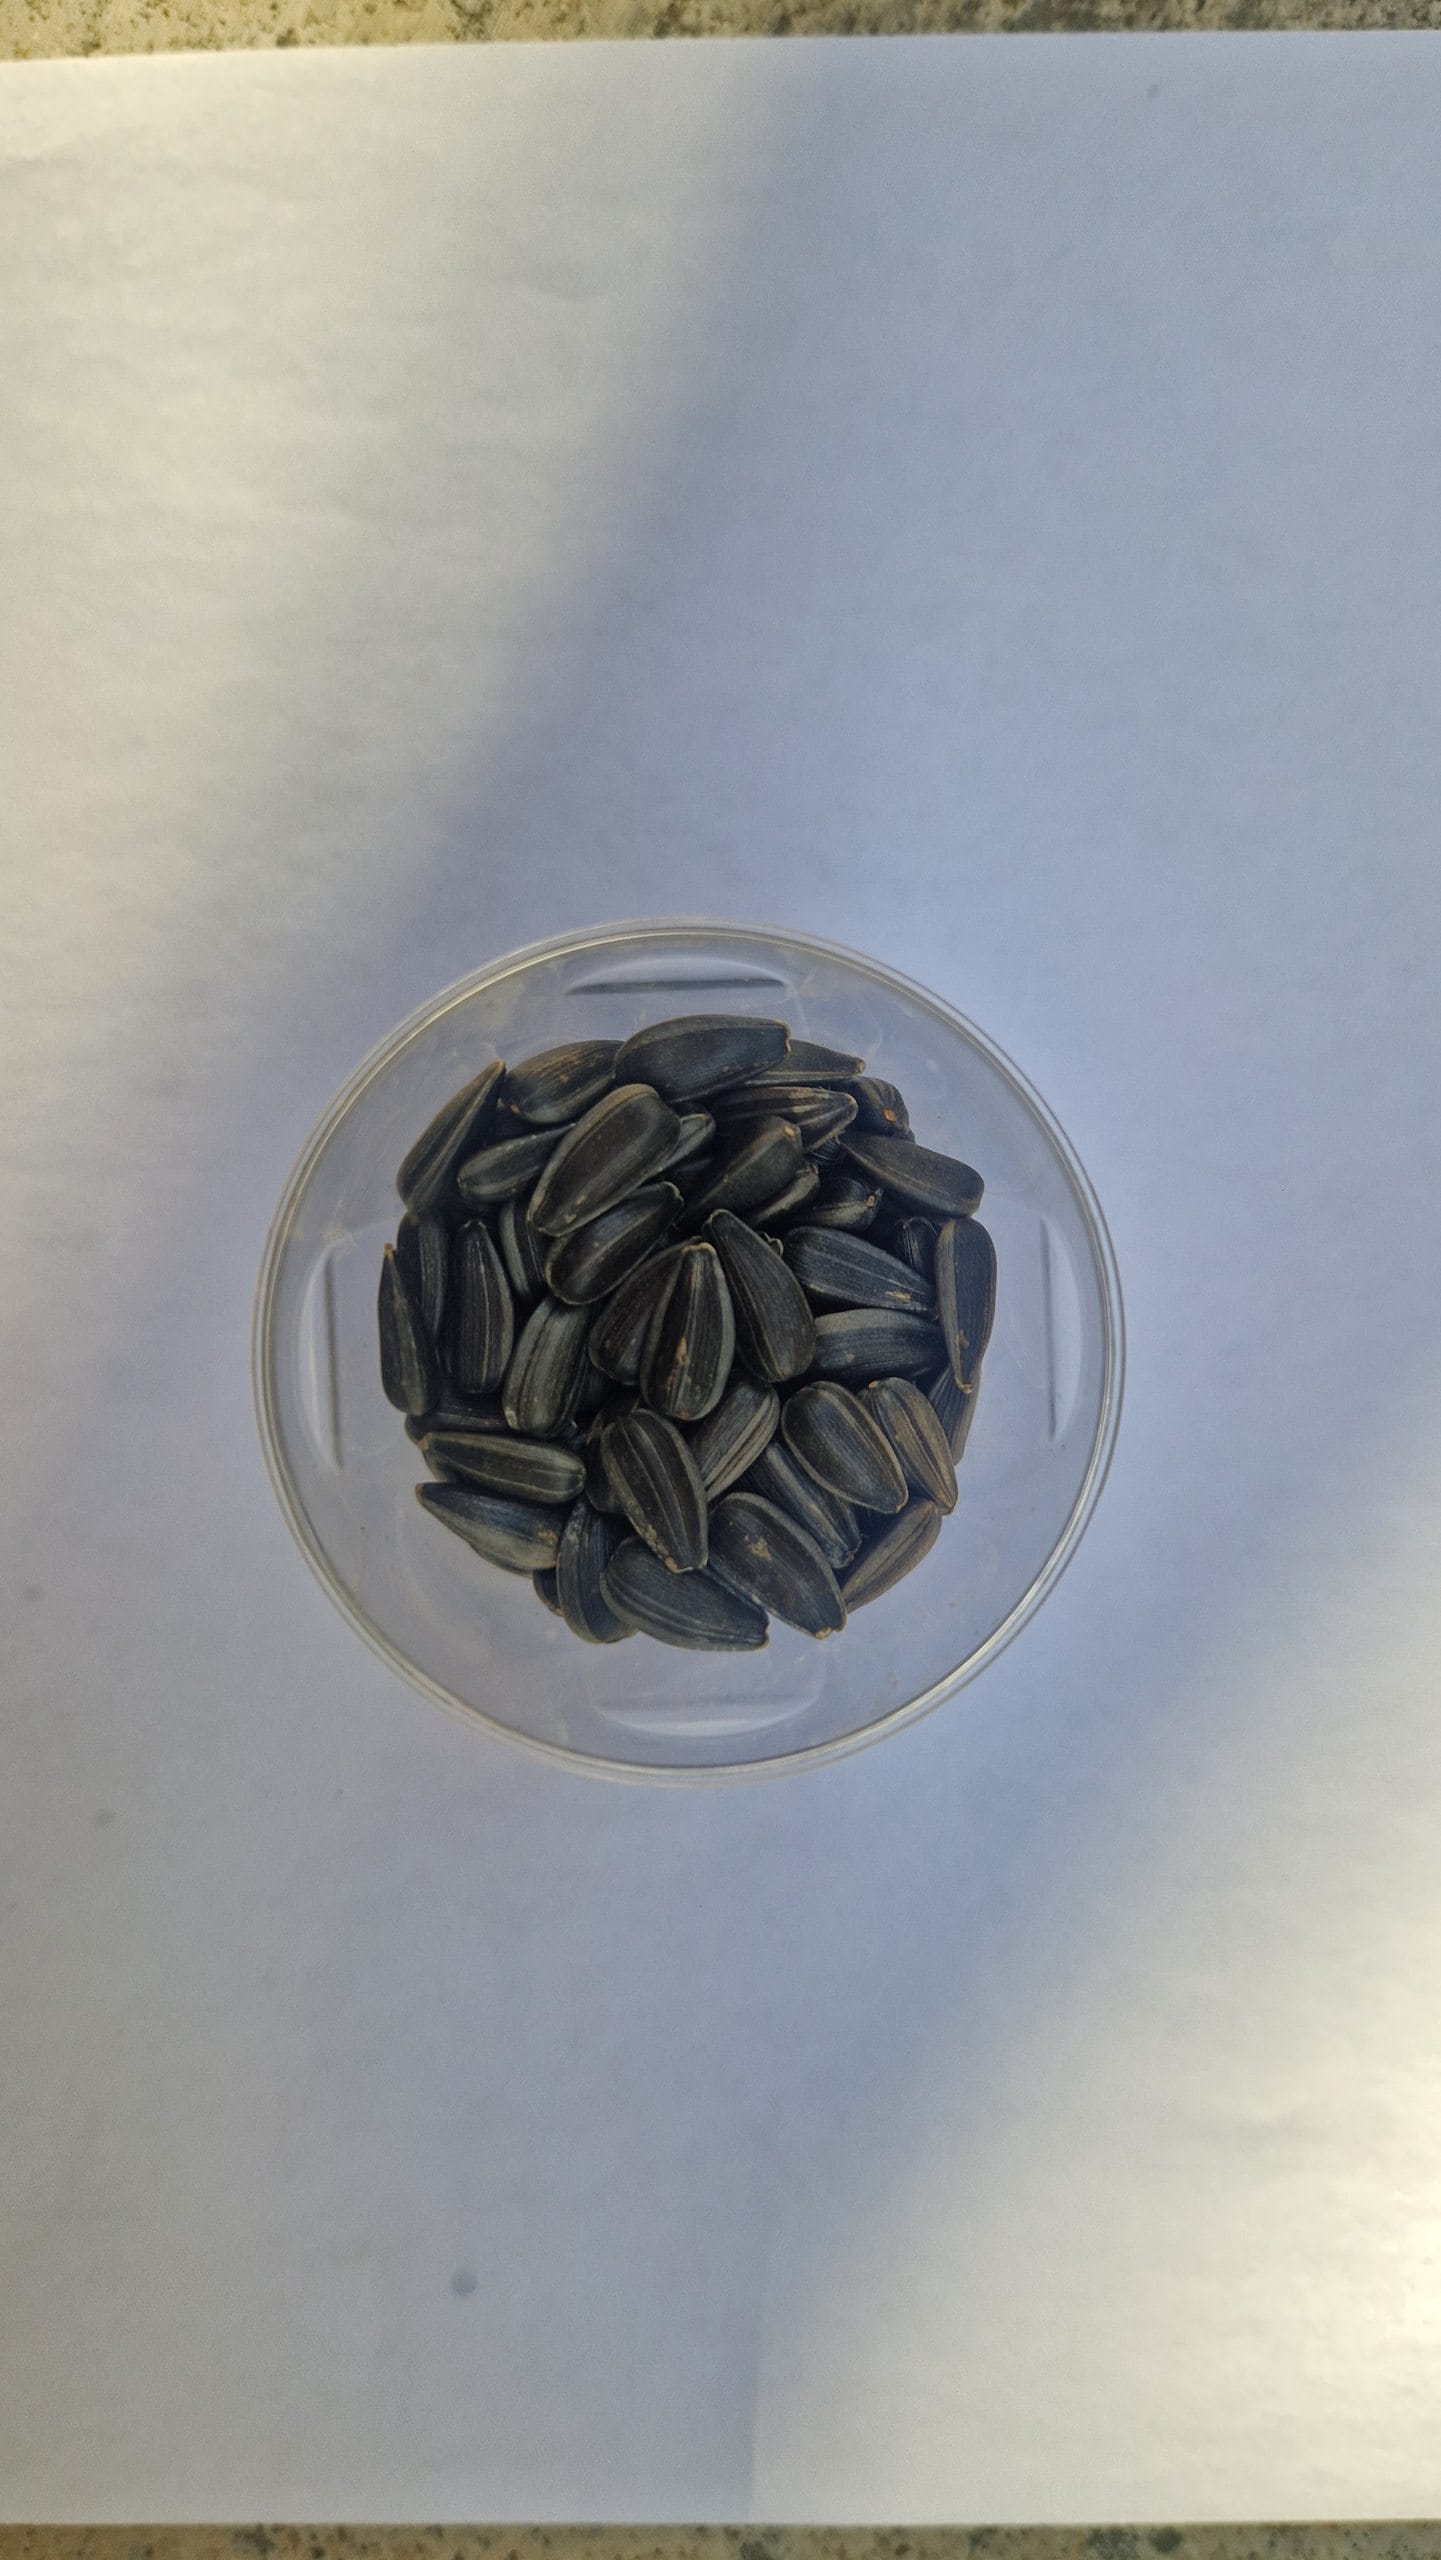
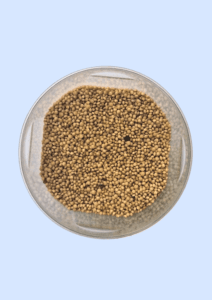
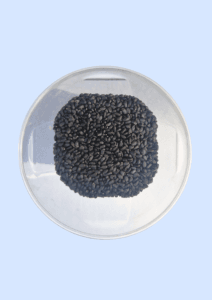
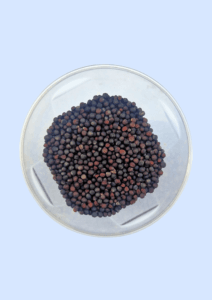
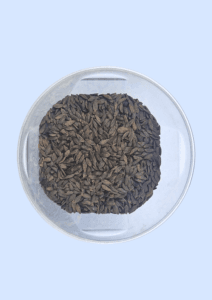
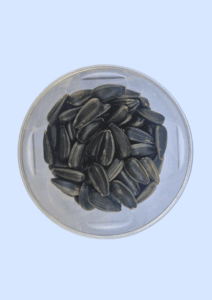
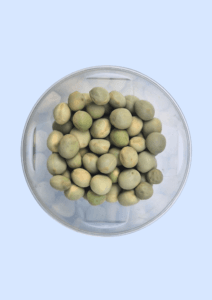
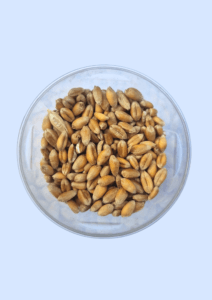
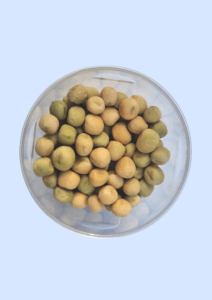
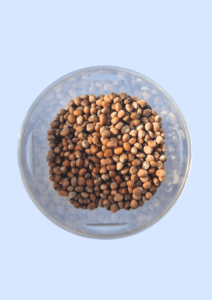
Before anything germinates, you have to recognise what is in the bag. These are the seeds we grow most often, photographed the same way so you can compare size, shape and colour against whatever you have been sold.
Amaranth
Easy to grow, packed with vitamins K, E and C, plus calcium and iron.
Basil
Intense aroma and flavour, rich in protein, vitamins and minerals.
Broccoli
Low-calorie microgreen rich in sulforaphane.
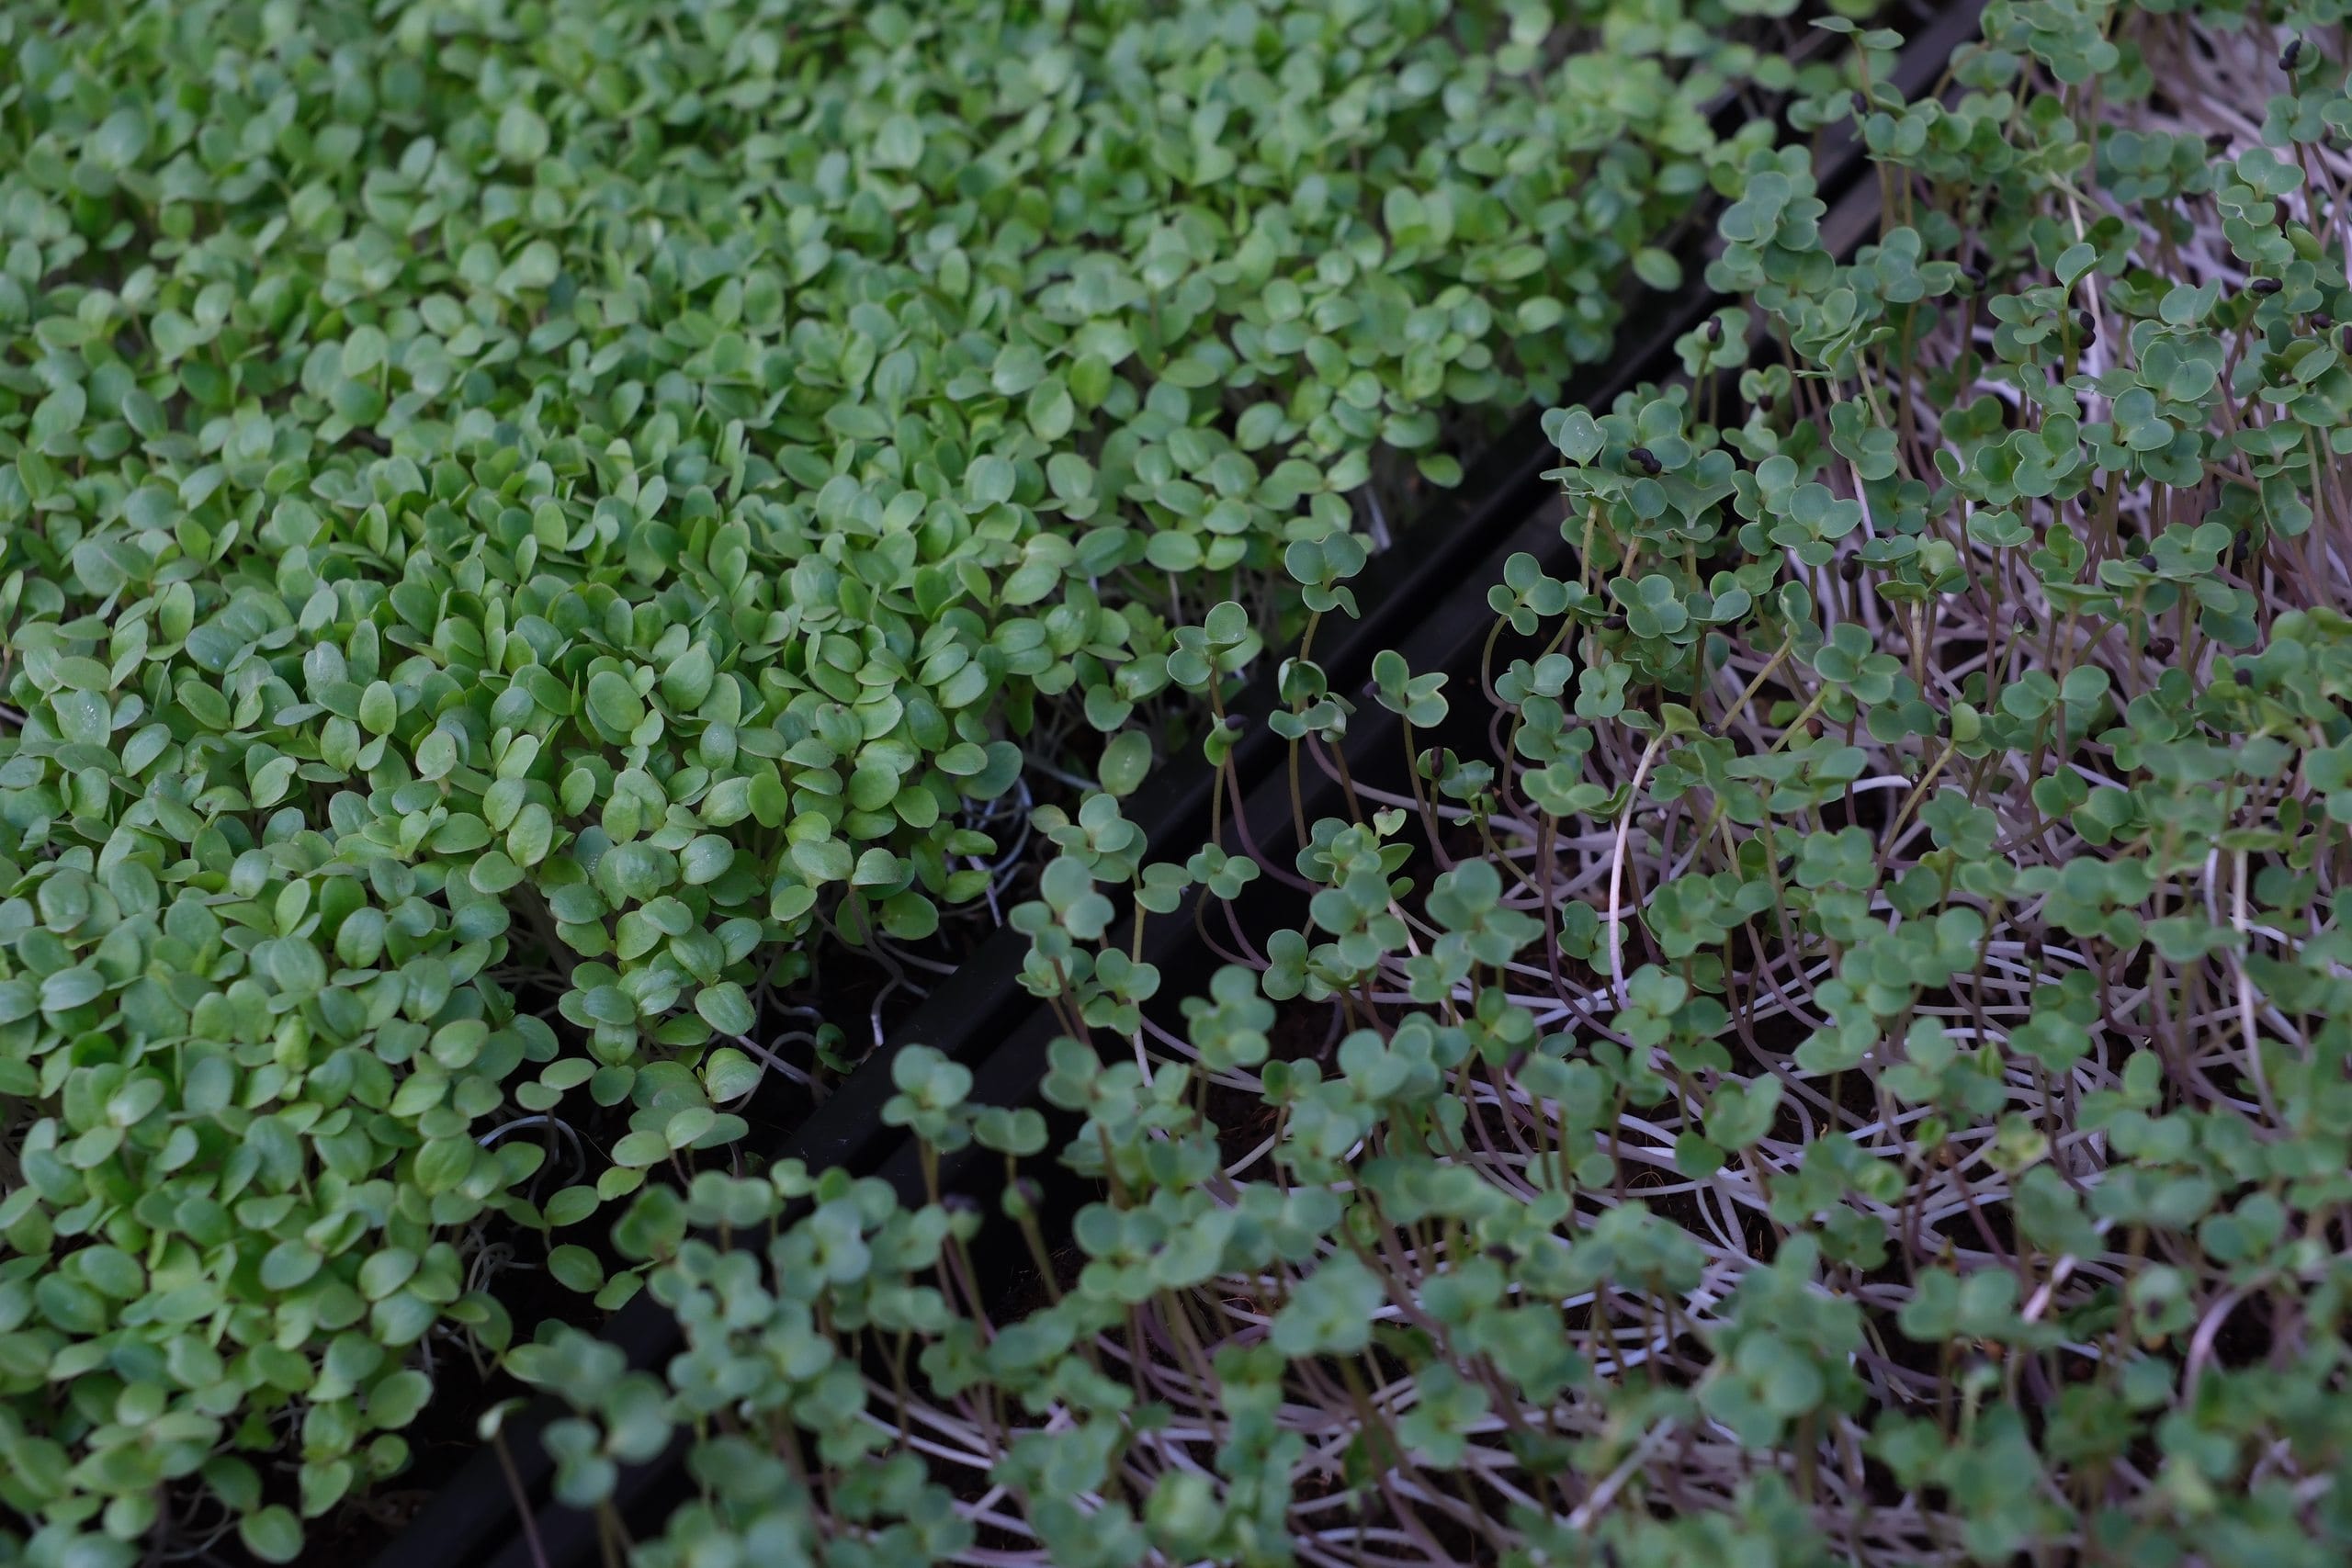
Lettuce
Ideal for beginners — easy to grow, fast and full of nutrients.
Sunflower
Loaded with vitamin E, iron, magnesium and protein.
Green pea
Fast-growing pea shoots with great texture and flavour.
Wheat
Quick-growing, mild and sweet — the usual choice for juicing.
White pea
Mild sweet-nutty flavour and tender green shoots.
Radish
Fast and spicy, with vitamins A, B, C, E and K.
Go deeper
The science behind the greens
Open-access research on microgreens, rewritten in plain language with full credit to the original authors. Open the Science Library
From tray to table
Easy, mostly vegan-friendly recipes developed and tested by our team and volunteers. Open the cookbook
Everything else
Over a hundred free articles on growing at home, growing for business, health and sustainability. Browse all articles
Growing these with a class or a project?
These guides are free to use in any classroom, youth group or Erasmus+ project — and there is almost certainly a hook for your field.
Co-funded by the European Union.
This portal presents the microgreens methodology; the organisation behind it is EVEC Athens — the European Voluntary and Educational Center (evec.org.gr). Views and opinions expressed are those of the author(s) only and do not necessarily reflect those of the European Union or the European Commission. Neither the European Union nor the granting authority can be held responsible for them.