Get in touch
Questions about growing, workshops, the cooperative or partnerships? Send us a message and we will reply by email.
Prefer email? Write to erasmus@evec.org.gr

EVEC Microgreens
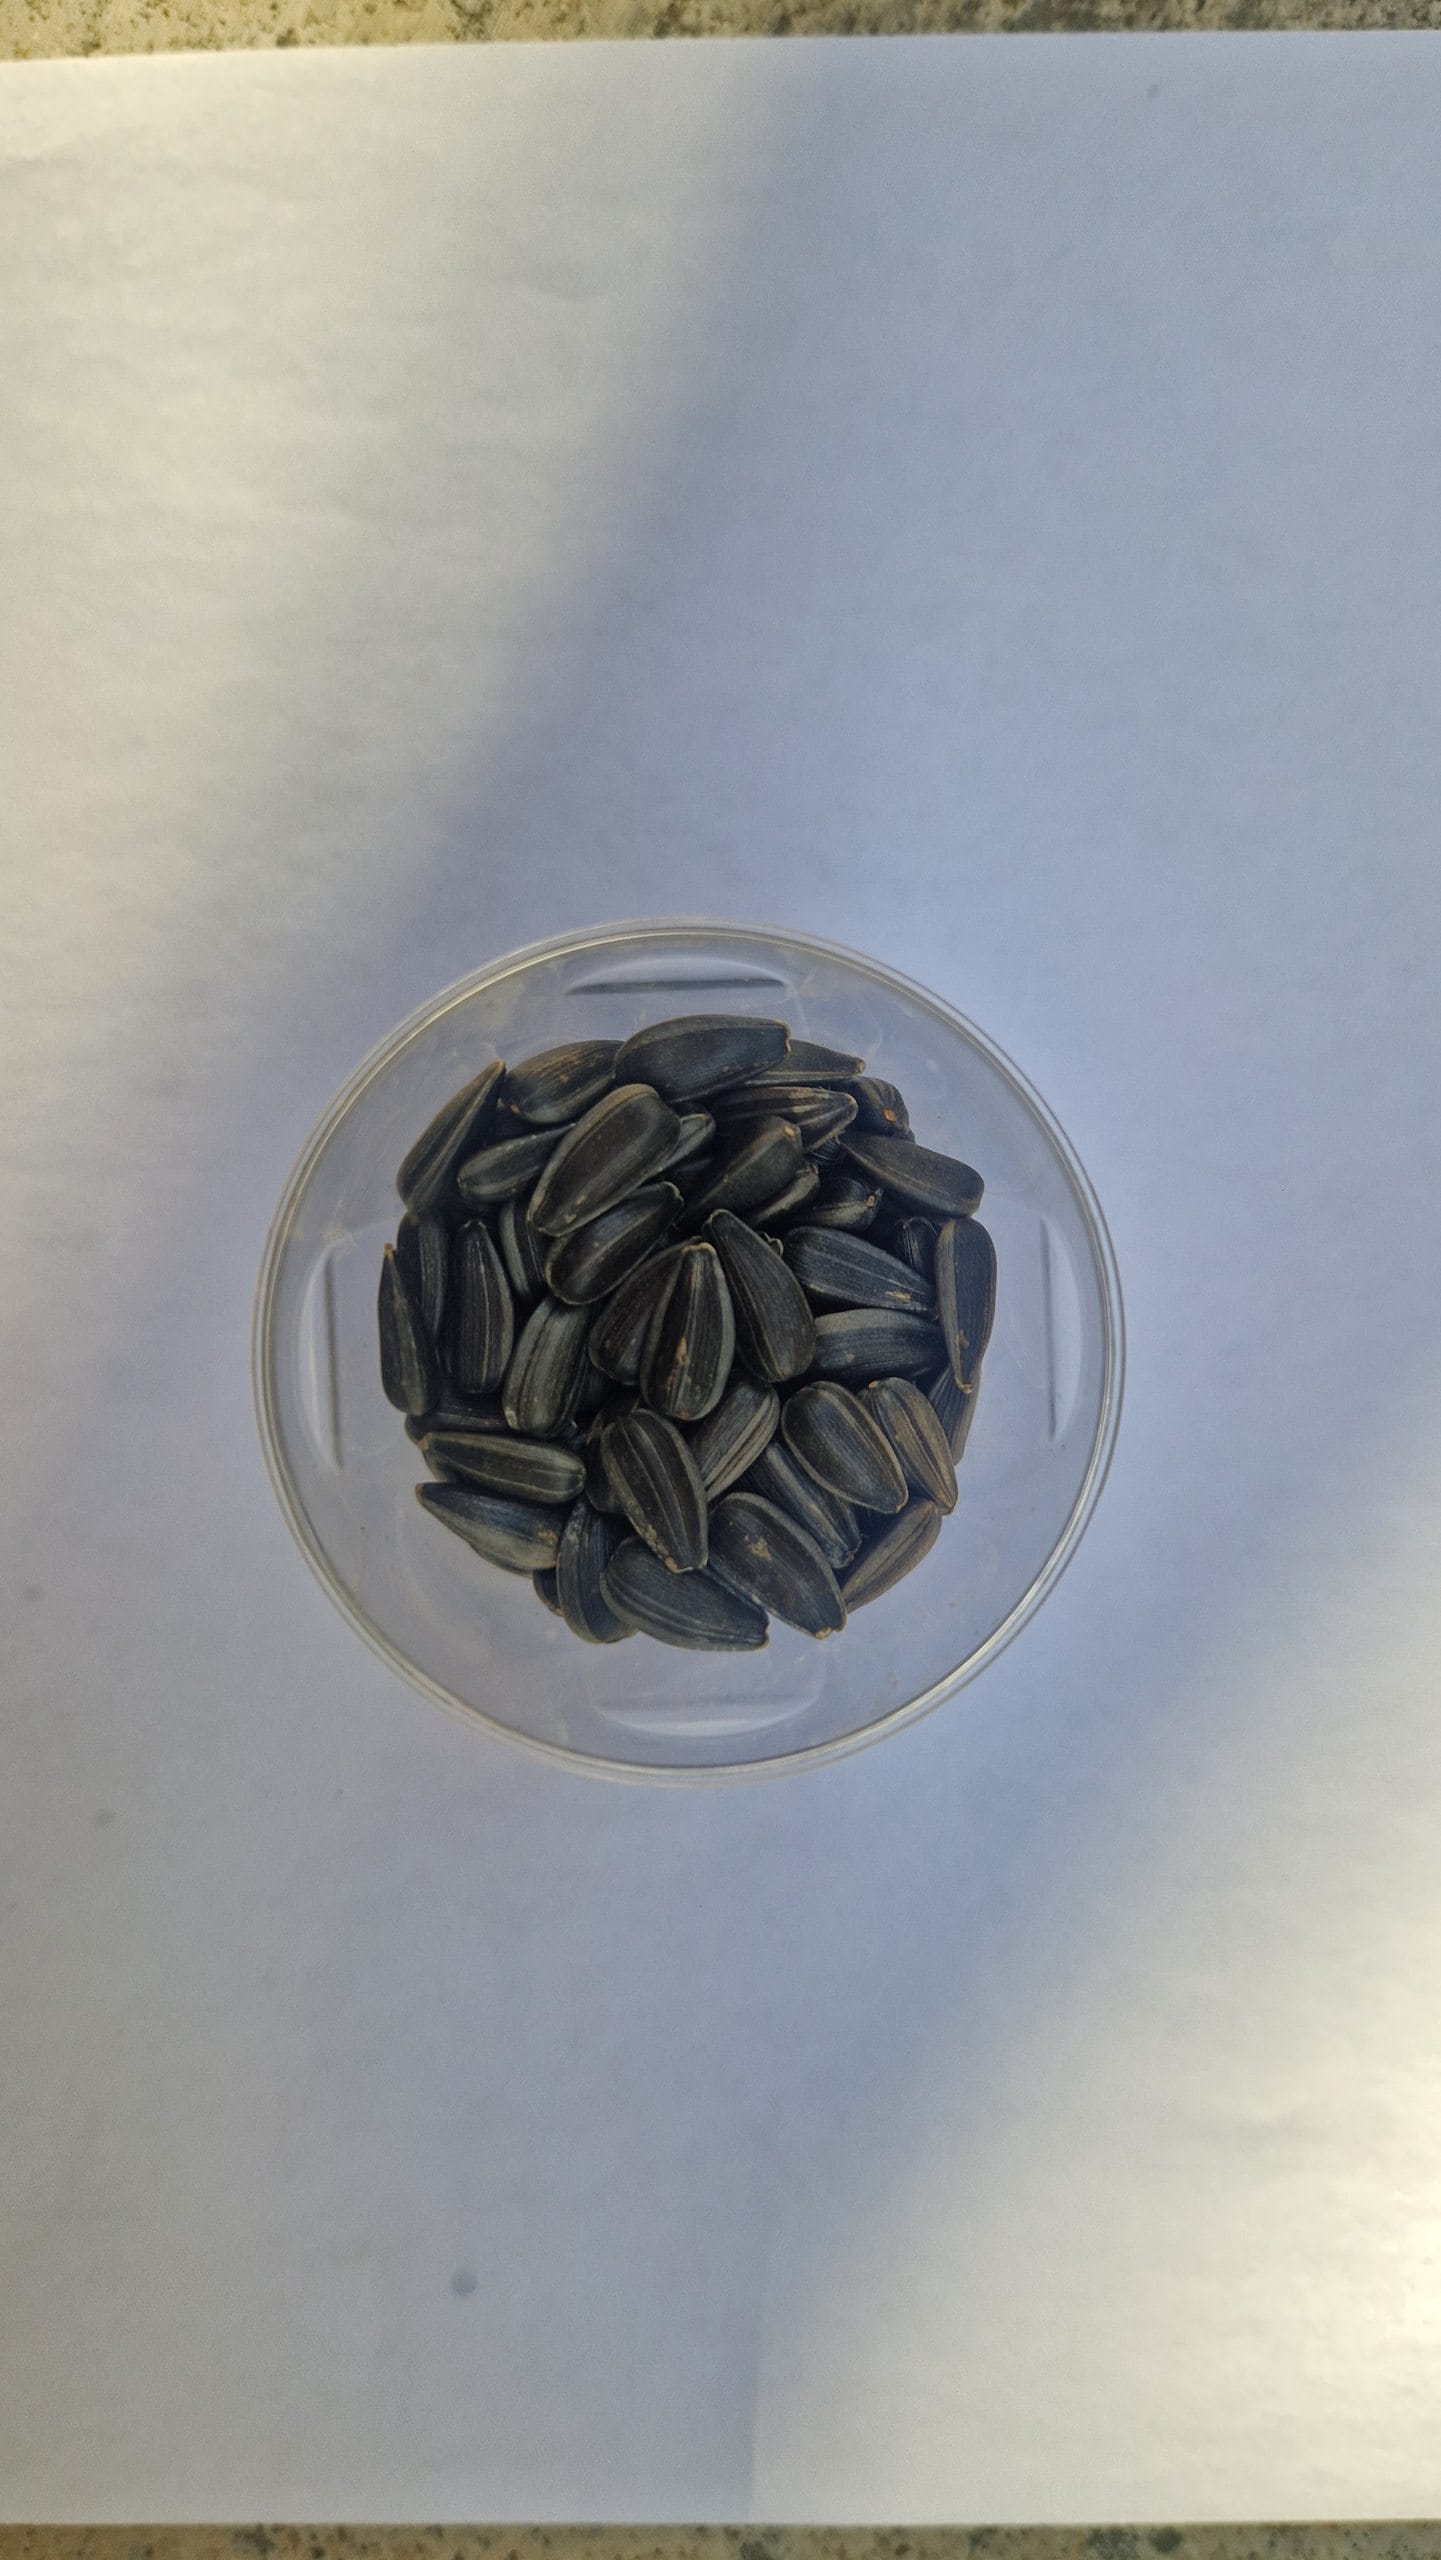
How to grow sunflower microgreens step by step — soaking, sowing, light and harvest — plus the nutty, crunchy result and tips from our own growing experience.
Hello everyone! We’re continuing our series where we explain how to grow different types of microgreens. In each post, we go over their characteristics, step by step instructions, and some practical tips based on our own experience.
As we mentioned in previous articles, sunflower microgreens are one of the newest varieties we’ve introduced in our garden. What caught our attention the most is that the seeds are literally the same ones you’d buy at the supermarket, and you can even eat them as they are!
Sunflower microgreens are among the most popular and versatile: they have a mild, slightly nutty flavor and a crunchy texture that makes them an excellent addition to salads, wraps, sandwiches, or even as a healthy snack on their own. On top of that, their nutritional value is impressive: they’re packed with protein, B vitamins, vitamin E, zinc, and iron.
1. Prepare the seeds
Unlike other varieties, sunflower seeds germinate best if you soak them for 8–12 hours before sowing. This speeds up and evens out germination.
2. Prepare the tray
We don’t want to sound repetitive, but make sure to clean it well before use. Add an even layer of your chosen growing medium and lightly moisten it.
3. Sow the seeds
Spread the seeds evenly across the surface. Sunflower seeds are quite large, so try not to crowd them too much. You don’t need to cover them with soil, just make sure they’re in good contact with the substrate.
4. Blackout period
Cover the tray with another inverted tray or a piece of cardboard. This step is important to help the roots establish and the stems grow strong. Keep them covered for 3–4 days.
5. Careful watering
Spray water once or twice a day, keeping the soil moist but not soaked. Sunflower seeds can be prone to mold if overwatered.
6. Light and ventilation
Once the sprouts emerge, remove the cover and place the tray in a well lit spot or under LED grow lights. Make sure there’s good airflow around the plants.
7. Daily care
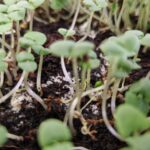
Keep the substrate moist but not waterlogged. In just a few days, you’ll see the plants develop bright green leaves and juicy stems.
8. Harvest time
In 7–12 days, your sunflower microgreens will be ready to harvest. Use clean scissors to cut just above the soil line.
And that’s it!
We’ll be back with our next article about chickpea microgreens. Just like sunflower seeds, which are literally the same ones you snack on, what surprised us about chickpea microgreens is that their seed is, quite simply, a chickpea. Fun and fascinating!
See you next time, friends!
Carlota
Studies from our Science Library that concern sunflower microgreens, in plain language with links to the original research. This list updates automatically as new studies are added.
Recipes and kitchen ideas from our cookbook team that use sunflower microgreens.
Growing a different crop next? Every variety has a guide like this one in the Varieties database.
This article is part of the free knowledge portal of EVEC Microgreens. Wherever you are on your microgreens journey, there is a path for you:
Co-funded by the European Union.
This portal presents the microgreens methodology; the organisation behind it is EVEC Athens — the European Voluntary and Educational Center (evec.org.gr). Views and opinions expressed are those of the author(s) only and do not necessarily reflect those of the European Union or the European Commission. Neither the European Union nor the granting authority can be held responsible for them.


[…] microgreens are still not as common on the market as other varieties such as radish, lettuce, or sunflower, which we have already discussed in previous […]