Get in touch
Questions about growing, workshops, the cooperative or partnerships? Send us a message and we will reply by email.
Prefer email? Write to erasmus@evec.org.gr

EVEC Microgreens
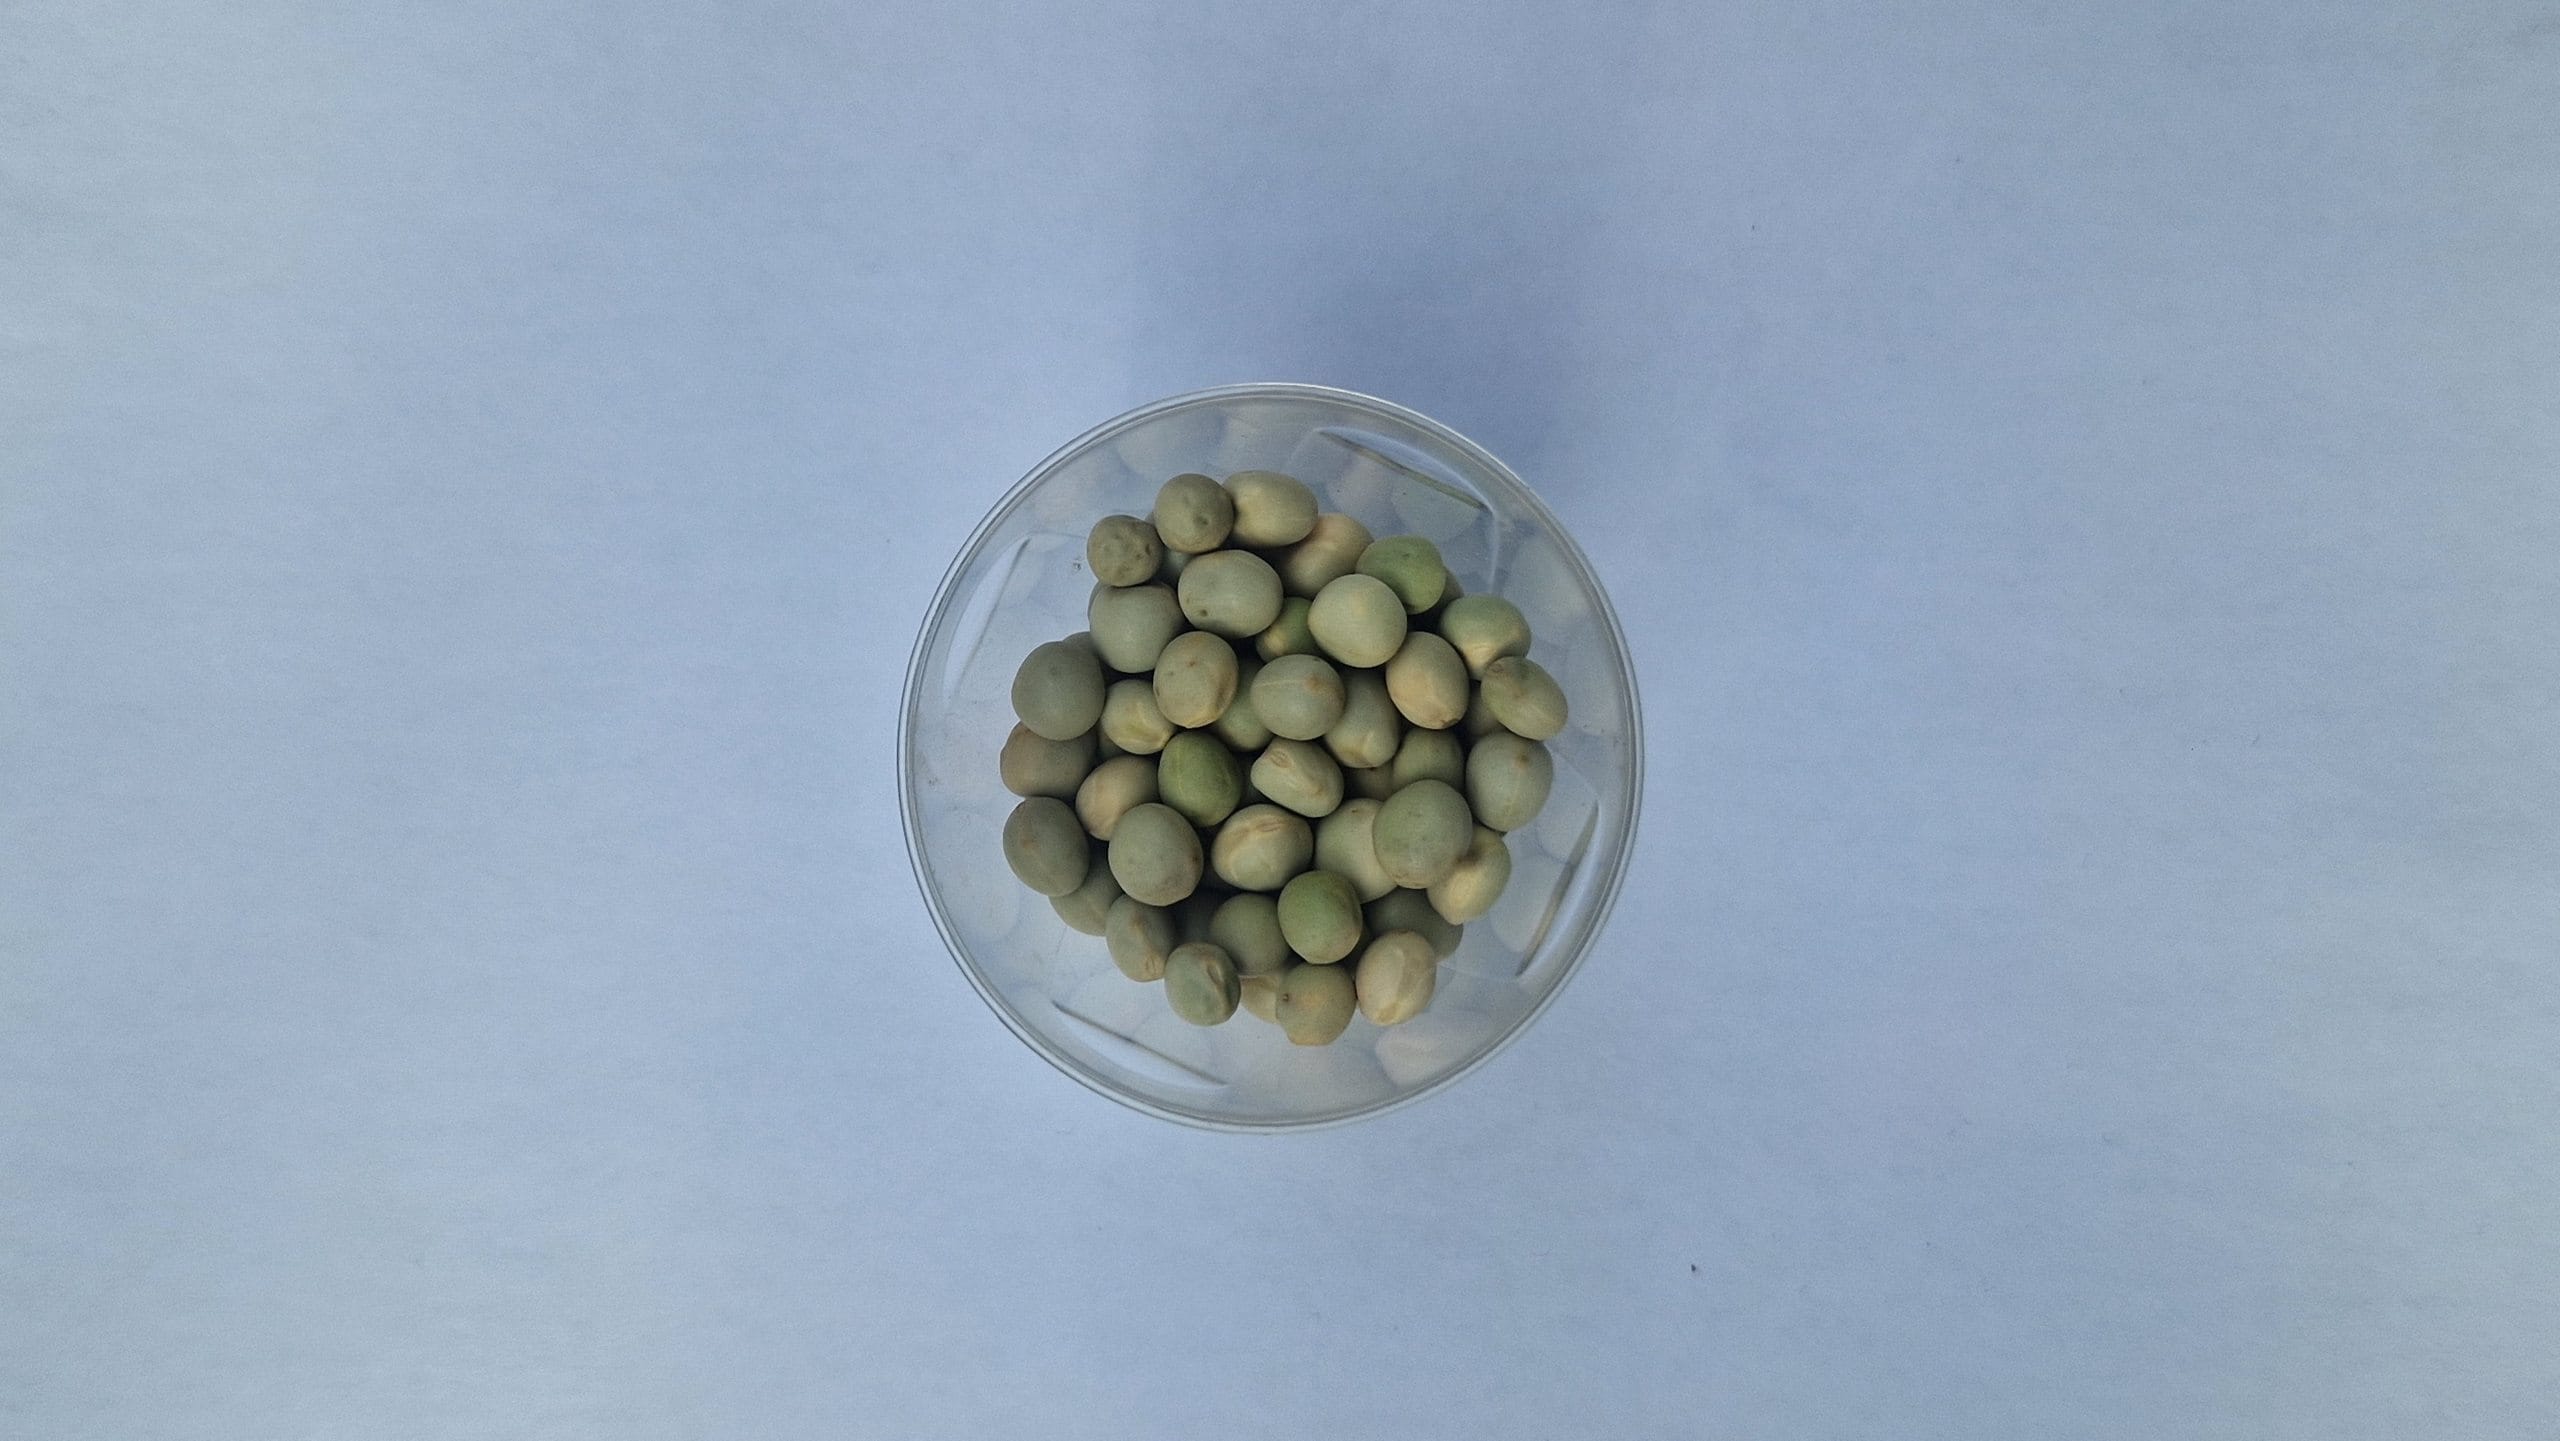
How to grow chickpea microgreens step by step: soaking, sowing, light and harvest. A fast, protein-rich microgreen with a fresh flavour and a quick payoff.
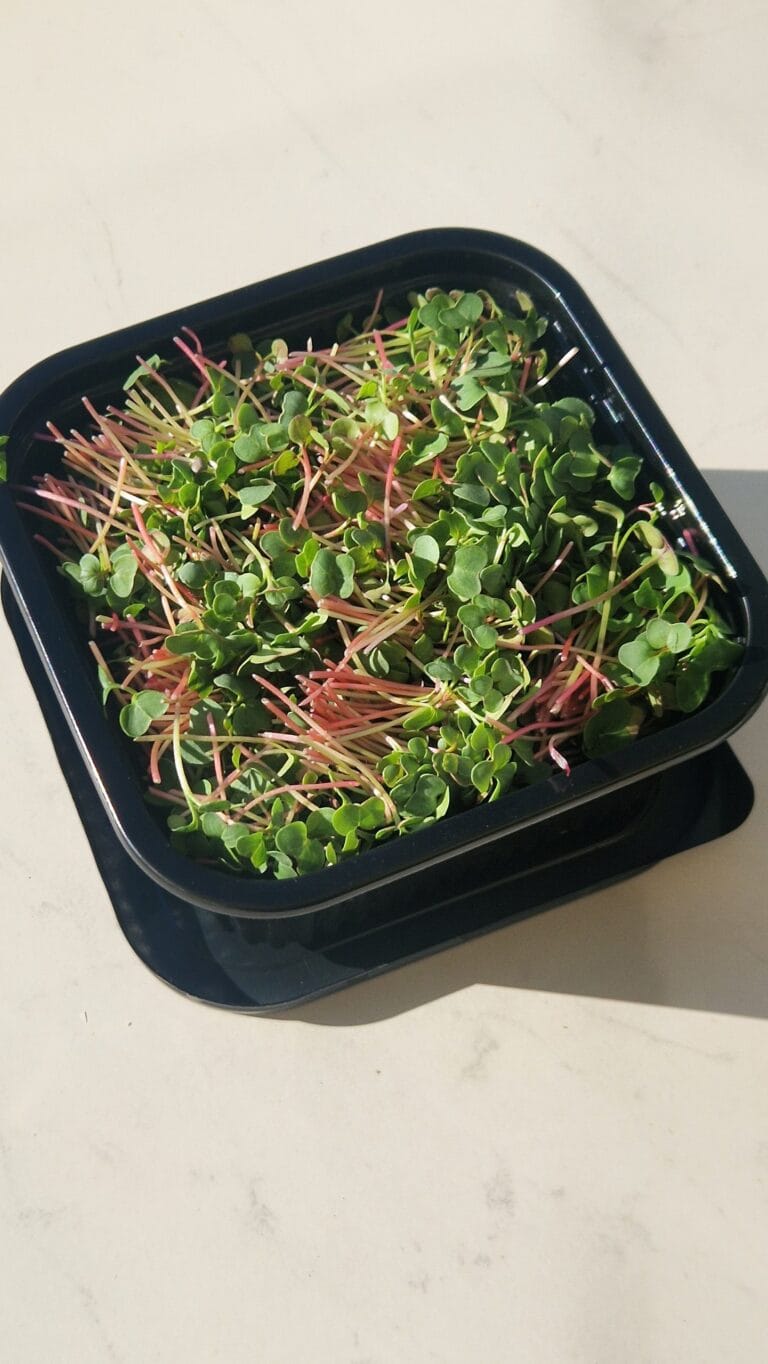
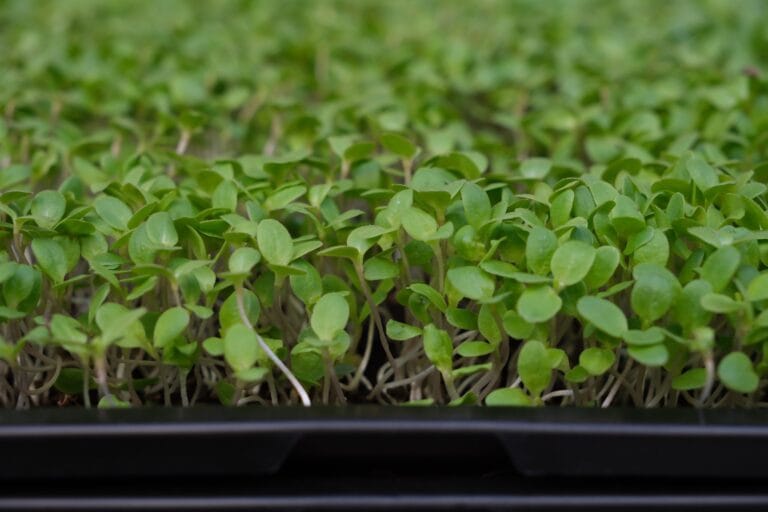
Chickpea microgreens ask for a long pre-soak and restrained watering, and give back a crop in eight to twelve days. They have a mild, slightly nutty flavor with an earthy touch that works wonderfully in salads or as a crunchy, nutritious snack. On top of that, chickpeas are known for their high content of plant based protein and minerals, making them a fantastic option for anyone looking for healthy and energizing additions to their diet. This guide covers their characteristics, the steps from soaking to harvest, and the practical points that decide whether a tray succeeds or molds.
1. Prepare the seeds
Soak the chickpeas for 8–12 hours before sowing. This step is essential to activate germination and achieve uniform sprouts.
2. Prepare the tray
Clean the tray thoroughly before use. Add an even layer of your chosen growing medium and lightly moisten it.
3. Sow the seeds
Spread the chickpeas evenly over the surface. There’s no need to cover them with soil, just make sure they are in good contact with the substrate.
4. Blackout period
Cover the tray with another inverted tray or a piece of cardboard for 3–4 days. This encourages the roots to establish and the stems to grow straight.
5. Careful watering
Spray water once or twice a day. Keep the soil moist but not waterlogged, as chickpeas can develop mold if overwatered.
6. Light and ventilation
Once the sprouts emerge, remove the cover and place the tray in a well lit spot or under LED grow lights. As you know, in our office we use artificial lights, but natural sunlight is also an excellent option. Make sure there’s good air circulation to keep them healthy.
7. Daily care
Continue misting gently every day. In just a few days, the stems will become firm and the leaves bright green.
8. Harvest time
In about 8–12 days, your chickpea microgreens will be ready to harvest. Use clean scissors to cut just above the surface of the substrate.
Chickpea microgreens are not only rich in protein, they also provide B vitamins, iron, magnesium, and antioxidants. They are perfect for adding to salads, wraps, soups, or for giving a nutritious boost to any recipe.
Studies from our Science Library that concern chickpea microgreens, in plain language with links to the original research. This list updates automatically as new studies are added.
Recipes and kitchen ideas from our cookbook team that use chickpea microgreens.
No recipes for this crop yet — the cookbook has plenty to start with.
Growing a different crop next? Every variety has a guide like this one in the Varieties database.
This article is part of the free knowledge portal of EVEC Microgreens. Wherever you are on your microgreens journey, there is a path for you:
Co-funded by the European Union.
This portal presents the microgreens methodology; the organisation behind it is EVEC Athens — the European Voluntary and Educational Center (evec.org.gr). Views and opinions expressed are those of the author(s) only and do not necessarily reflect those of the European Union or the European Commission. Neither the European Union nor the granting authority can be held responsible for them.
Open licence. Except where stated otherwise, the educational materials on this portal are licensed under CC BY 4.0 — free to use, adapt and share, including commercially, with credit. See the licence terms.
Accessibility. We aim for WCAG 2.1 AA and publish what does and does not yet meet it — see the accessibility statement. If anything here blocks you, tell us and we will send the material in a format that works for you.