Get in touch
Questions about growing, workshops, the cooperative or partnerships? Send us a message and we will reply by email.
Prefer email? Write to erasmus@evec.org.gr
EVEC Microgreens
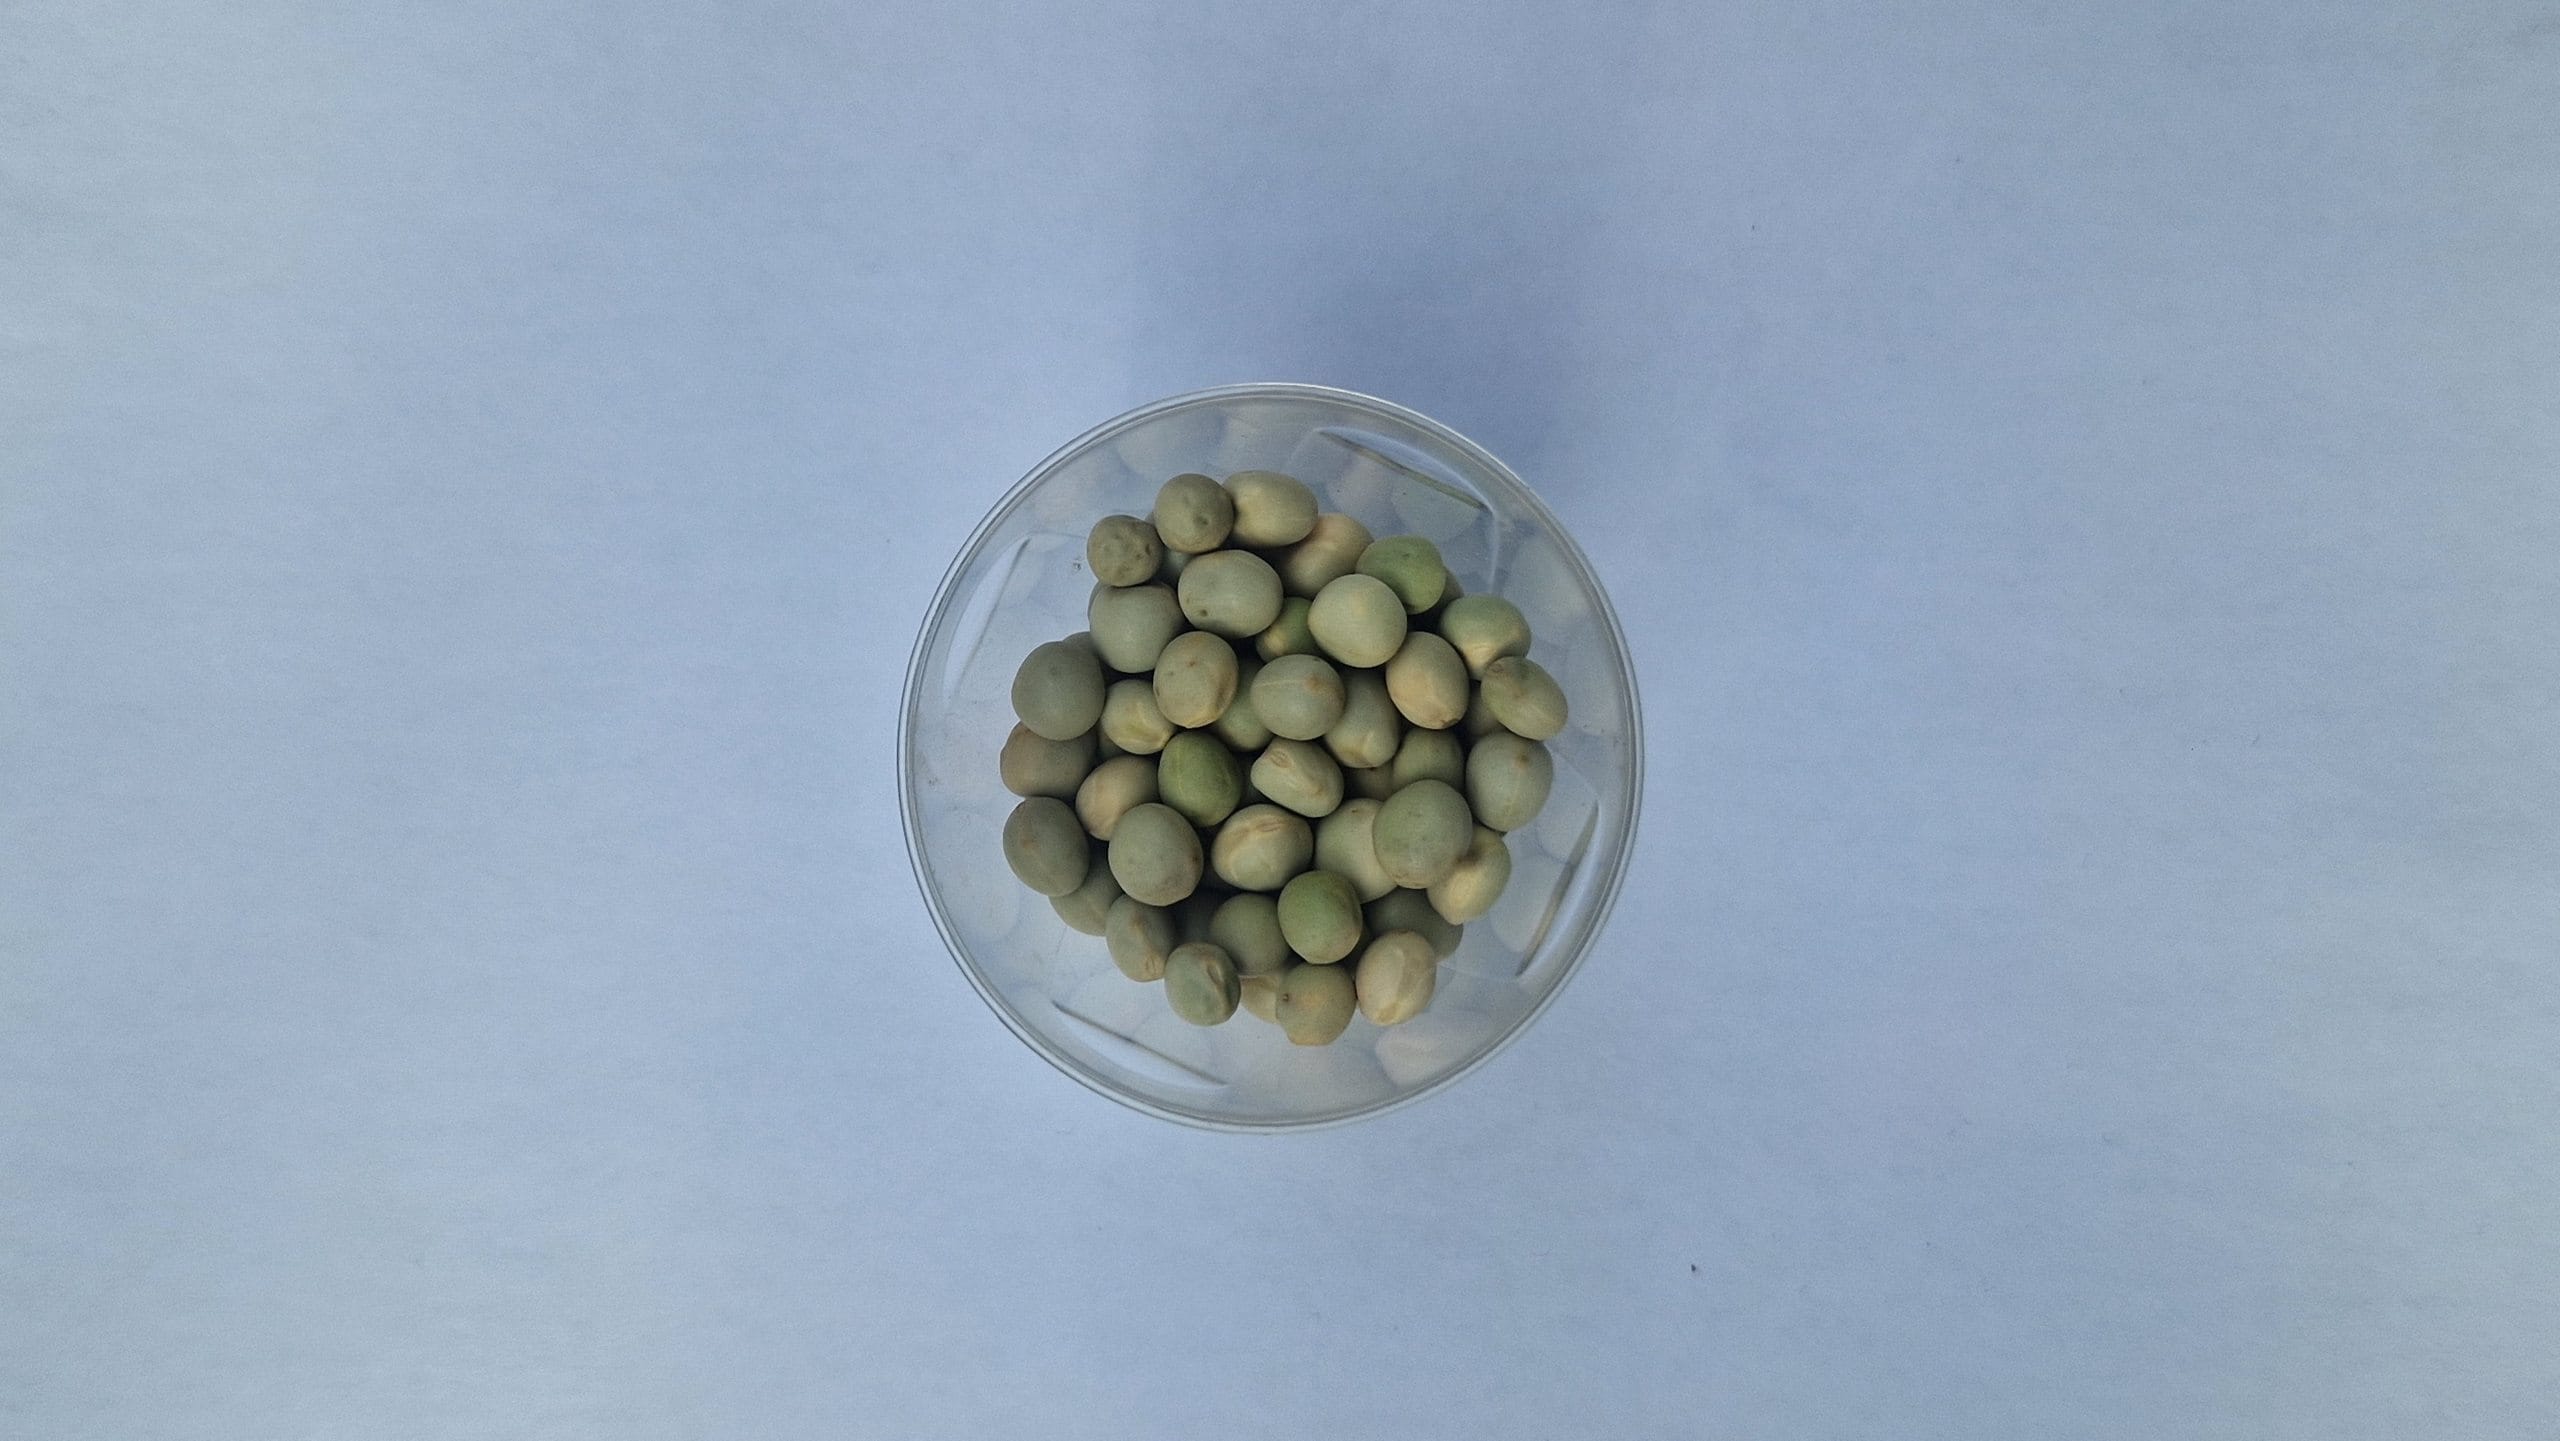
Pea microgreens are sweet, crunchy pea shoots that grow from soaked seed in about 10 to 12 days. Learn to soak, sow, weight, and harvest them at home.
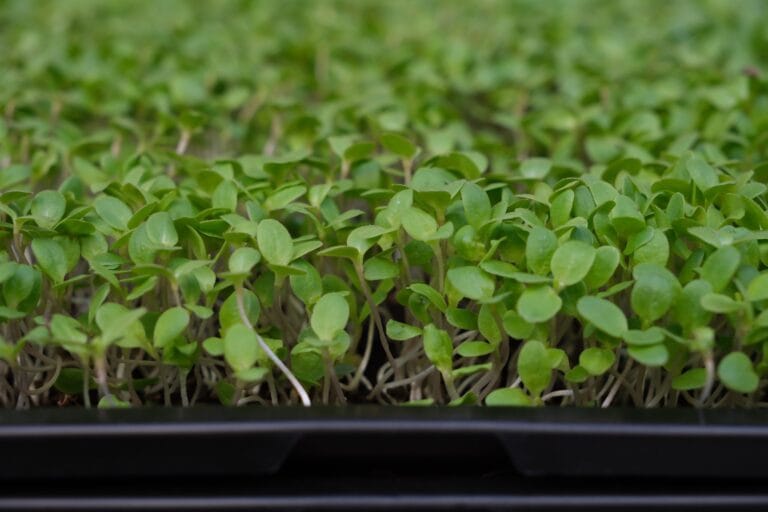
Pea microgreens are the young shoots of the ordinary garden pea (Pisum sativum), cut while they are a few centimetres tall and still sweet and tender. They are one of the three most popular microgreens in the world, and it is easy to see why: the seed is cheap and easy to find, the shoots grow quickly and reliably, and they taste unmistakably of fresh garden peas. If you have never grown anything before, pea shoots are one of the kindest crops to begin with, and a natural companion to the other big-seeded greens covered in our Grow at Home hub.
Peas are large, robust seeds, which makes them far more forgiving of beginner mistakes than fine seeds such as basil or amaranth. They germinate strongly, push up thick stems, and cope with a little too much or too little water. You also get a great deal of green for very little money: a single tray produces a generous, tangled mat of shoots, one of the highest yields per tray of any microgreen.
They sit alongside sunflower, lentil and chickpea as the filling, satisfying protein-rich microgreens rather than the delicate garnish types. The one honest caveat is that a densely sown pea tray holds a lot of moisture, so it can turn mouldy if you crowd the seed or over-water. Get the airflow and watering right and it rarely troubles you.
| Seed soaking | Yes, 8 to 12 hours in cool water |
| Germination | Roots show in 2 to 3 days |
| Blackout (dark) period | 3 to 5 days, ideally under a light weight |
| Ready to harvest | 8 to 14 days from soaking (usually 10 to 12) |
| Difficulty | Easy, a good first crop |
| Flavour | Sweet, fresh and crunchy, like raw garden peas |
Grow pea microgreens only from the edible garden or field pea (Pisum sativum), sold for sprouting or microgreens. Never use ornamental “sweet pea” (Lathyrus odoratus) or grass pea (Lathyrus sativus) — these belong to a different, toxic genus and must not be eaten. And use only untreated, food-grade seed: pea seed sold for farm planting is often coated with fungicide (and dyed pink, blue or green) and is not safe to eat.
Pea microgreens are at their best when they are roughly 5 to 10 cm (3 to 5 inches) tall, with the first tendrils and true leaves just appearing. Cut them with clean scissors just above the seed layer. Leave it much longer and the tendrils tangle into a dense mat that is fiddly to cut and store. If you bottom-water and leave the roots undisturbed, many trays will push out a second, smaller flush worth cutting.
Harvest dry if you can, as wet shoots spoil faster. Store them unwashed in a lidded container or bag with a piece of kitchen paper to absorb moisture, and keep them in the fridge, where they hold for about a week. There is more detail in our guide to harvesting microgreens.
Pea shoots are one of the few microgreens sweet and mild enough to eat by the handful. They work as a proper salad base rather than a token garnish, and they are lovely raw in sandwiches and wraps, scattered over soups, or folded through a risotto or omelette at the last moment. A quick toss into a stir-fry right at the end keeps them crisp. Their fresh, grassy sweetness pairs beautifully with mint, lemon, feta, smoked salmon and soft-boiled eggs. For more ideas, our free cookbook has plenty to try.
Once you have a tray or two of peas under your belt, the other big soaked seeds will feel familiar. Related: sunflower microgreens, chickpea microgreens and the wider Grow at Home hub.
Studies from our Science Library that concern pea microgreens, in plain language with links to the original research. This list updates automatically as new studies are added.
Recipes and kitchen ideas from our cookbook team that use pea microgreens.
Growing a different crop next? Every variety has a guide like this one in the Varieties database.
This article is part of the free knowledge portal of EVEC Microgreens. Wherever you are on your microgreens journey, there is a path for you:
Co-funded by the European Union.
This portal presents the microgreens methodology; the organisation behind it is EVEC Athens — the European Voluntary and Educational Center (evec.org.gr). Views and opinions expressed are those of the author(s) only and do not necessarily reflect those of the European Union or the European Commission. Neither the European Union nor the granting authority can be held responsible for them.