Get in touch
Questions about growing, workshops, the cooperative or partnerships? Send us a message and we will reply by email.
Prefer email? Write to erasmus@evec.org.gr
EVEC Microgreens
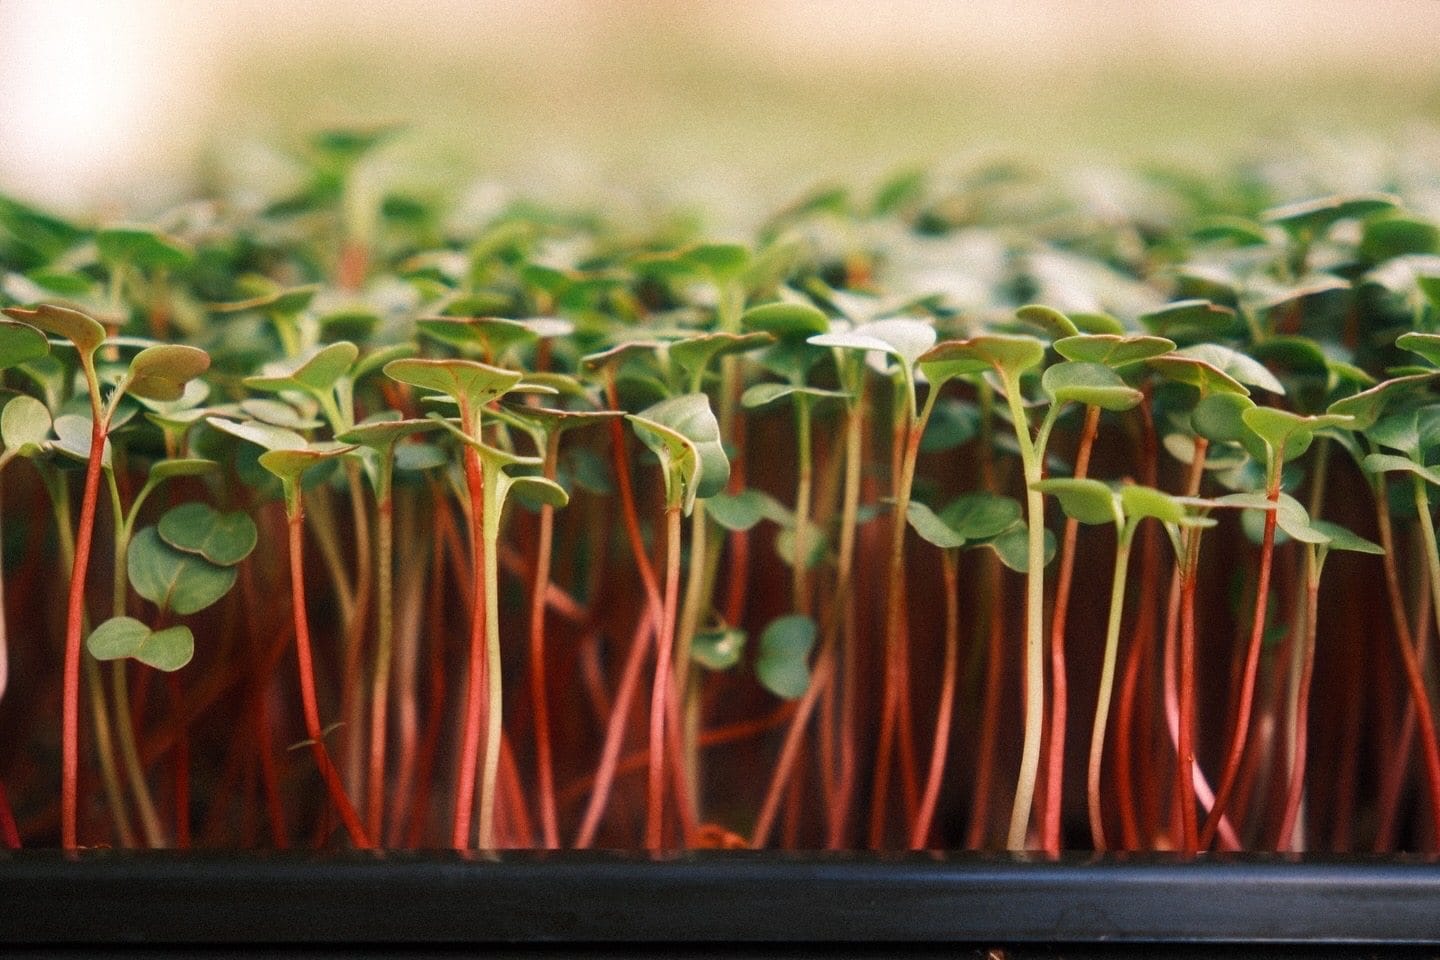
Radish microgreens are the fastest and easiest to grow. Step by step: sowing, light, watering and days to harvest, plus their fresh, slightly spicy flavour.
Hello everyone! We’re continuing with our series where we explain how to grow different types of microgreens. In each post, we share their characteristics, step by step instructions, and some practical tips based on our experience.
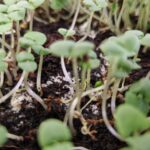
Radish is one of the easiest and fastest microgreens to grow. Its flavor is strong, fresh, and slightly spicy, making it a perfect addition to salads, sandwiches, tacos, or as a gourmet garnish for your dishes. Plus, it germinates in just a few days, which is ideal if you want quick results.
And that’s it!
Radish microgreens are not only visually appealing with their red stems and green leaves, but they’re also a nutritional powerhouse: they contain vitamins A, B, C, E, and K, plus calcium, iron, magnesium, and antioxidants. Perfect to add a fresh, spicy, and healthy touch to any dish.
Thanks for joining us on this green adventure! See you in the next article.
Carlota
Related: The science — the antioxidant capacity of radish microgreens
Studies from our Science Library that concern radish microgreens, in plain language with links to the original research. This list updates automatically as new studies are added.
No studies specific to this crop yet — browse the full Science Library.
Recipes and kitchen ideas from our cookbook team that use radish microgreens.
Growing a different crop next? Every variety has a guide like this one in the Varieties database.
This article is part of the free knowledge portal of EVEC Microgreens. Wherever you are on your microgreens journey, there is a path for you:
Co-funded by the European Union.
This portal presents the microgreens methodology; the organisation behind it is EVEC Athens — the European Voluntary and Educational Center (evec.org.gr). Views and opinions expressed are those of the author(s) only and do not necessarily reflect those of the European Union or the European Commission. Neither the European Union nor the granting authority can be held responsible for them.


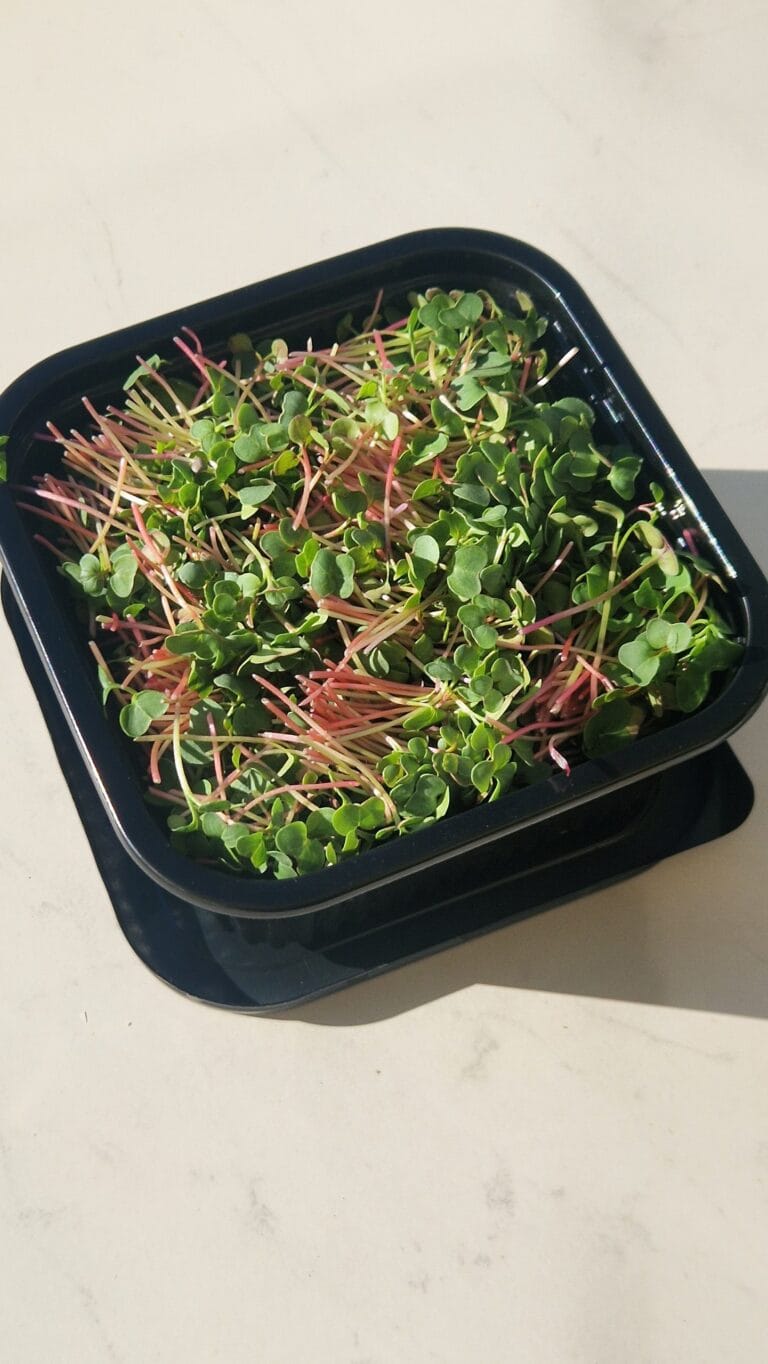
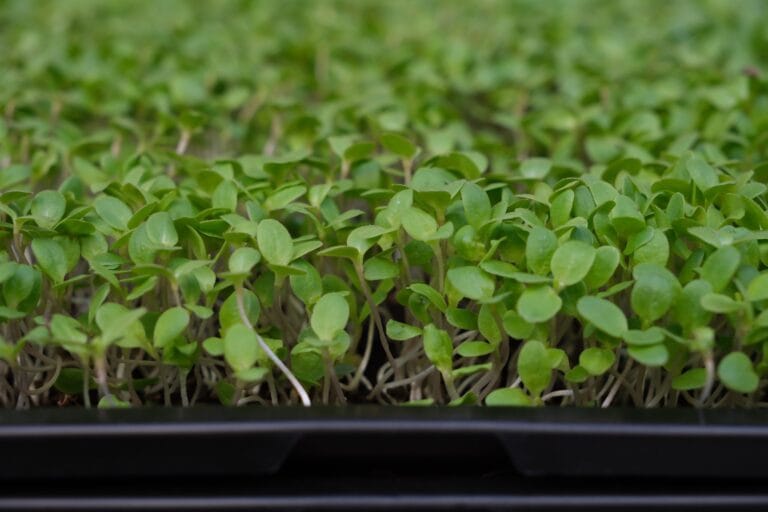


[…] our series where we explain how to grow different types of microgreens. Last time, we talked about radish microgreens and discovered that they’re among the easiest and fastest to grow. This time, it’s broccoli’s […]
[…] qualities, nasturtium microgreens are still not as common on the market as other varieties such as radish, lettuce, or sunflower, which we have already discussed in previous […]